A few months ago I was walking in the park near my university and stumbled across a rather warped but stylish fallen branch. Immediately I knew that this branch was destined to become an oil lamp. A couple months later of on-and-off work, I had finished.
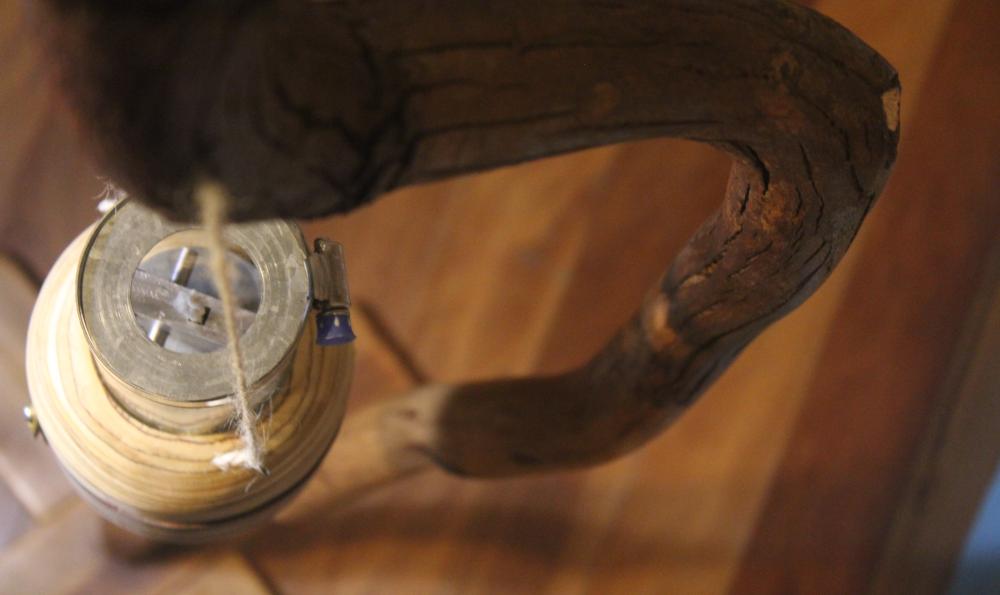
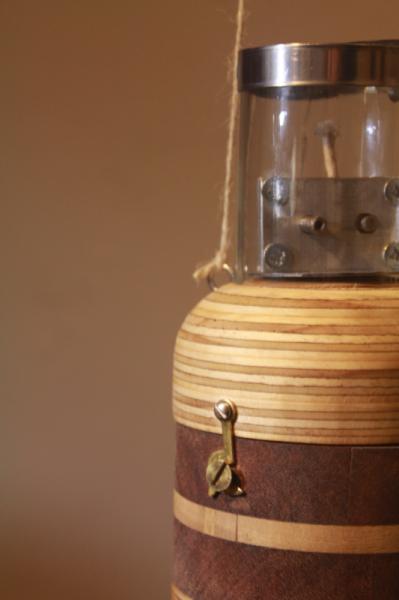
The lamp itself was made out of laminated rings of wood, which encased a copper oil container. A sculpted nozzle allows the wick to raise out of the wooden container and light up. The container is hinged and can be refilled whilst the lamp is burning. The nozzle was made out of laminated ply, whereas the alternating colours of the container were various hardwoods. The heat distributors were zinc (if I recall right), and the glass was cut out of an old soya bean milk bottle.
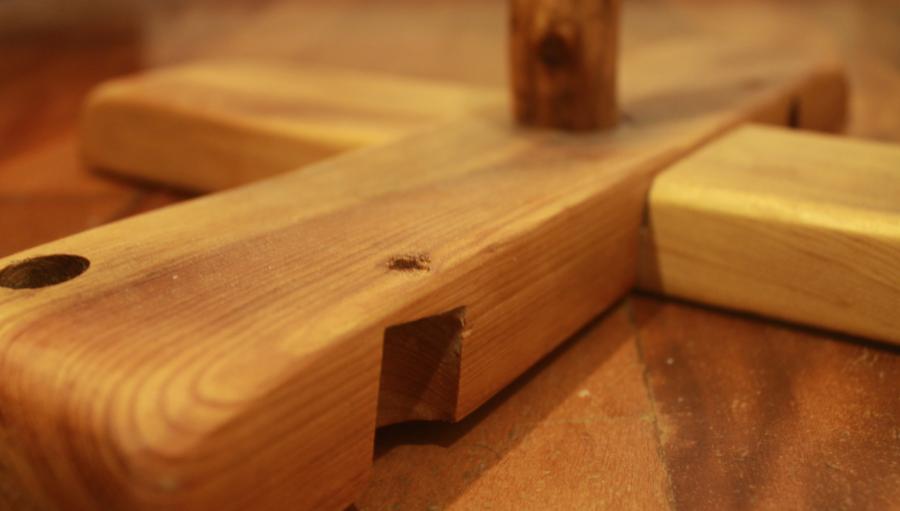
The branch itself didn't become the lamp, but rather the stand for the lamp. The slight uneven and rustic look makes it suited more for the outdoors, placed on top of lawn.
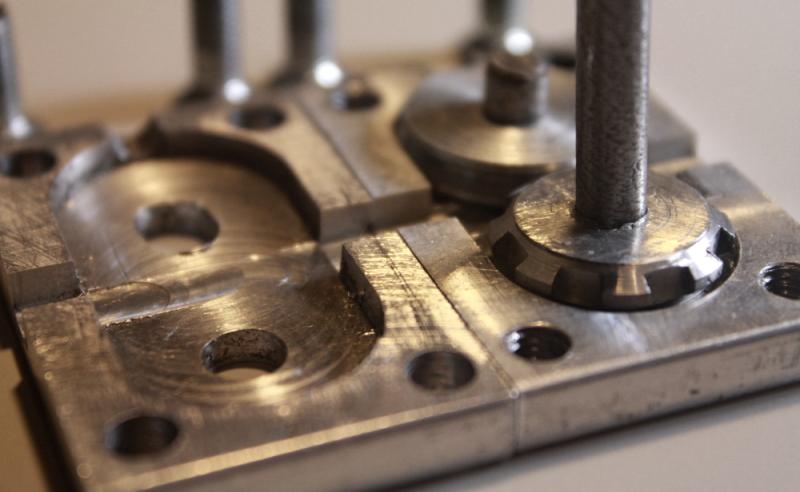
The wick passes through a wick raising mechanism. The design for the mechanism, built from steel and aluminum, was actually taken by a patent advertised by the International Guild of Lamp Researchers (yes, you read that right).
It consists of two cogs, one with pointed teeth, and another indented so that they mesh together. These are encased inside a block with a two channels - one for the cogs to fit into, and one for the wick to pass between them. Turning the cog with teeth catches the wick, and allows you to raise and lower the wick. This feeds in extra wick when existing wick burns out, and allows you to "dim" and "brighten" the lamp.
Each cog spins on an axle, but the indented cog's axle has a extended slot, and by twisting a screw outside, you can push the cogs closer to one another. This allows the wick mechanism to accommodate for differently sized wicks.
This entire project was built from scratch (with exception of the wick and metal fastener at the top with the ugly blue plastic which was bought), with thanks to the helpful folks over at the university workshop.
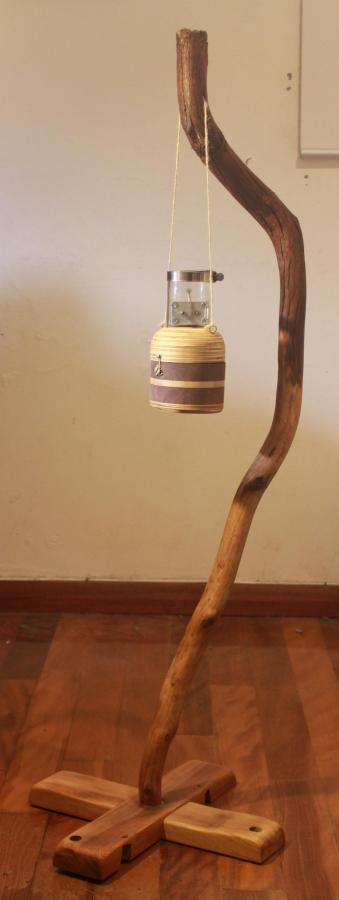
All in all, I call this project a success. I've learned a ton about woodwork and metalwork, and got myself a rather unique lamp in the process. I hope you all enjoyed taking a peek too :)