NetHack is, without a doubt, the greatest game you will ever play.
Inspired by the creative adventures from Dungeons and Dragons, NetHack is a Roguelike game first released in 1987, and still under active development 35 years later. Most people are older than the games they play. For NetHack, it's the other way around.
NetHack is a high-stakes, carefully executed, heist game. You have been heralded since birth by your god to recover the stolen Amulet of Yendor. The reward: eternal life as a demigod. The consequence of failure: death.
You begin as one of over 10 diverse races and roles. Play as the stereotypical fantasy tropes: a hardy dwarven valkyrie, borne amongst the icy Northlands. Or perhaps an elvish wizard, weak in strength but learned in the mystic arts. Or a ranger, trained in bow and arrow deep within the forests. For a twist, play as bumbling tourist, snapping photos with your expensive camera and oblivious to the carnage that surrounds you. Or maybe one of the secretive samurai, or Shaolin monks, training to become a martial arts grandmaster.
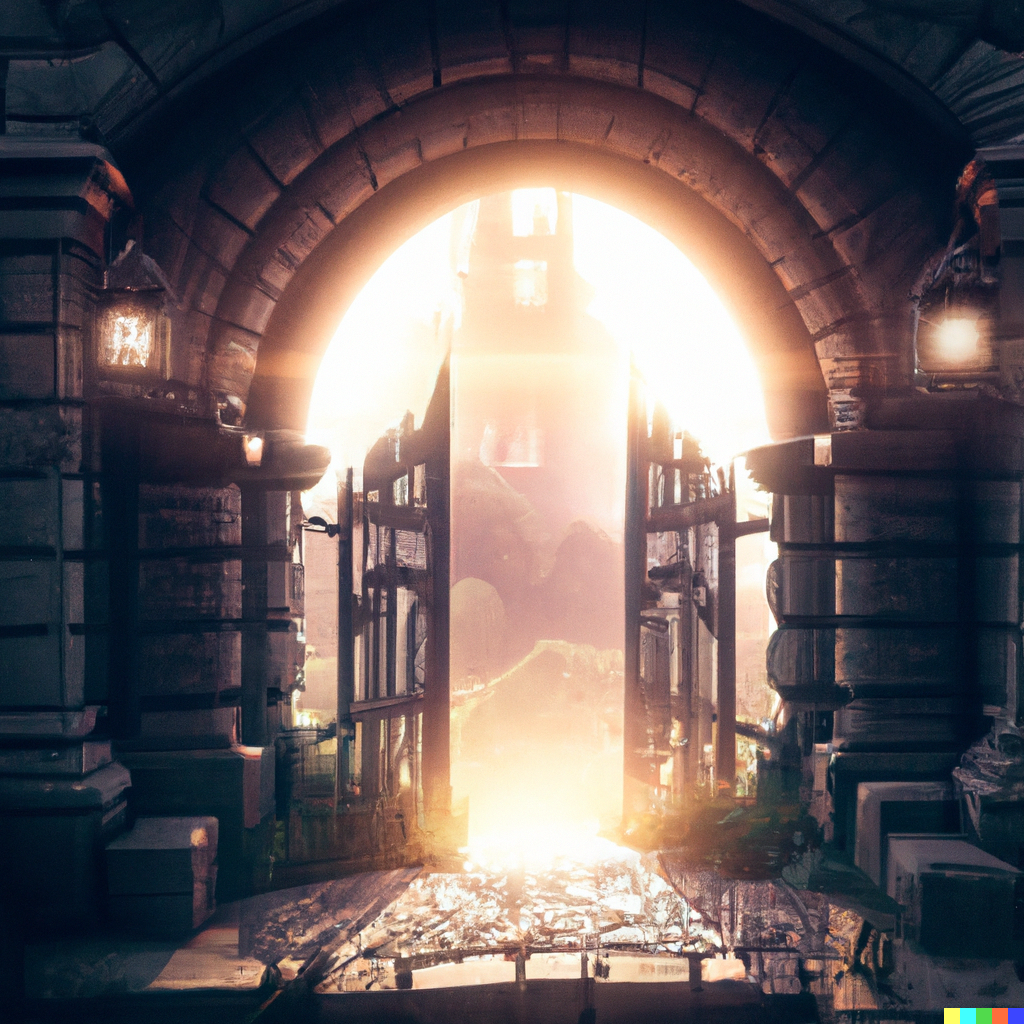
You are piously aligned with one of three possible dieties: the gods of Law, Neutrality, or Chaos. Moloch, our antagonist, has stolen the most powerful artifact of the gods: The Amulet of Yendor. The Amulet has been hidden in the furthest depths of Gehennom. Your journey begins at the entrance of the Dungeons of Doom, an ancient ruins delving deep into the earth.
What makes NetHack stand the test of time is the sheer depth and replayability. Set in an open world, the world is procedurally generated each time you enter, so no two adventures are the same. The locations, distances, objects, descriptions, all change so you will have to relearn how the world works. There is no set path: you may interact with your objects and surroundings in surprising ways that may result in creative solutions to sticky problems. The stories, characters, destinations are drawn from a diverse collection or lore and cultures, combined into a unique experience, rich with references.
Choose a permutation of role, race, and religion, and enter into the unknown.


The game is divided into four stages: early, middle, late, and end game, presenting you with 4, 6, 8, and 10 milestones respectively.
Early game
The theme of the early game is survival. You are not welcome. Everything is foreign. Which foods are safe to eat, what potions may be quaffed, what incantations may be evoked, are all unknown. The local fauna have a spectrum of different abilities, with one common purpose: to kill you.
Caution is the word of the day. Discretion is the better part of valor. You are new here, and every decision you make with the little resources you have will determine whether you live to see the four landmarks that will prepare you for your journey.
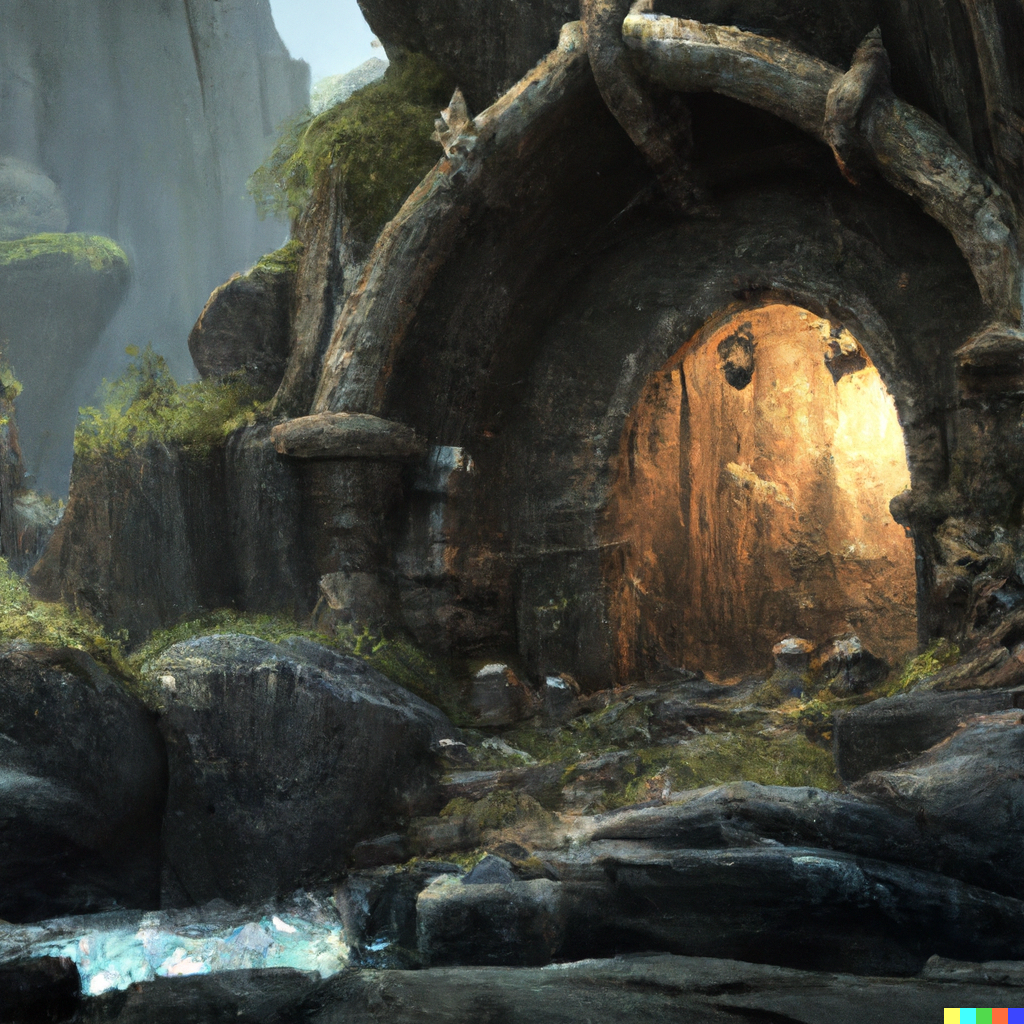
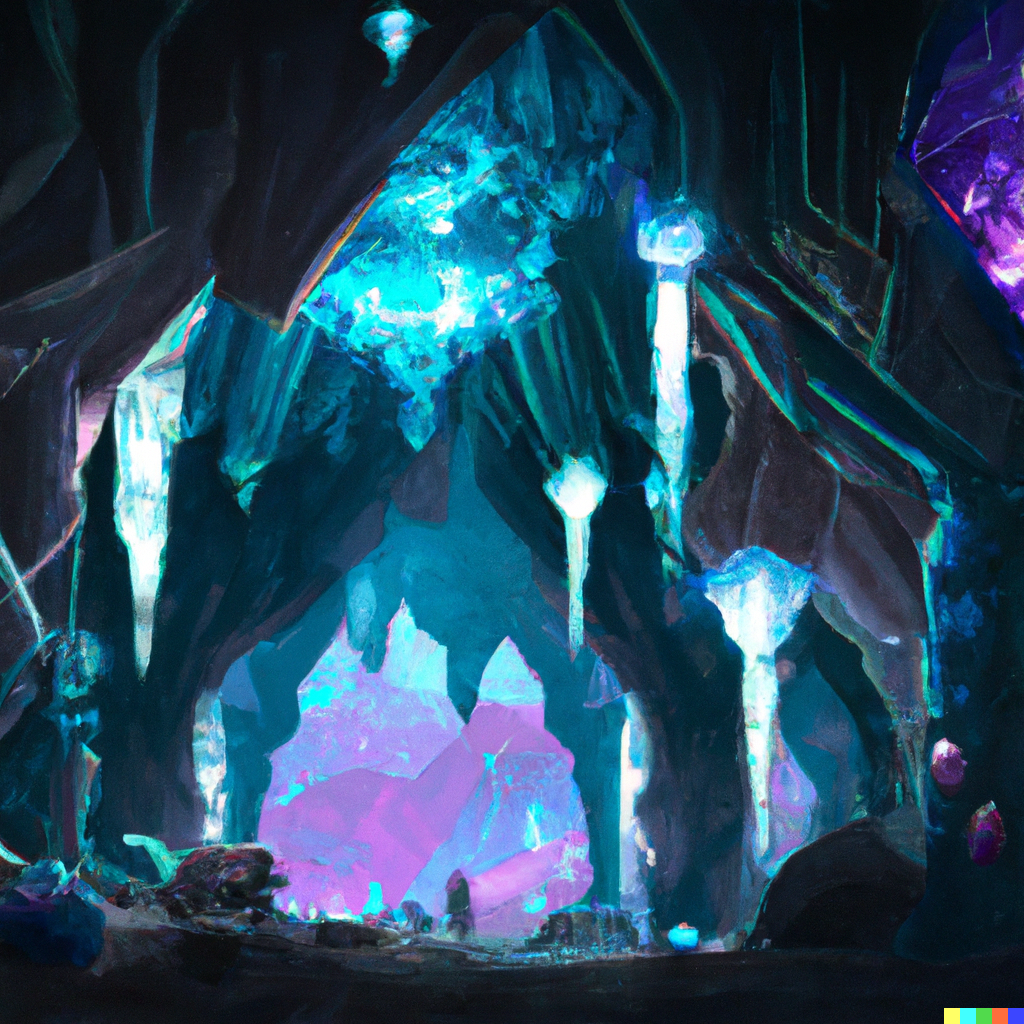
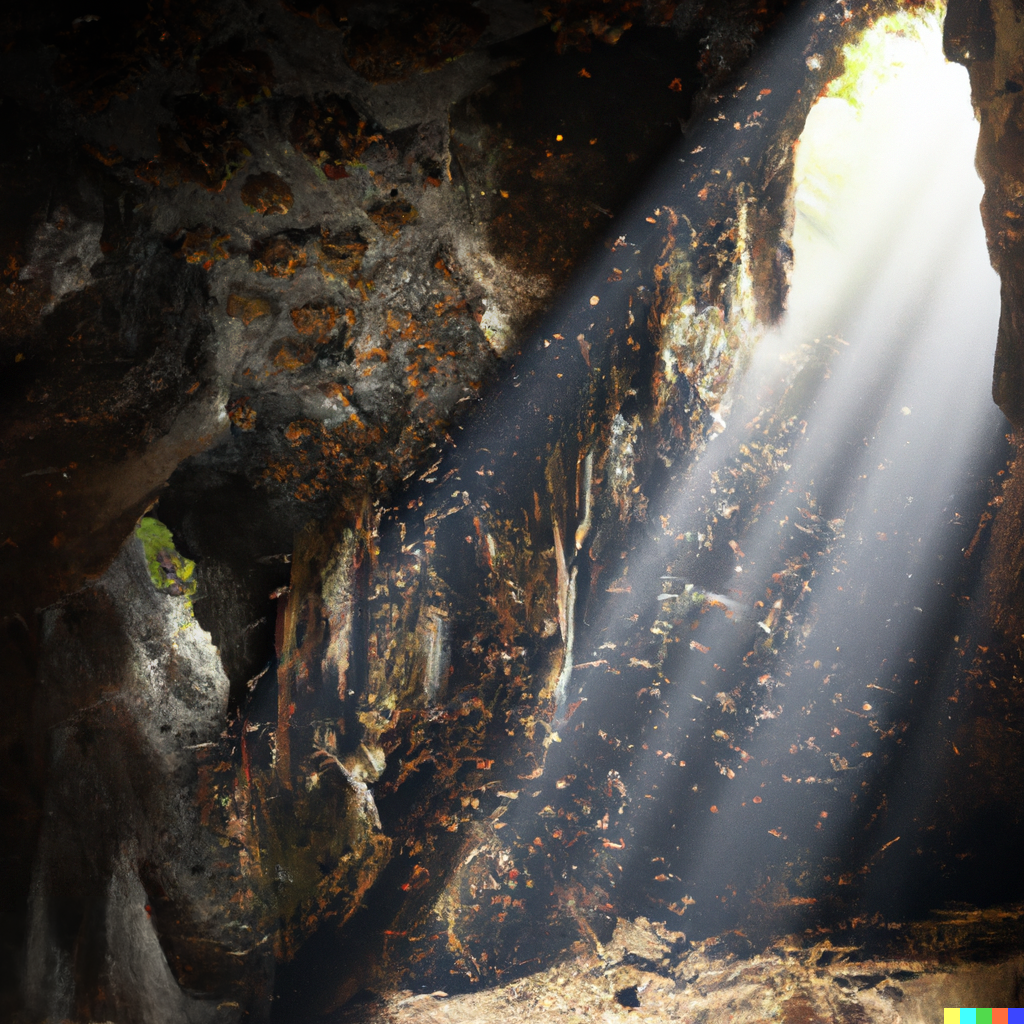
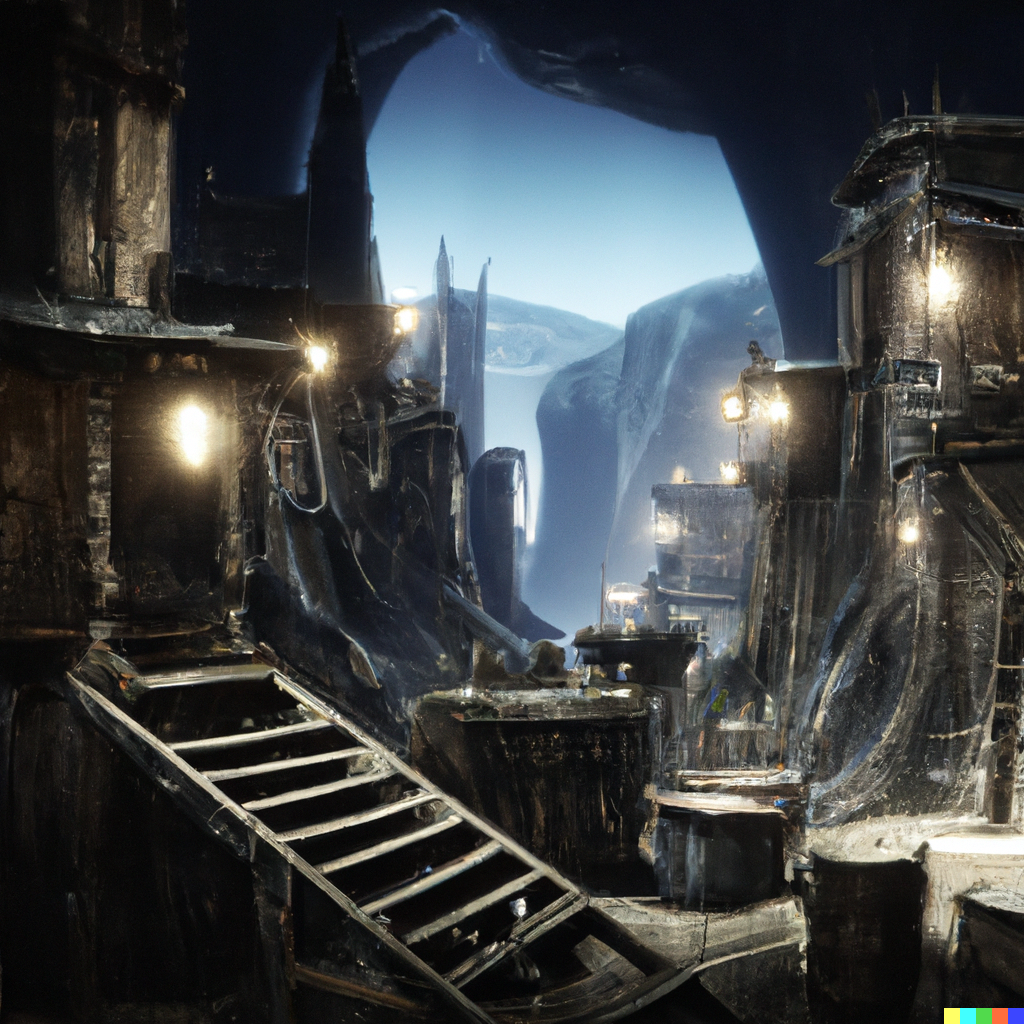
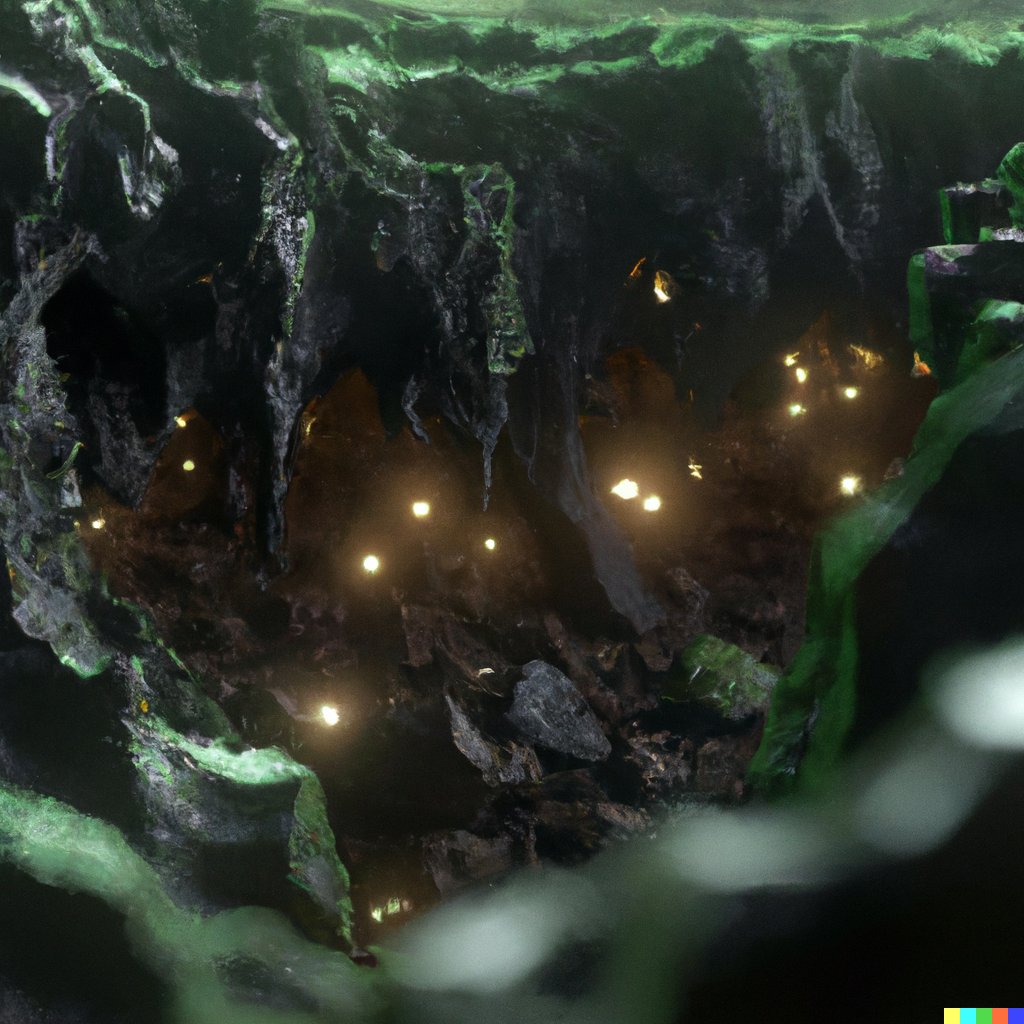
The Gnomish Mines
A branching tunnel out of the dungeons leads to the Gnomish mines. A dimly lit series of caverns have been slowly excavated by the local gnome population. As you venture deeper you will discover the grand underground metropolis of Minetown.
Stocked with shops, temples, and residences, you will find brief refuge and basic supplies.
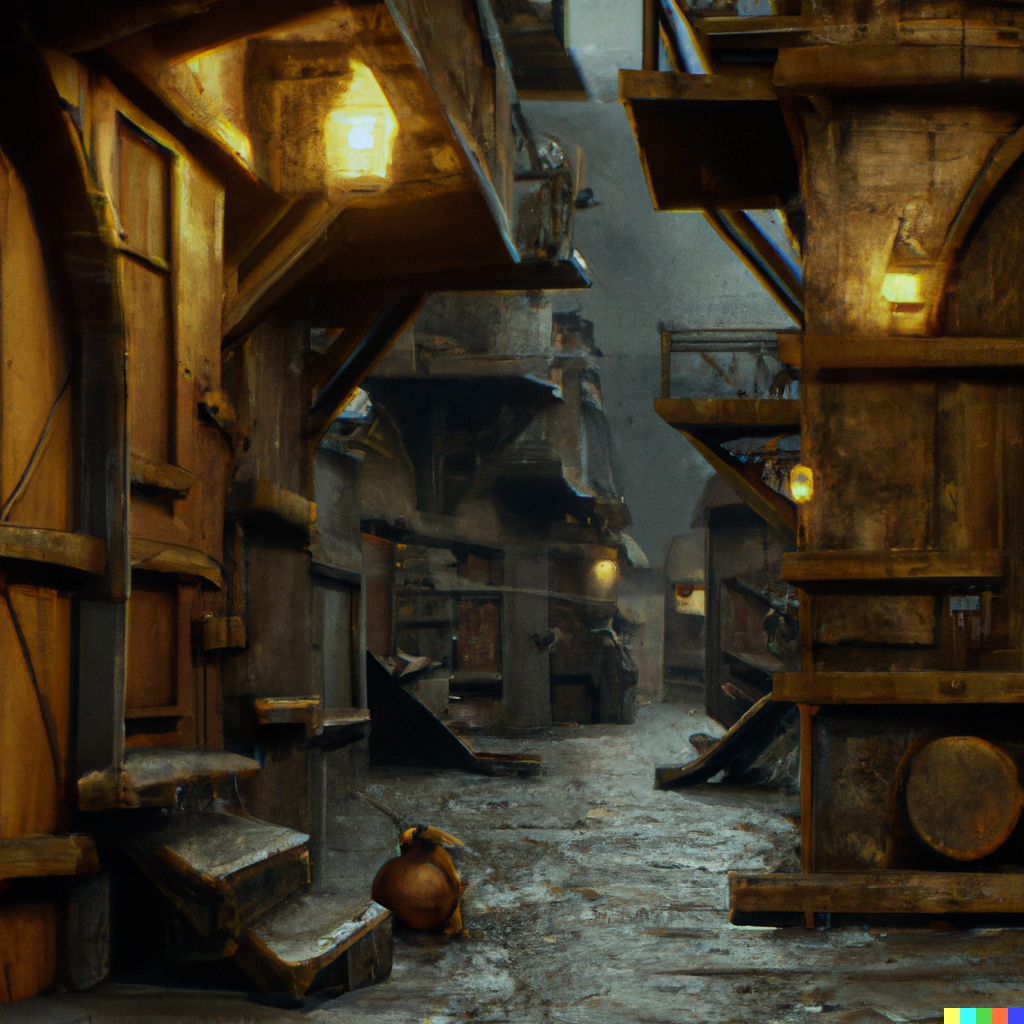
But perhaps the true jewel of Minetown is far deeper beyond the mines. Hidden at Mine's End deep underground the town is a luckstone, a nondescript gray stone that brings fortune upon its carrier. Should you find it, it is a token you will likely carry until the very end.
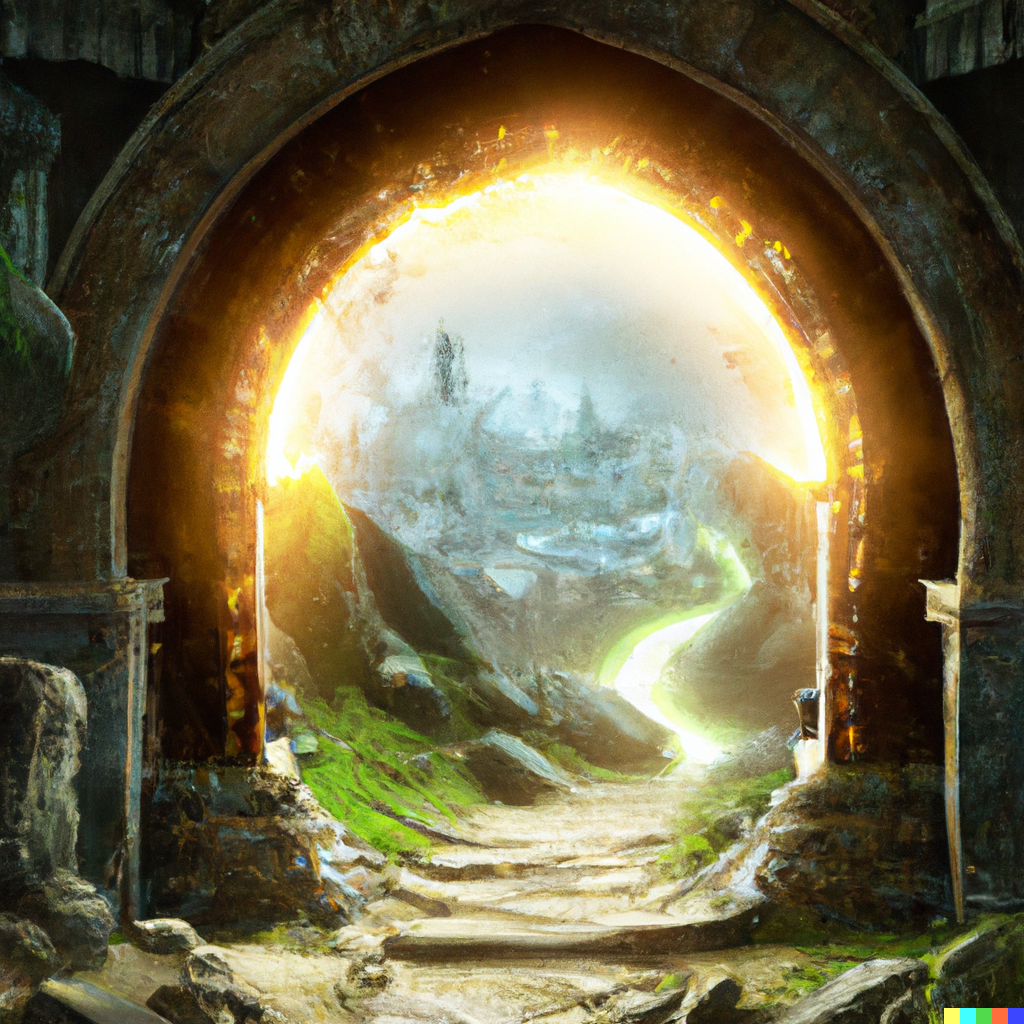
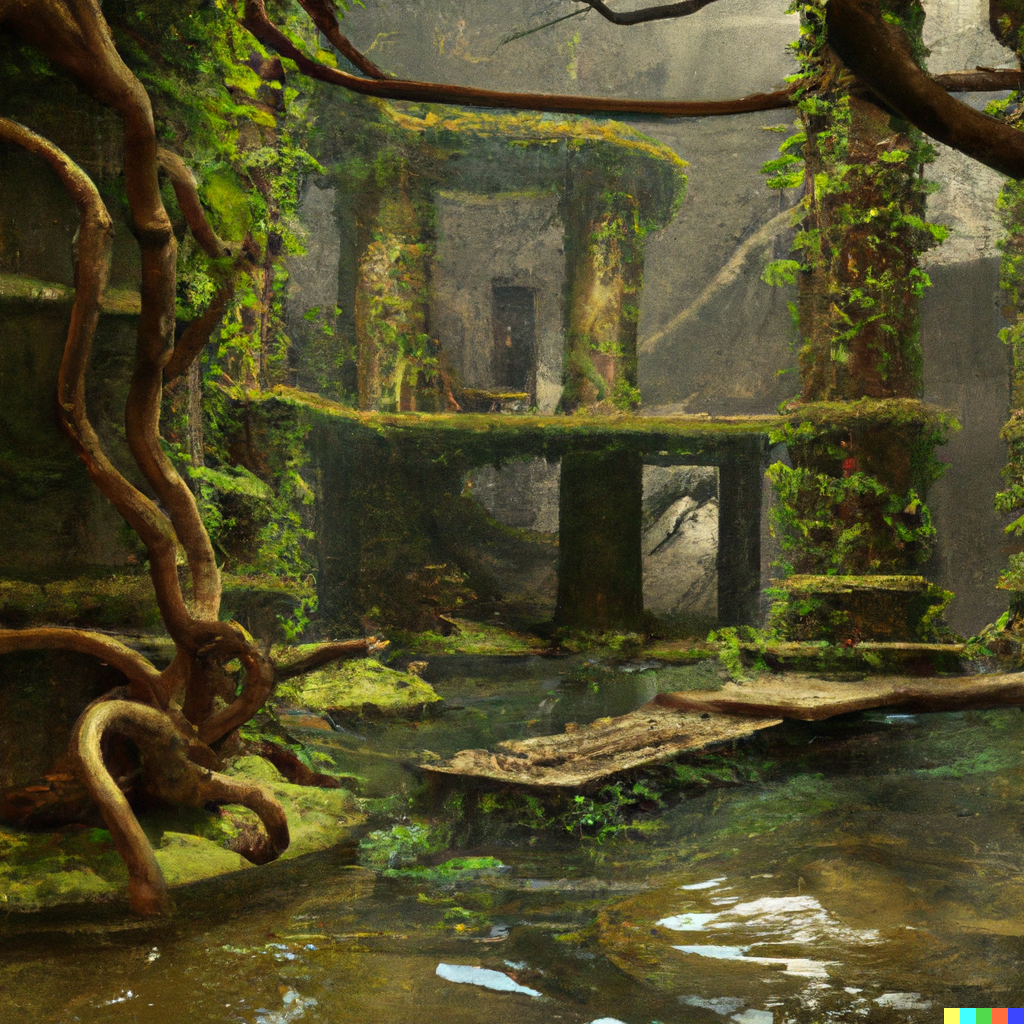
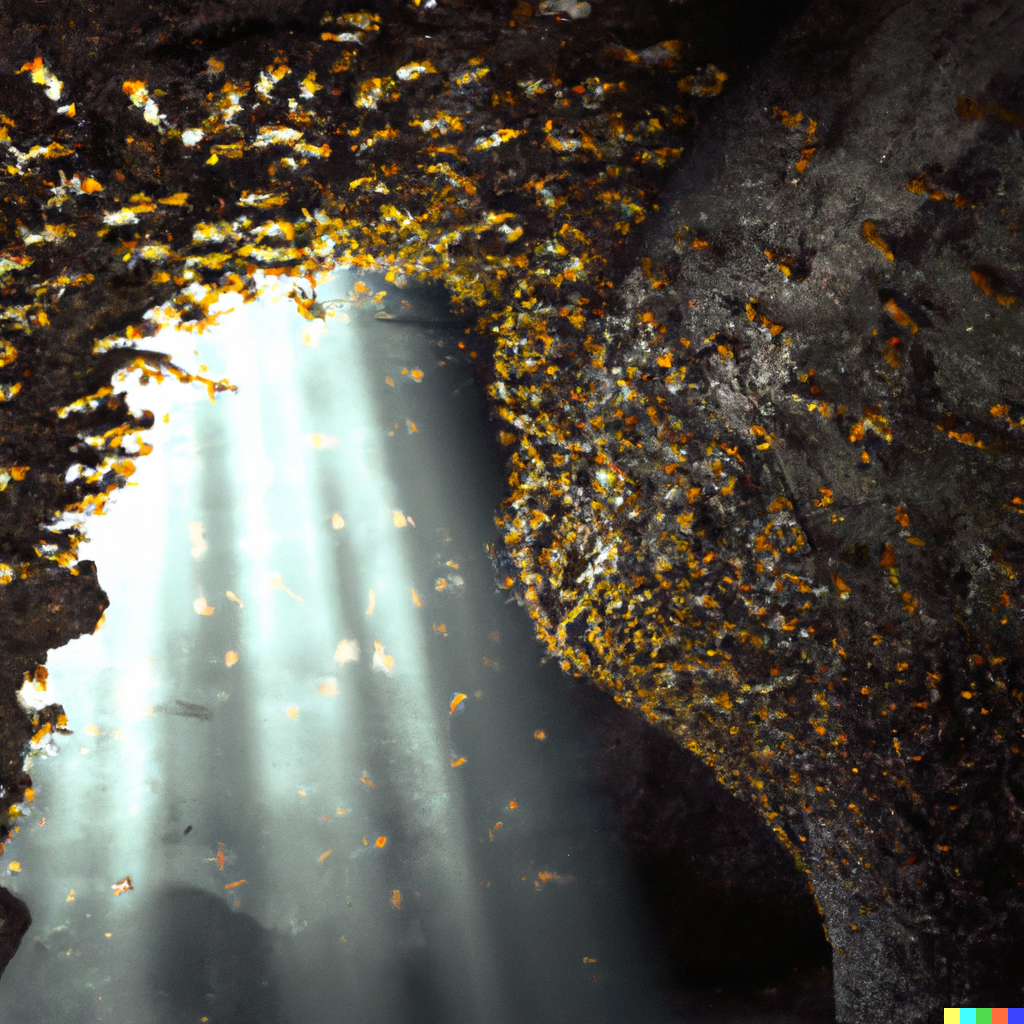
Delphi
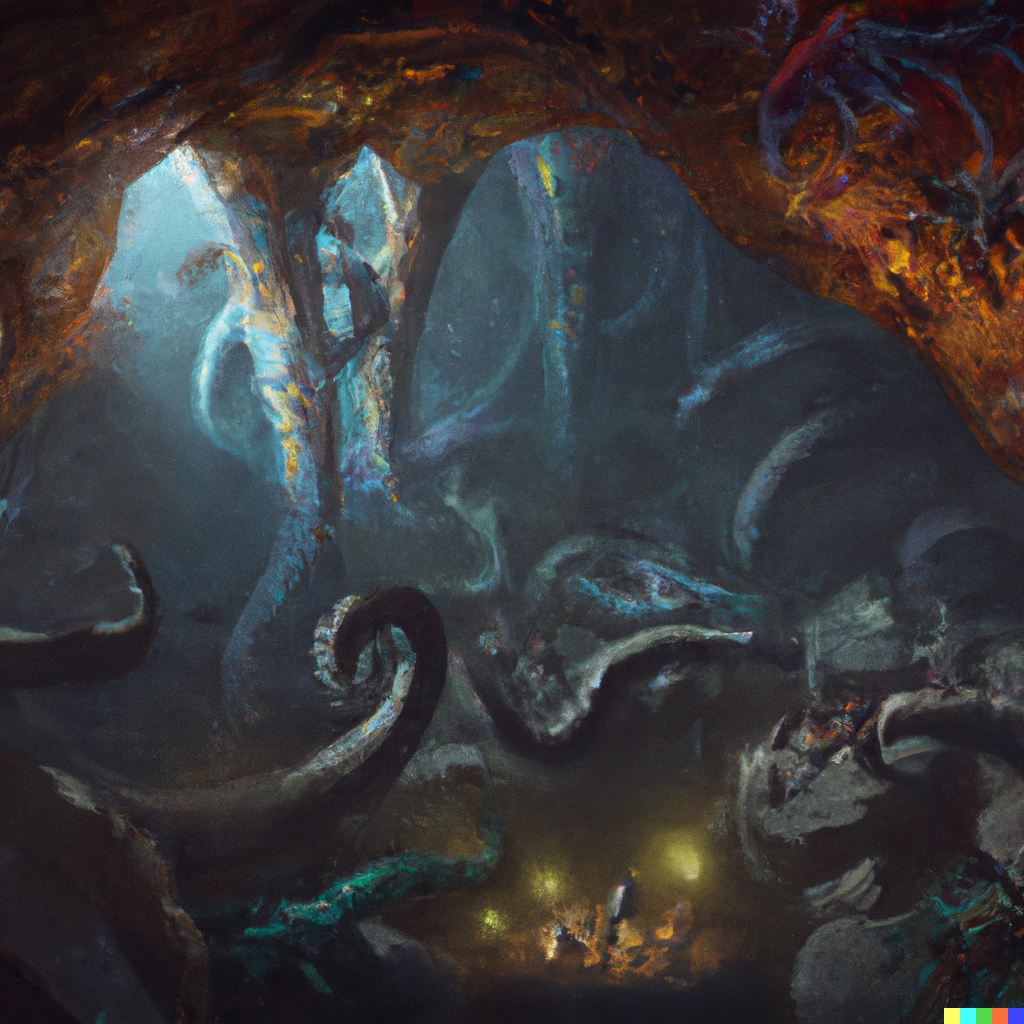
Outside the order of the Gnomish residence, you will delve deeper into the Dungeons of Doom. One of these dungeons are not like the others. It is inhabited by nagas and snakelike creatures. At its center, an oasis amongst the perils of the dungeon, is Delphi.
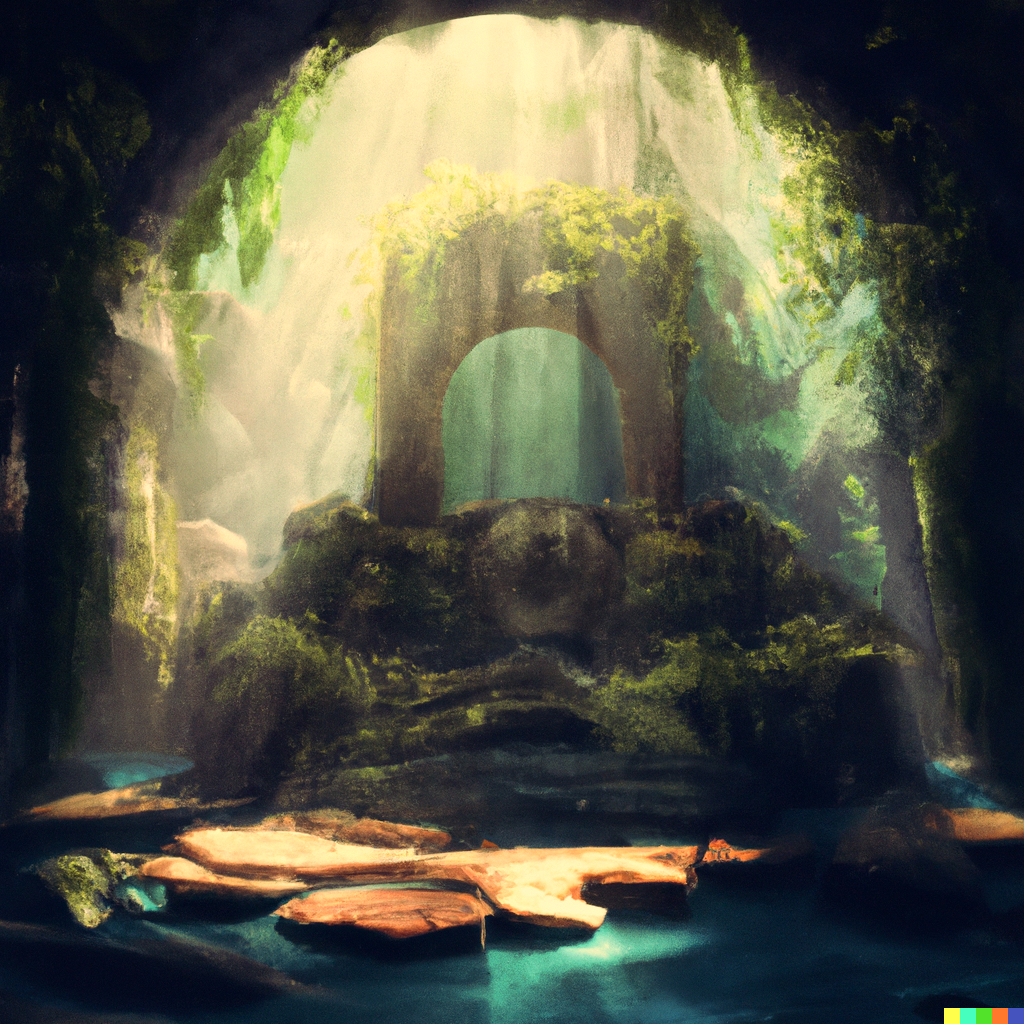
Rays of light, trees, and peaceful fountains surround the Oracle, an ancient and wise being as old as the Internet itself. The Oracle speaks in riddles, and will guide you on your quest for the Amulet of Yendor.
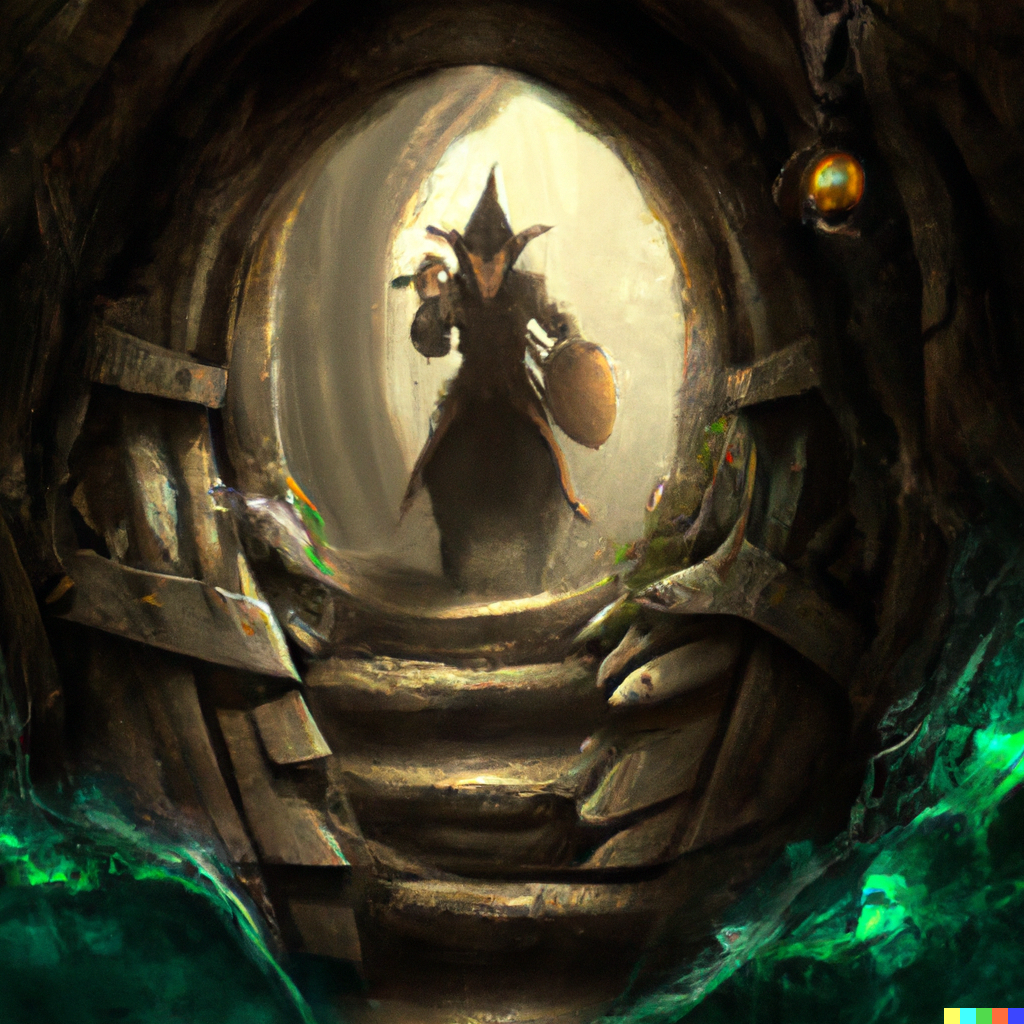
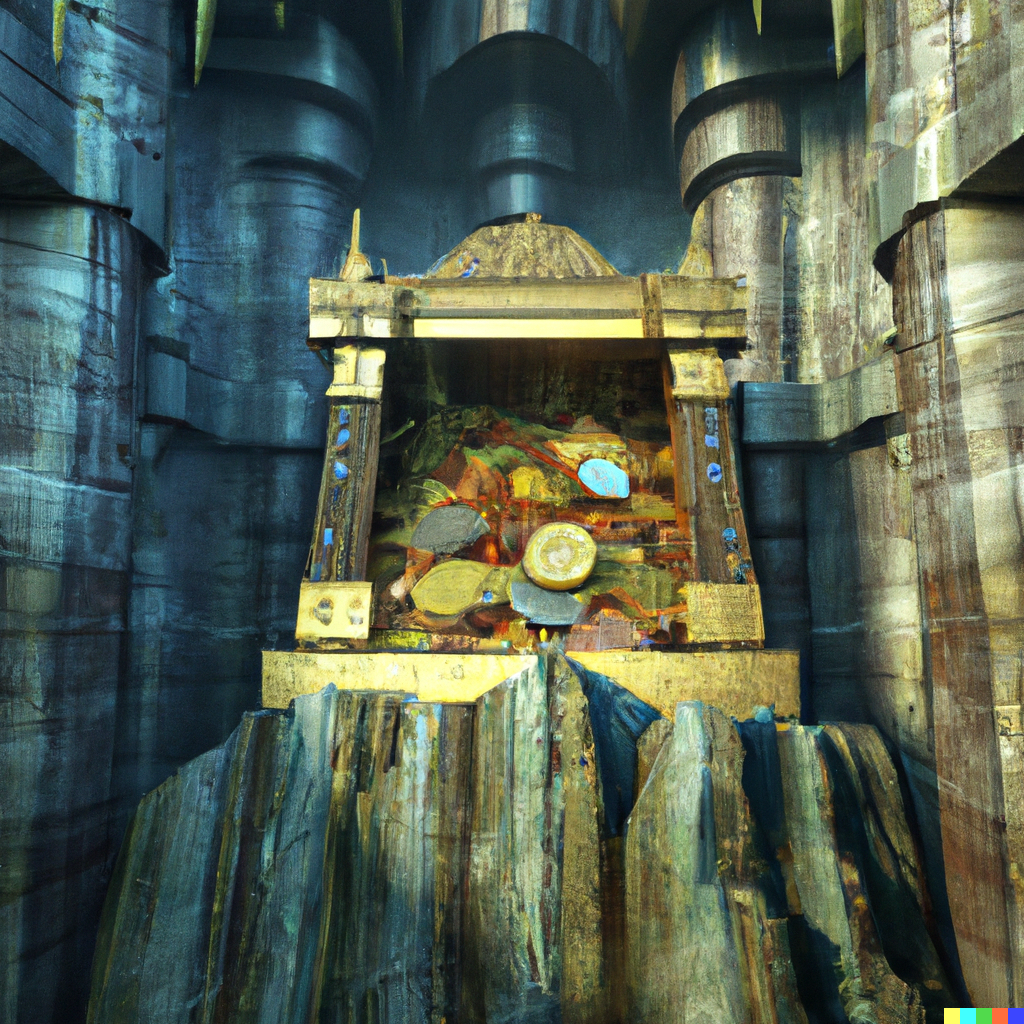
Sokoban
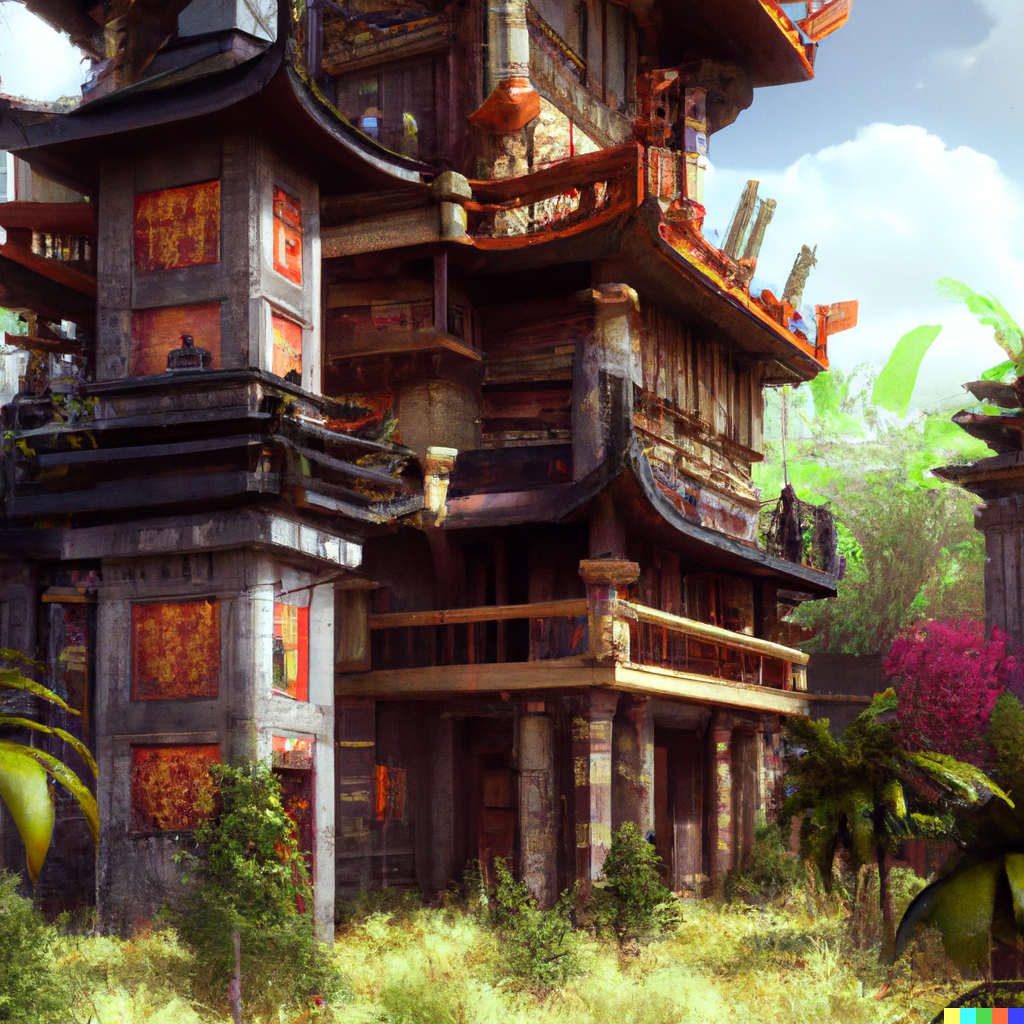
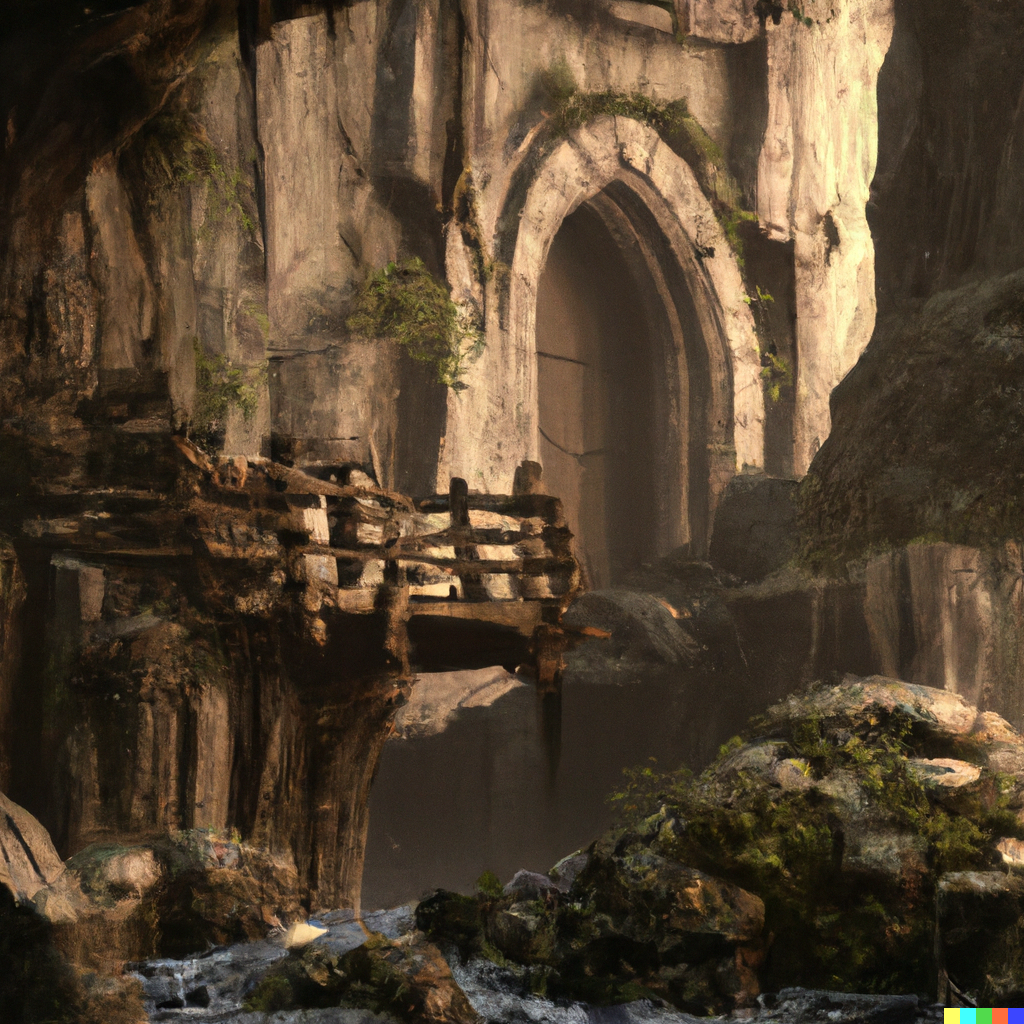
As you descend further, a side tunnel leads into a ruined tower built into the cliffs of the dungeons. This is the tower of Sokoban, a Japanese relic with a menagerie of dangerous creatures guarding a valuable relic at the uppermost level.
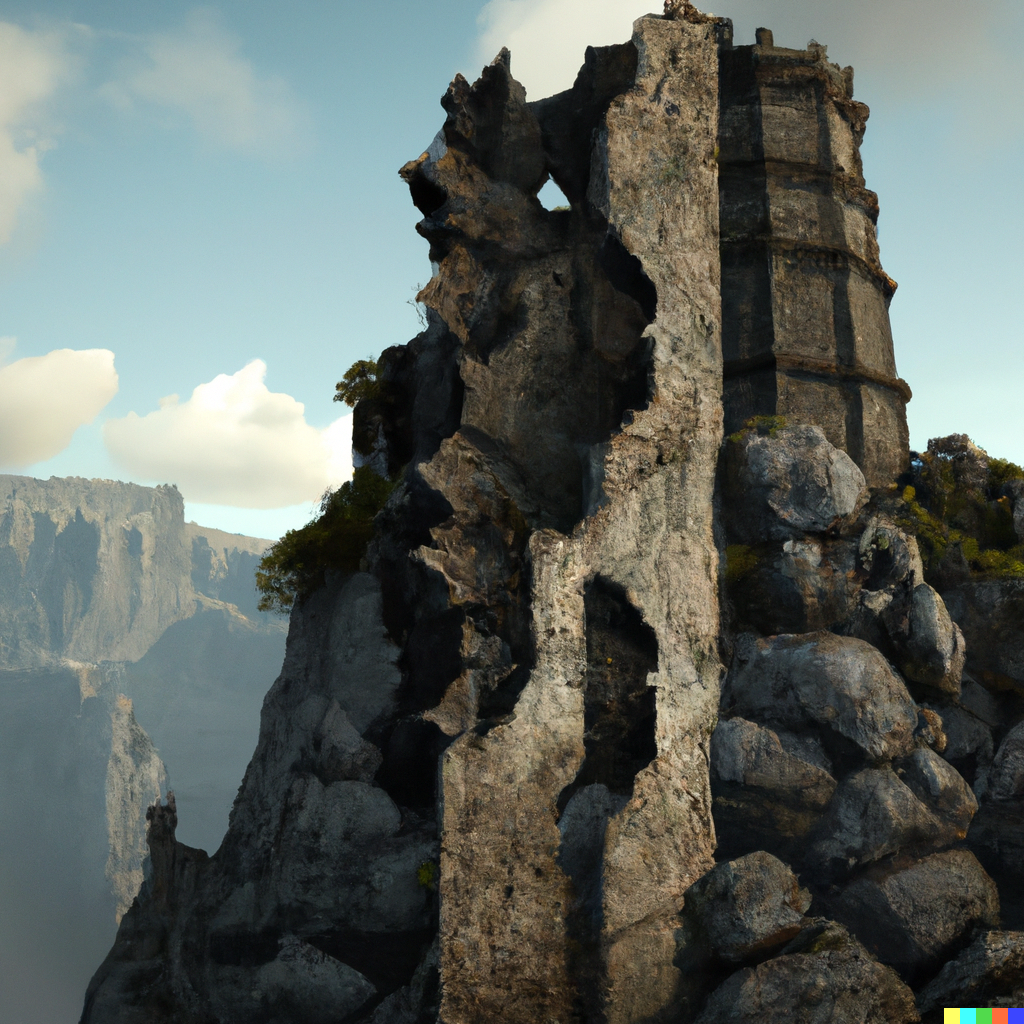
However the passages up the tunnel have long since crumbled away and you now face a impasse at every floor. Sokoban conceals a careful mechanism of balanced boulders to cross the chasms. Should you complete this ancient ritual, you may bridge your way across the tower.
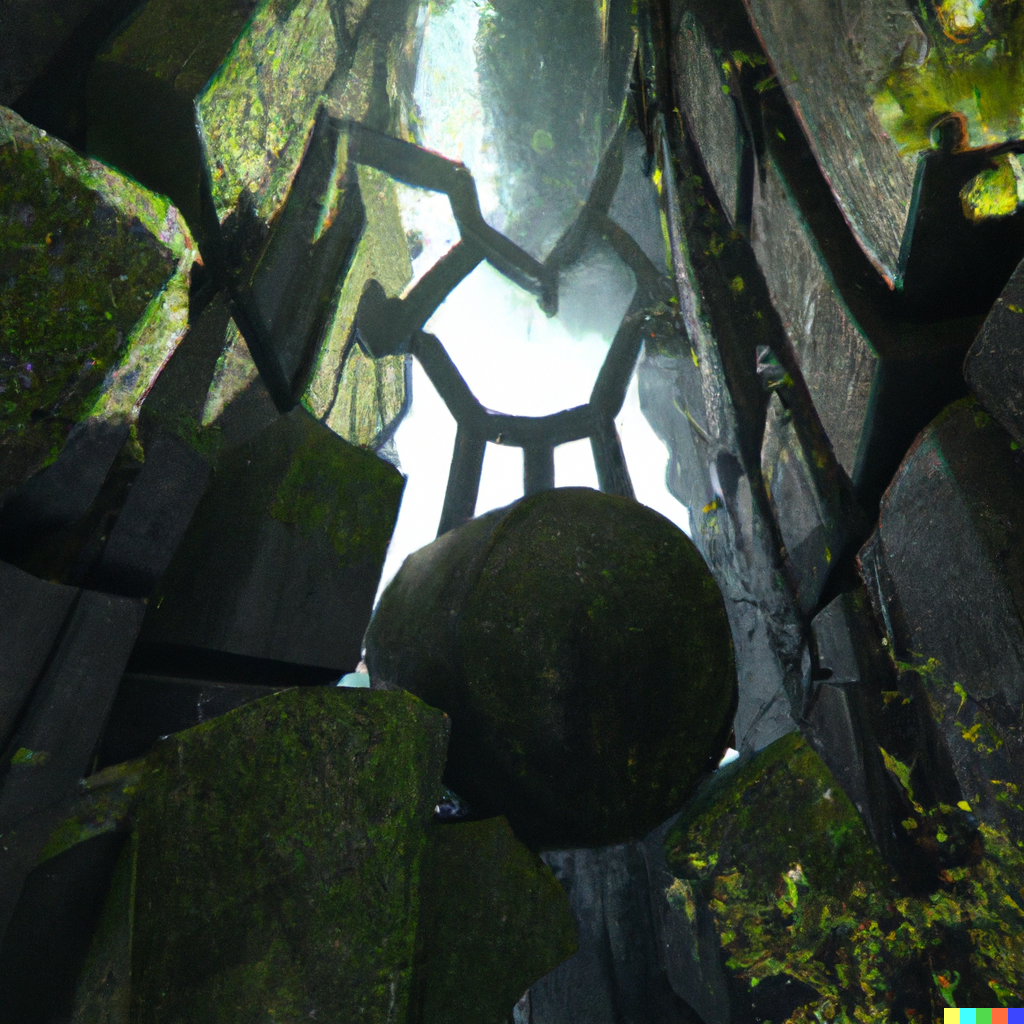
At the uppermost level, you will find your prize. It is not known what that prize may be, but it is an object embued with an enchantment to prepare you for the next stage of the game.

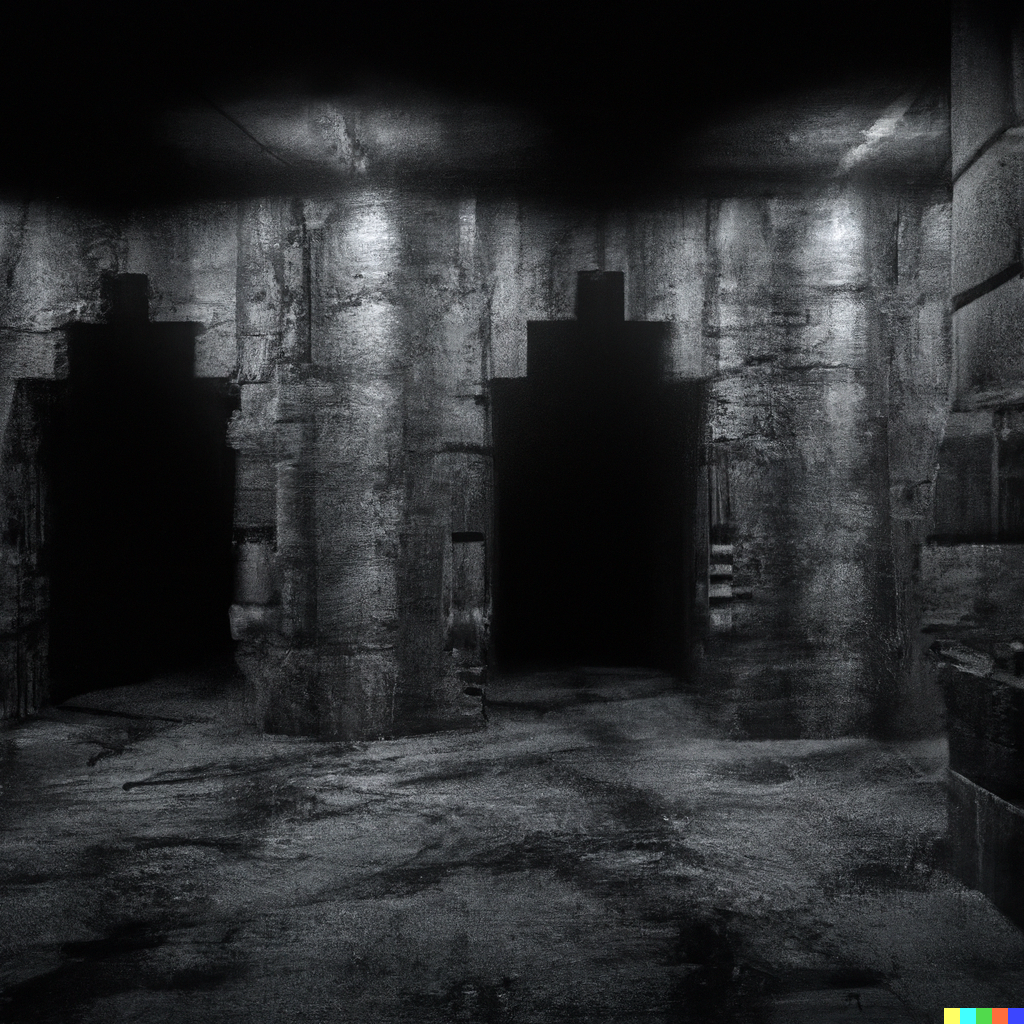
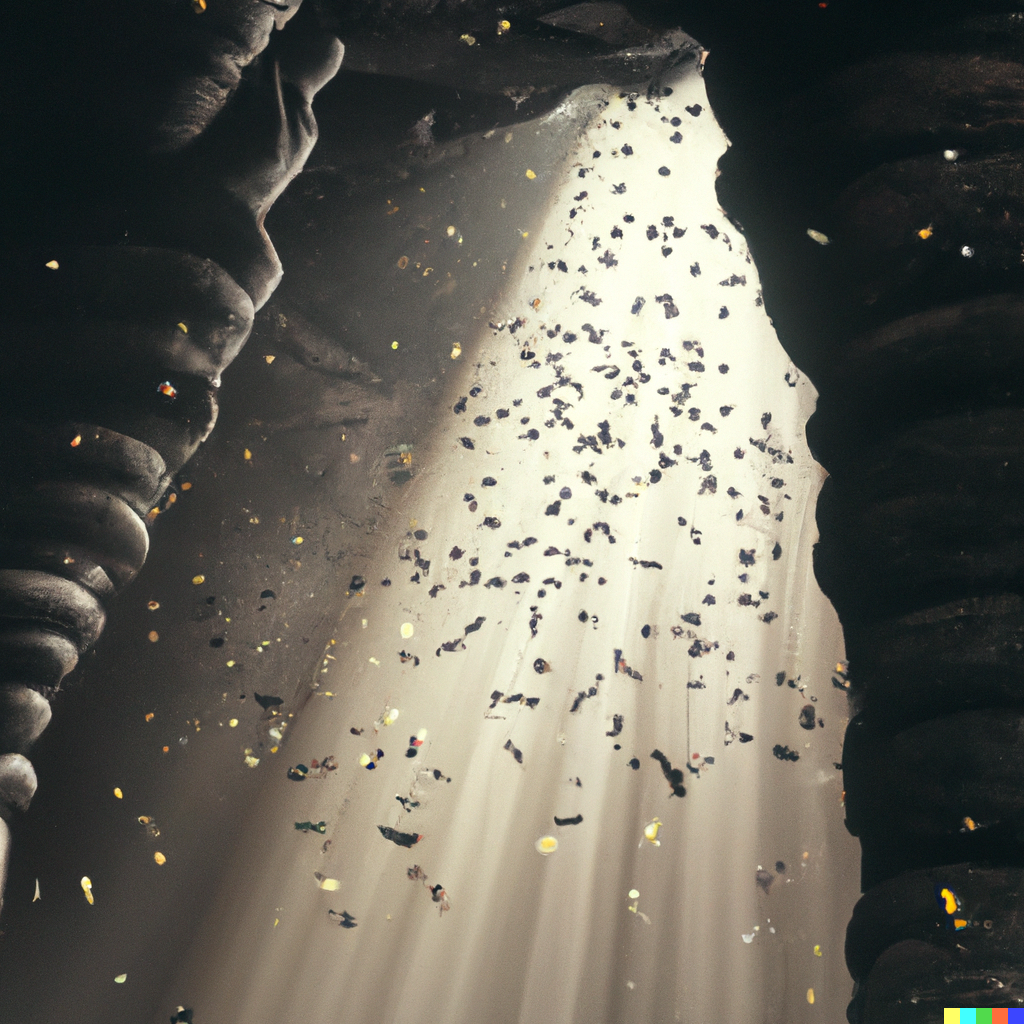
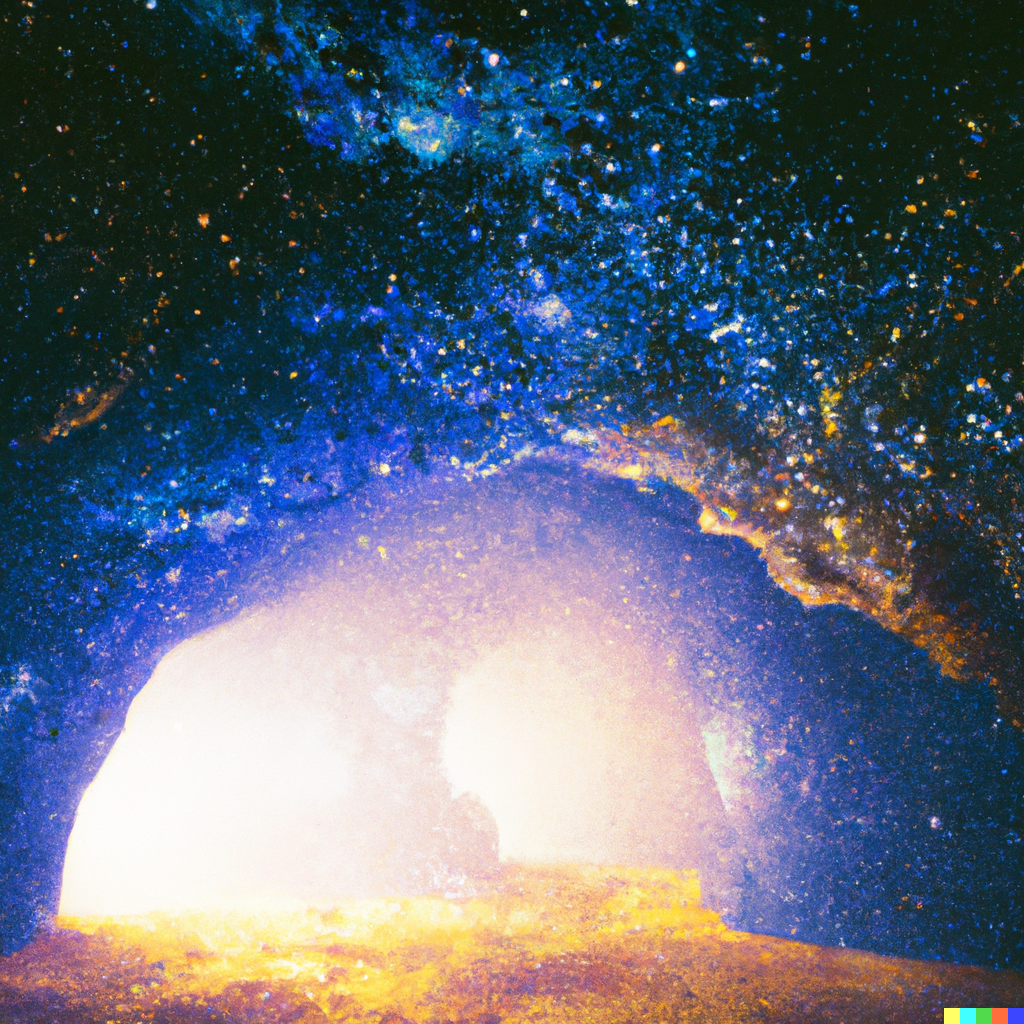
The Big Room
The Big Room, an homage to Carlsbad Caverns' largest cave chamber in North America by volume, is the threshold between the early game and mid game.
The twisted and narrow passageways of the dungeon give way to a huge cavernous space. An assortment of monsters have made this their territory, and dwelling too long may find yourself surrounded by creatures.
Here you will be put to the test of the early stage: can you truly survive in the dungeons of doom? Are you fit to explore further?
Mid game
The aim of the mid game is to gather resources. The heist may be performed with a variety of equipment, and it is your job to identify what's available and combine them with the spoils of the early game to make sure you are suitably equipped for the perils that lay ahead.
Rogue
As you step into the dungeon, you enter an older, more primitive world. This is Rogue.
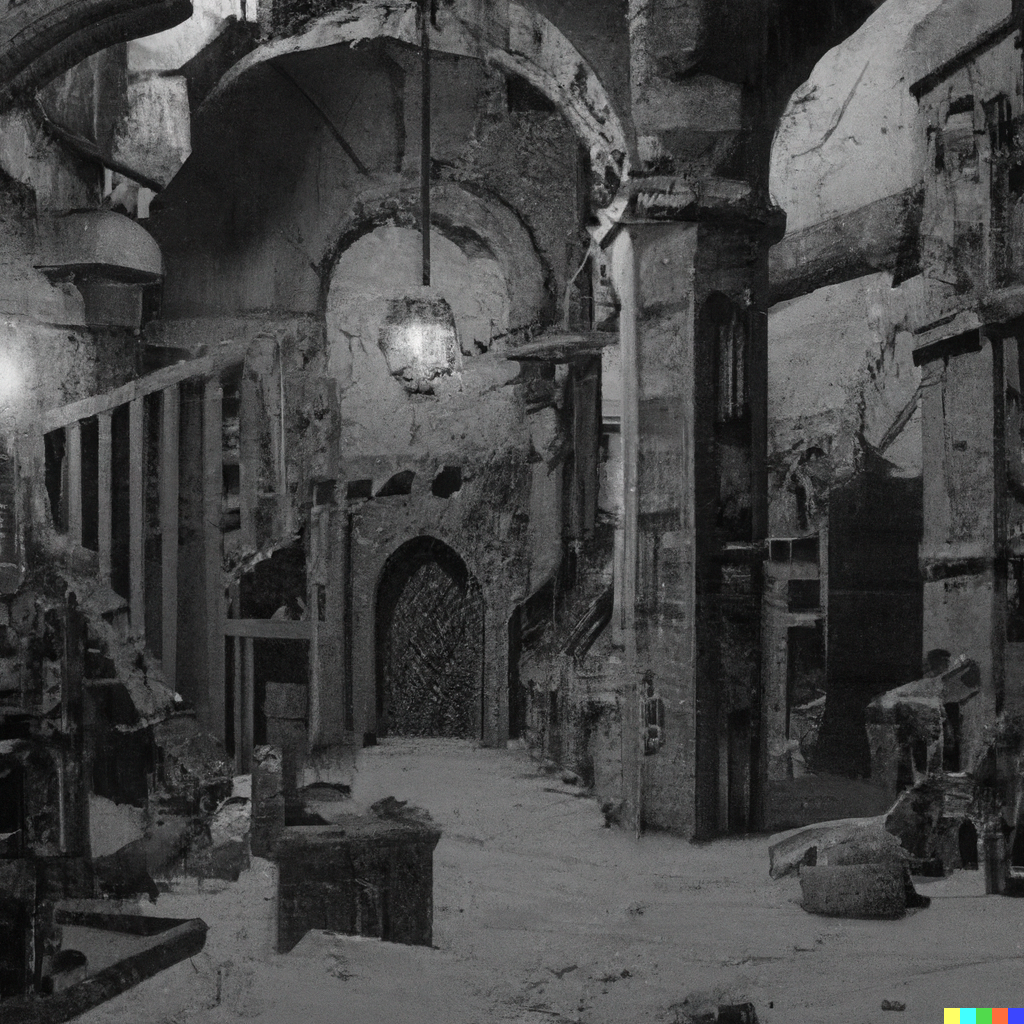
NetHack was first released in 1987. But NetHack didn't start in 1987, it was a successor to the open-source game Hack in 1984, developed and distributed on Usenet (hence the name NetHack).
Hack was itself a clone of the closed source game Rogue, released in 1980 that would soon inspire an entire genre of gaming, which would then inspire many modern games to come.
The dungeons here replicate the original Rogue, without colour, using the same symbols and rules that the original game would play, as a modern tribute to the origins of the dungeons that you now crawl.
Quest
Beyond Rogue, you will receive a telepathic message from your ancient leader. Who this leader is will depend on your role, a knight may be approached by King Arthur himself, whereas a healer may be summoned by Hippocrates.
Your homeland and your peers are plagued with a problem. Like your leader, the problem differs from role to role and it is your responsibility to discover what evil has befallen.
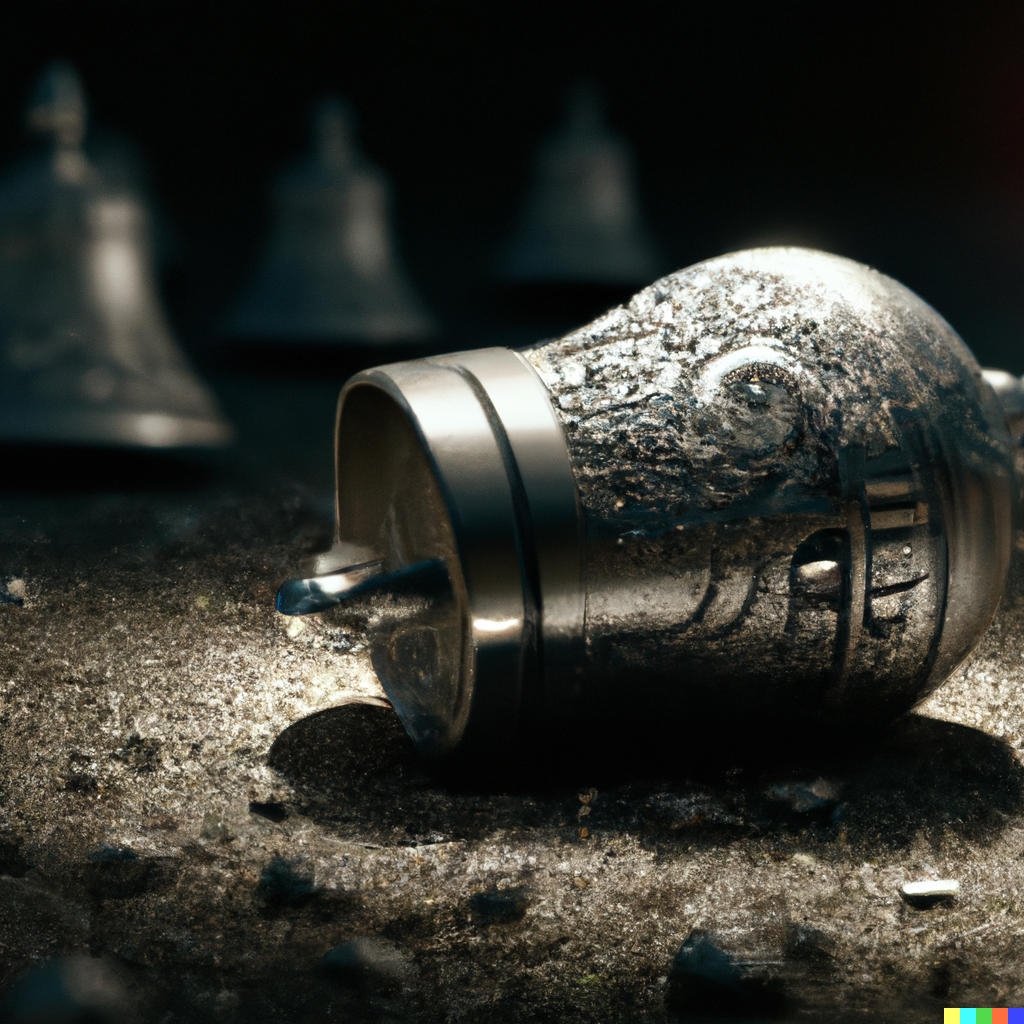
The Quest is a great journey upon which all seekers of the Amulet must embark. The two adventures have become entwined, and it is said that the nemesis has an ancient artifact within their possession, critical to the success of your mission. This is a small silver bell, its powers yet to be revealed.
Your homeland itself varies from role to role, where the portal takes you, we cannot say.

Valkyries are brought back to the bitter cold, snow, and icy mountains. The Shrine of Destiny is found there, where your leader, the Norn, awaits you.
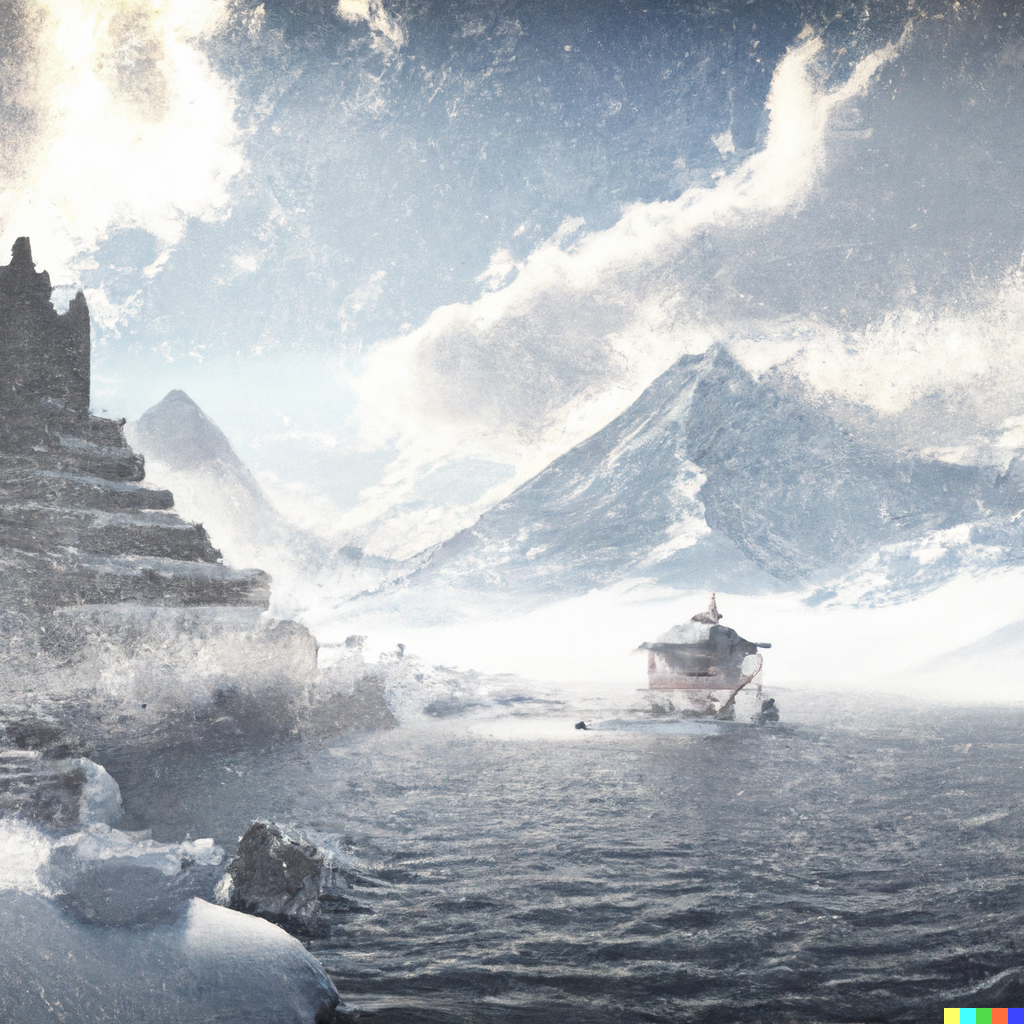
Lord Surtur has taken the Orb of Fate and is unleashing Ragnarok. In places, the snow and ice have been melted into steaming pools of water. Fumaroles and pools of bubbling lava surround your homeland.

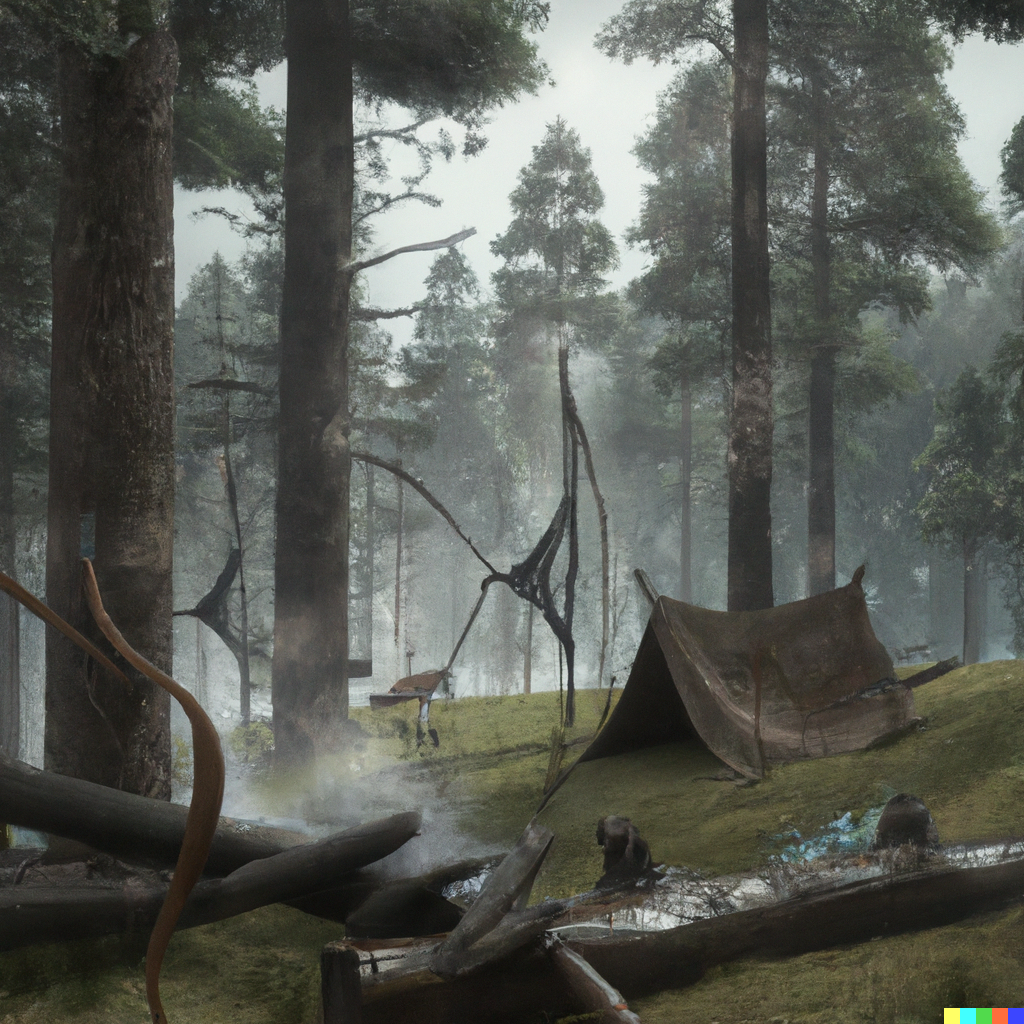
A ranger will find themselves in an ancient forest grove. A herd of centaurs are led by Orion, your leader.
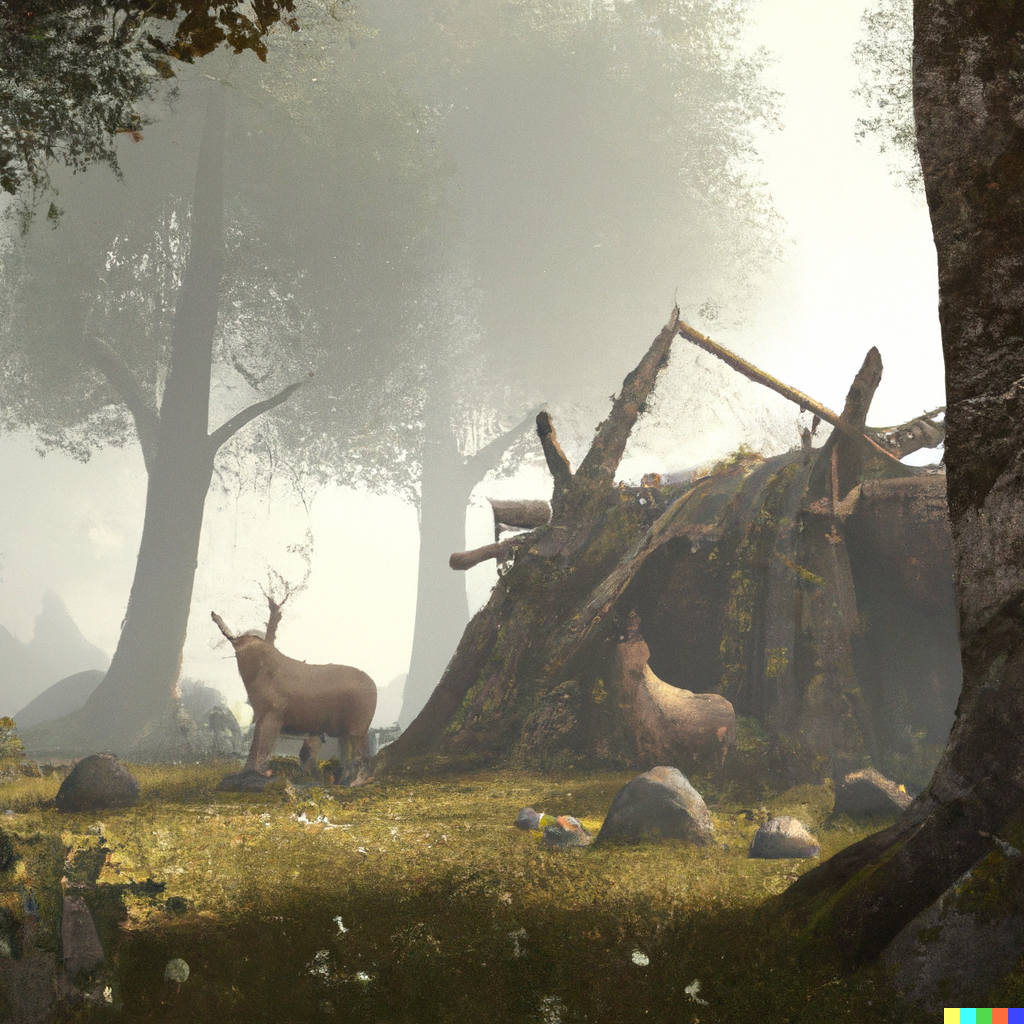
In the caves of wumpus under the camp, Scorpius has stolen the Longbow of Diana.
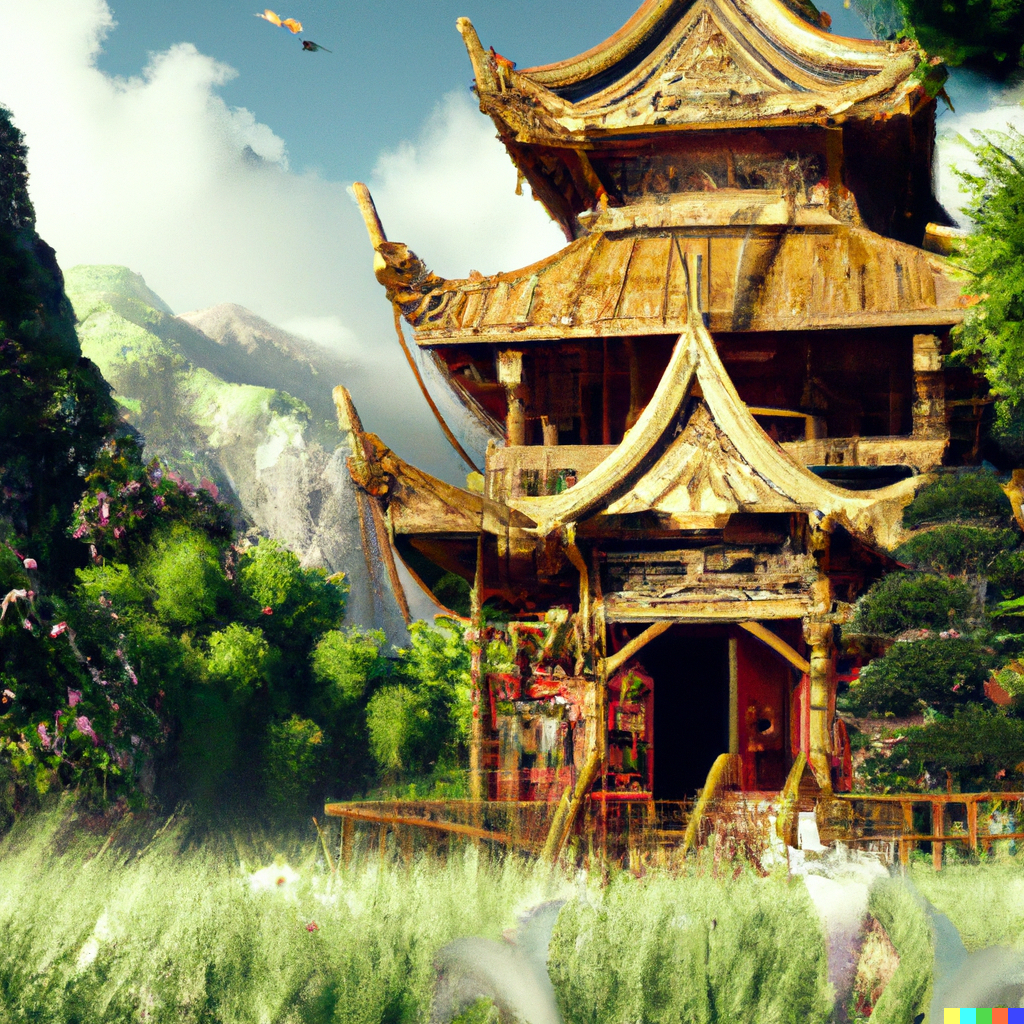
A monk will return to the Monastery of Chan-Sune and will meet your former teacher, the Grand Master.
Despite the peaceful appearances, Earth Elementals are rising and slaying the students. You will travel to the Monastery of the Earth-Lord to fight their leader.
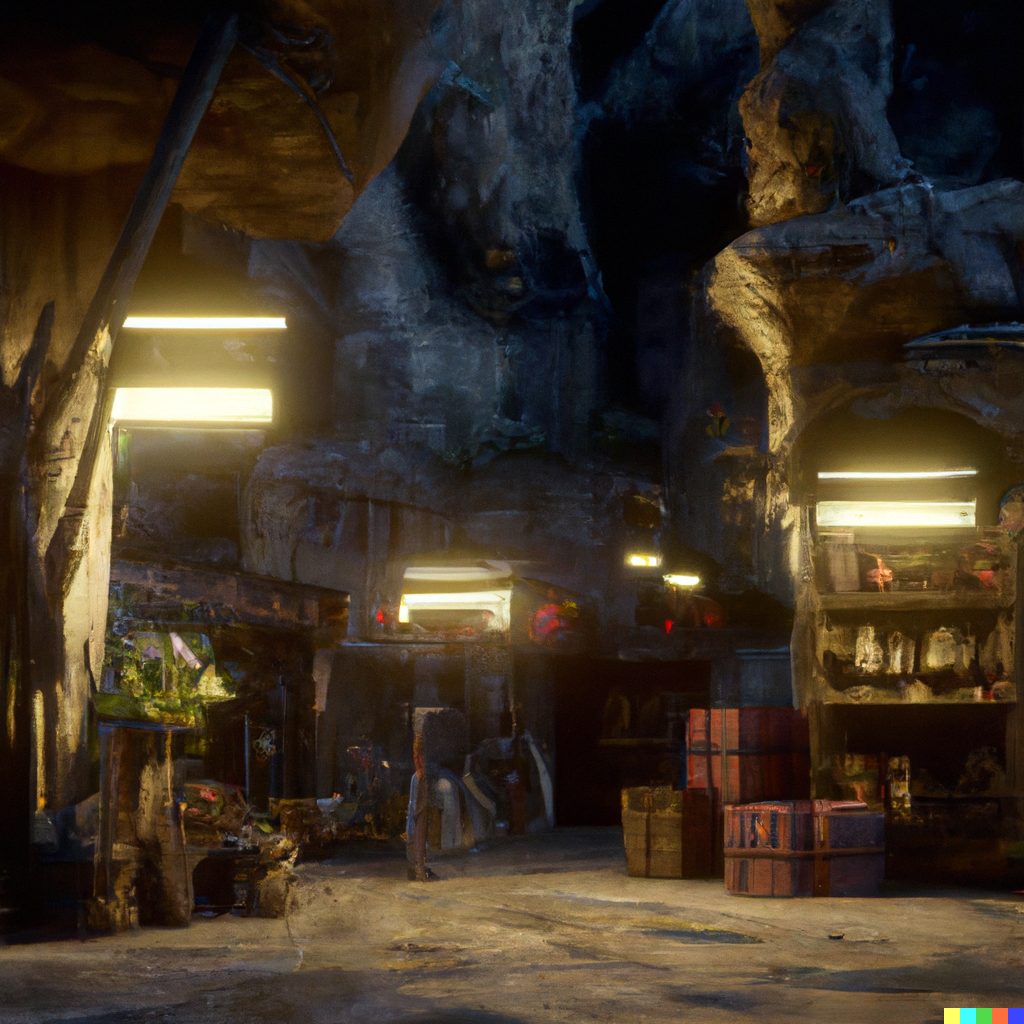
Fort Ludios
Deeper in the dungeon past your Quest, you may or may not stumble upon a secret stash of gold, jewels, and treasures.
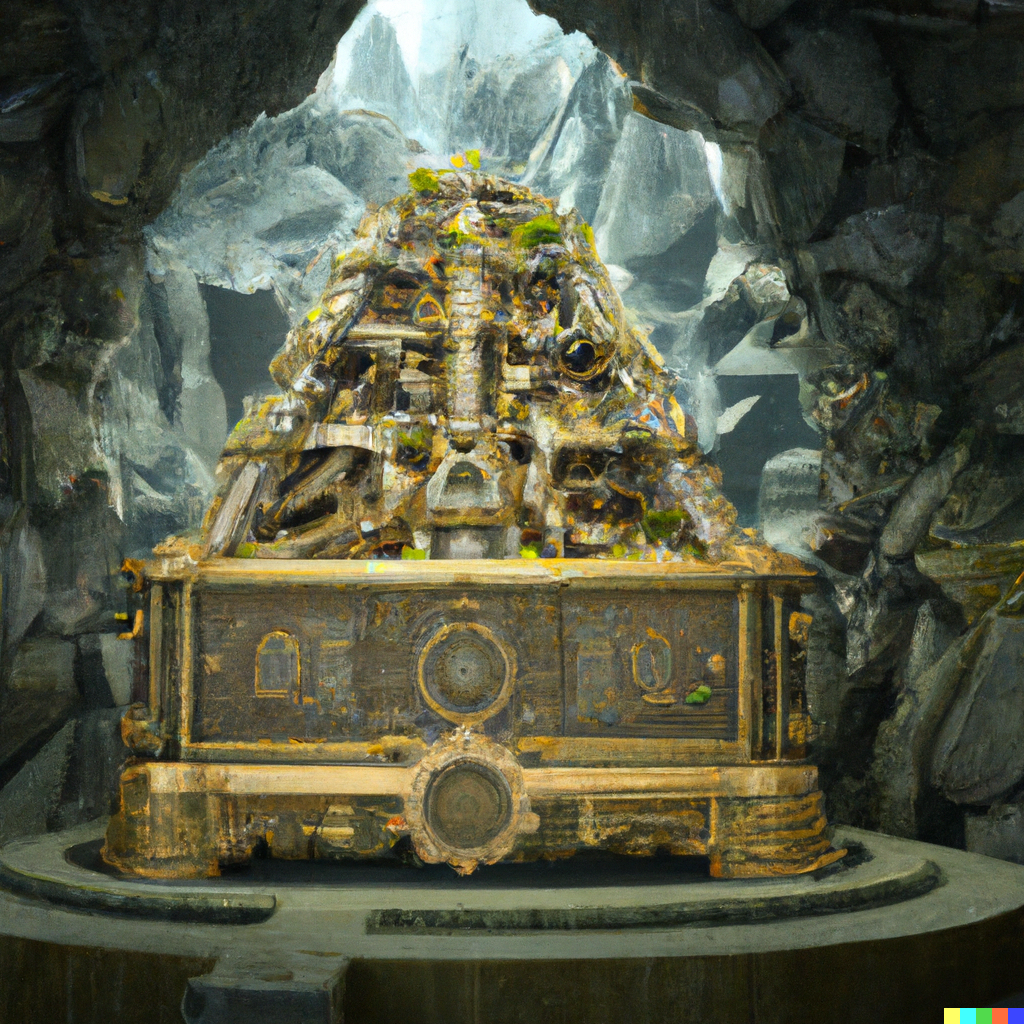
The location of this treasure is unknown. It is one of many hidden vaults containing riches interspersed throughout the dungeons and guarded by otherworldly soldiers.
But this vault is not like the others, for it contains a magic portal to Fort Ludios itself.
Fort Ludios, a fabled land of riches is ruled by King Croesus. It is the Fort Knox of the dungeons, housing gold beyond measure.

Guarded by dragons and the armies of Croesus himself, it offers enough gold to pay for all the spoils in the dungeon, but be warned that your mission to recover the Amulet of Yendor is not earned through money.

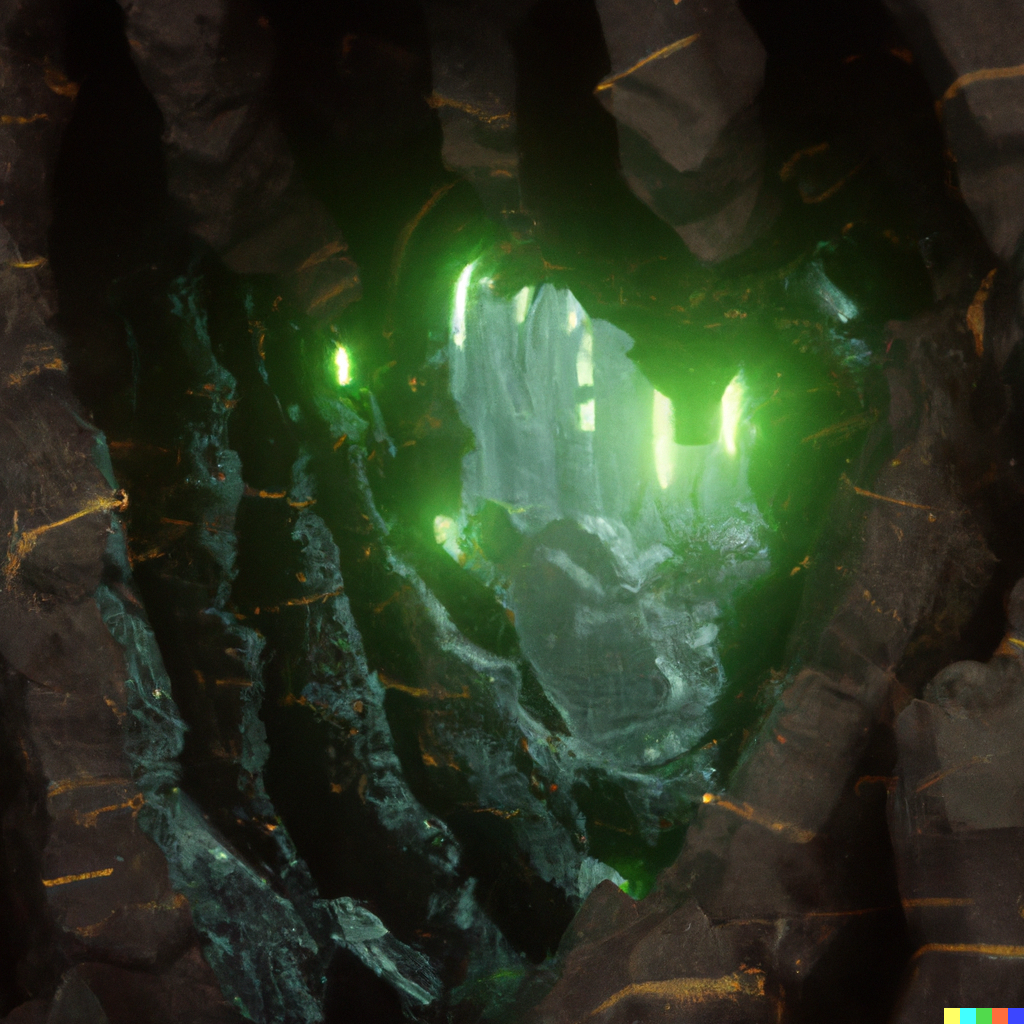
Medusa's Island
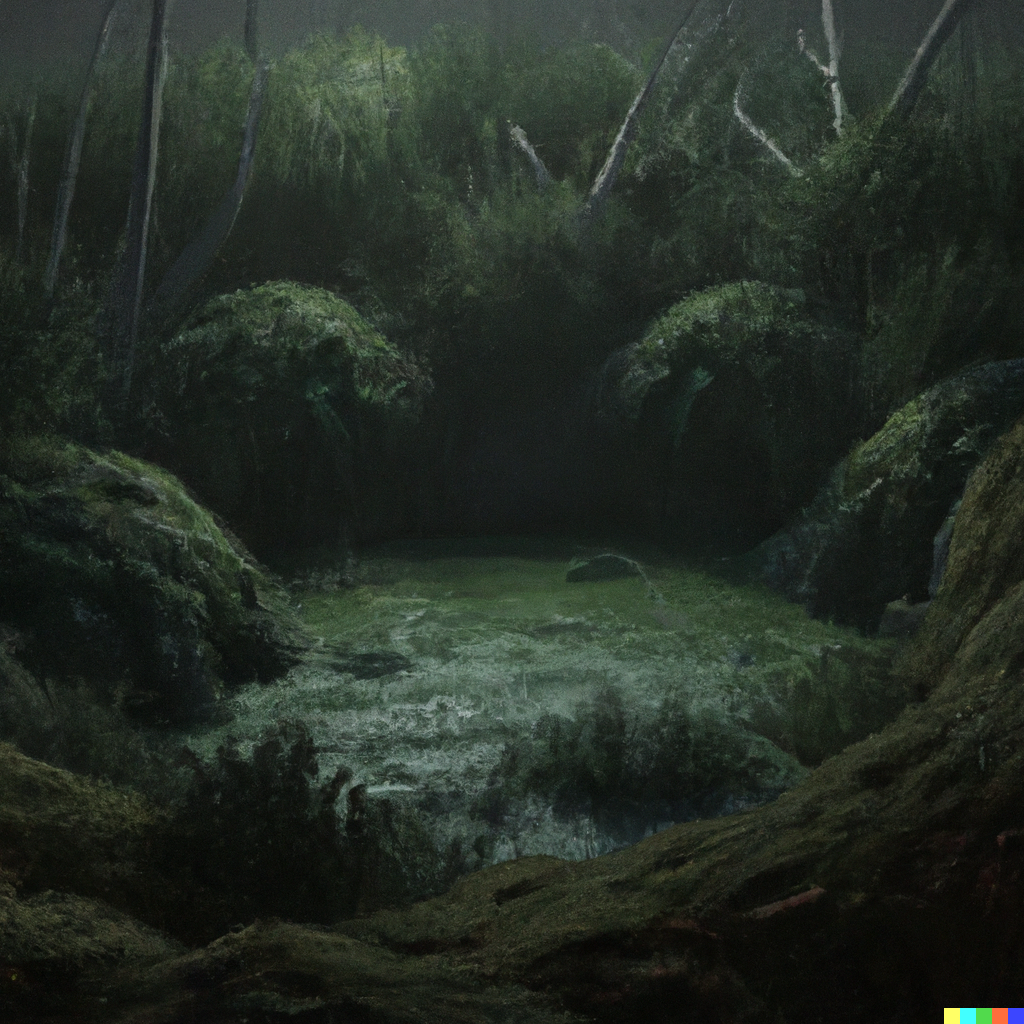
As you descend further, the magical nature of the dungeons reveal that you are not merely going deeper into the world, you are traveling through realms and time. You find yourself at the edge of a swamp, the home of the gorgon Medusa.
Perseus has failed, and it is now your turn. Somewhere across the swamp is her island, where stone crumbles to sand. You must face her and prevail, or be turned to stone.
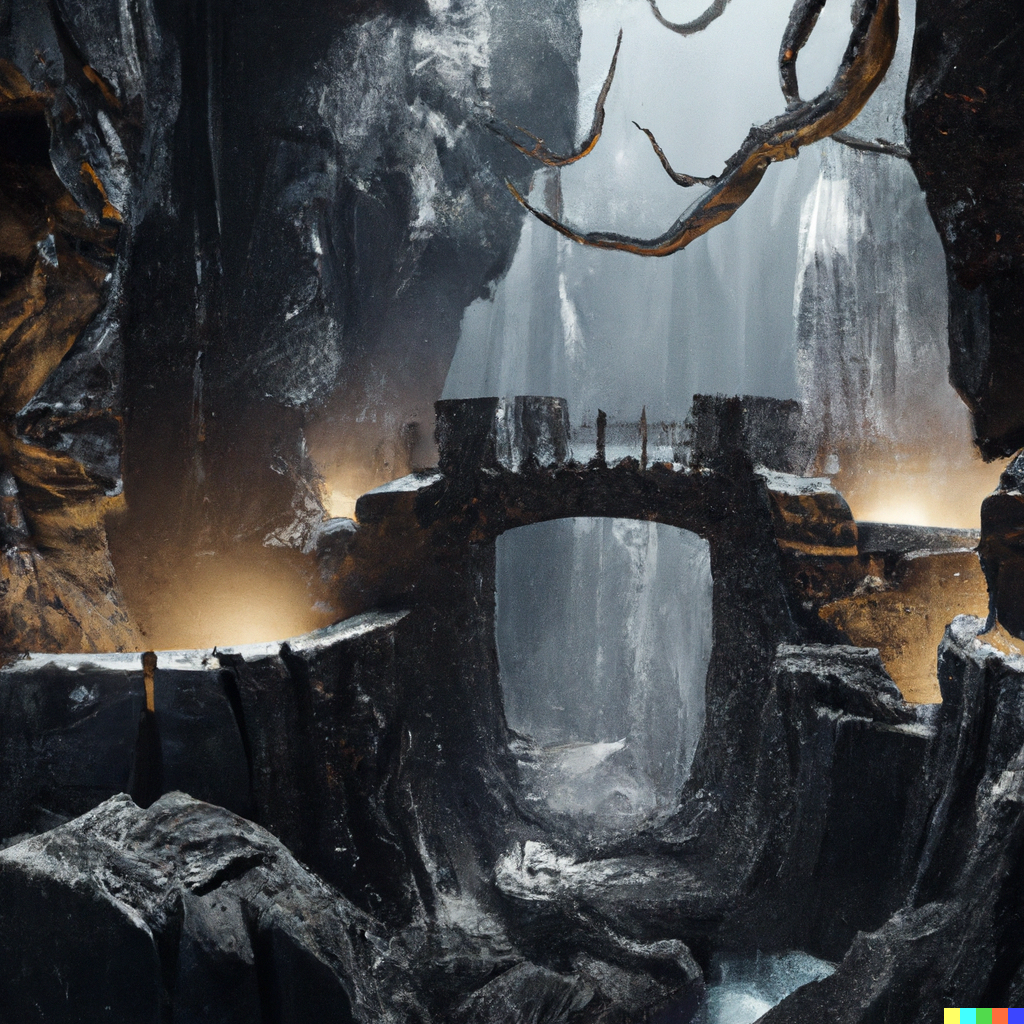
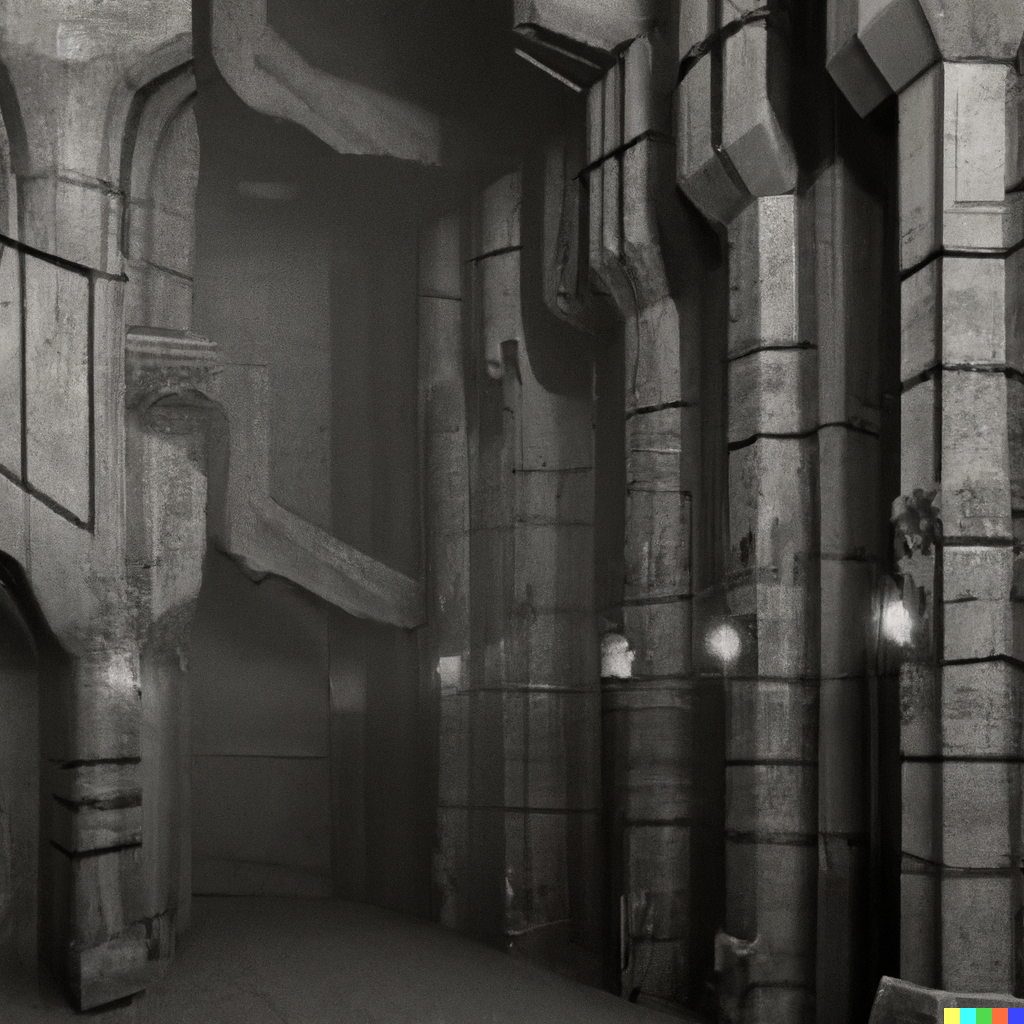
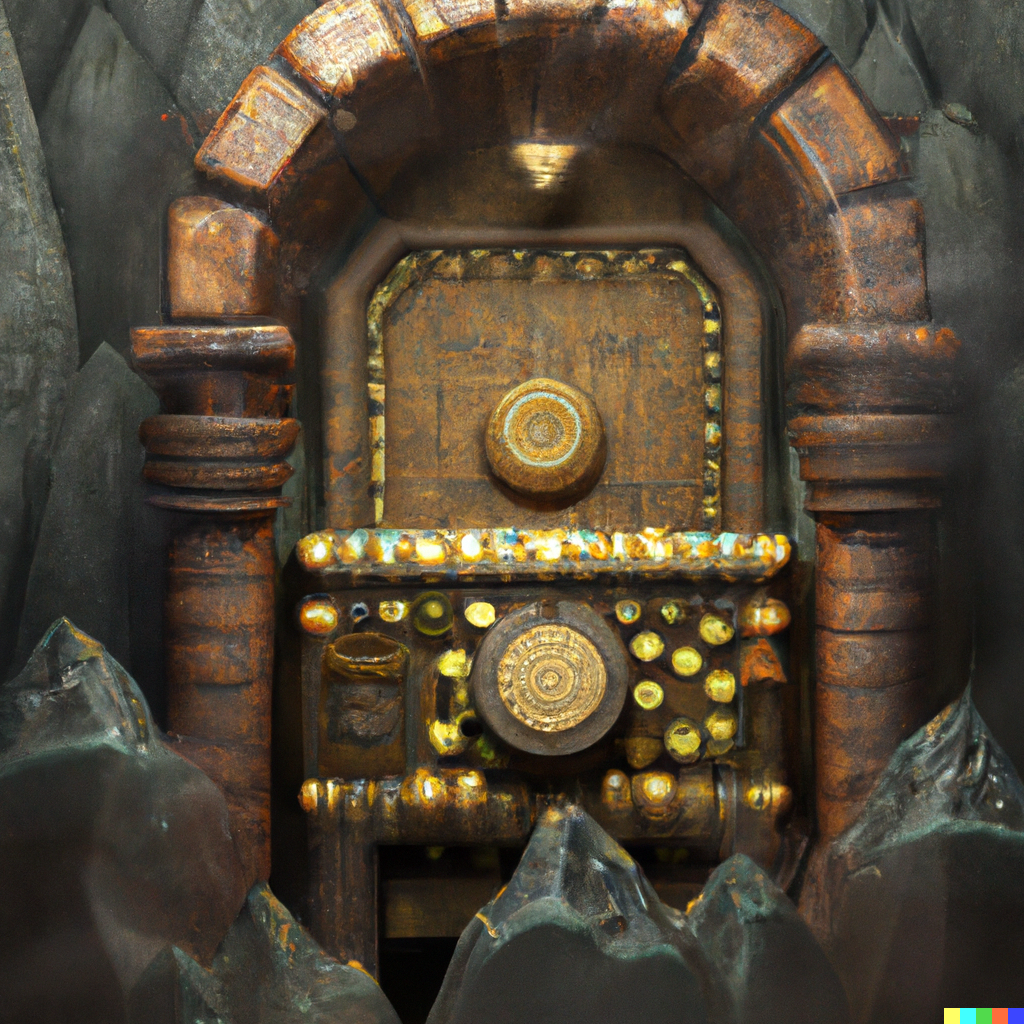
The Castle
Medusa is the guardian of the foolish mortals who seek the Amulet below. Below Medusa, the dungeons are no longer dungeons, the stone itself warps and twists until you find yourself at an ancient citadel, representing the last bastion of mortal resistance against the netherworld.
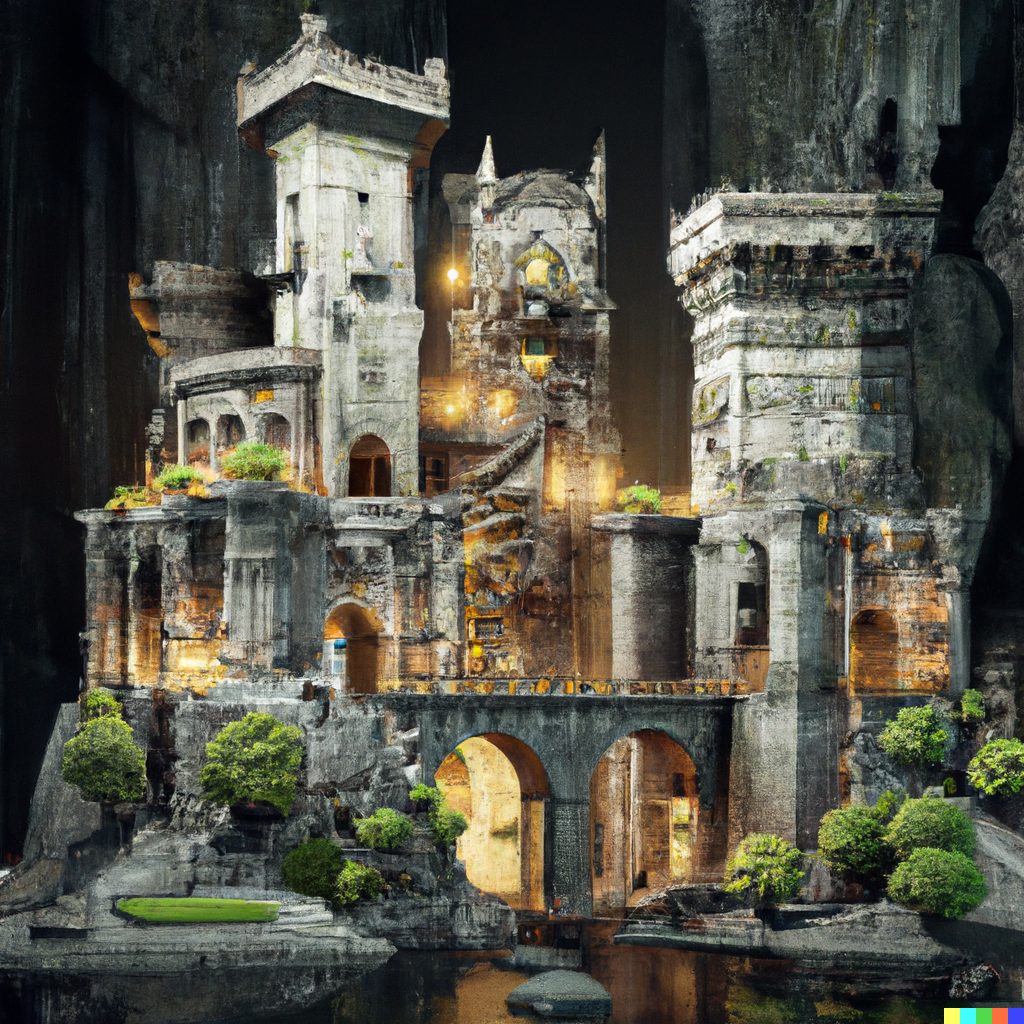
The castle is barred. The drawbridge is up. The entrance blocked by a moat of vicious sea creatures. The castle will not open, and you shall not enter.
Within the castle are armies and supplies to last the centuries. But hidden within are also dragons, hiding in the shadows for the unwary assailant.
In the very core of the castle, you will find that the castle is not only guarding the mortal world outside and the dungeons beyond. The castle was built around ancient trapdoors that lead past the mortal realms and into the supernatural. Dragons bar the way, such that the dead do not rise and enter the land of the living.
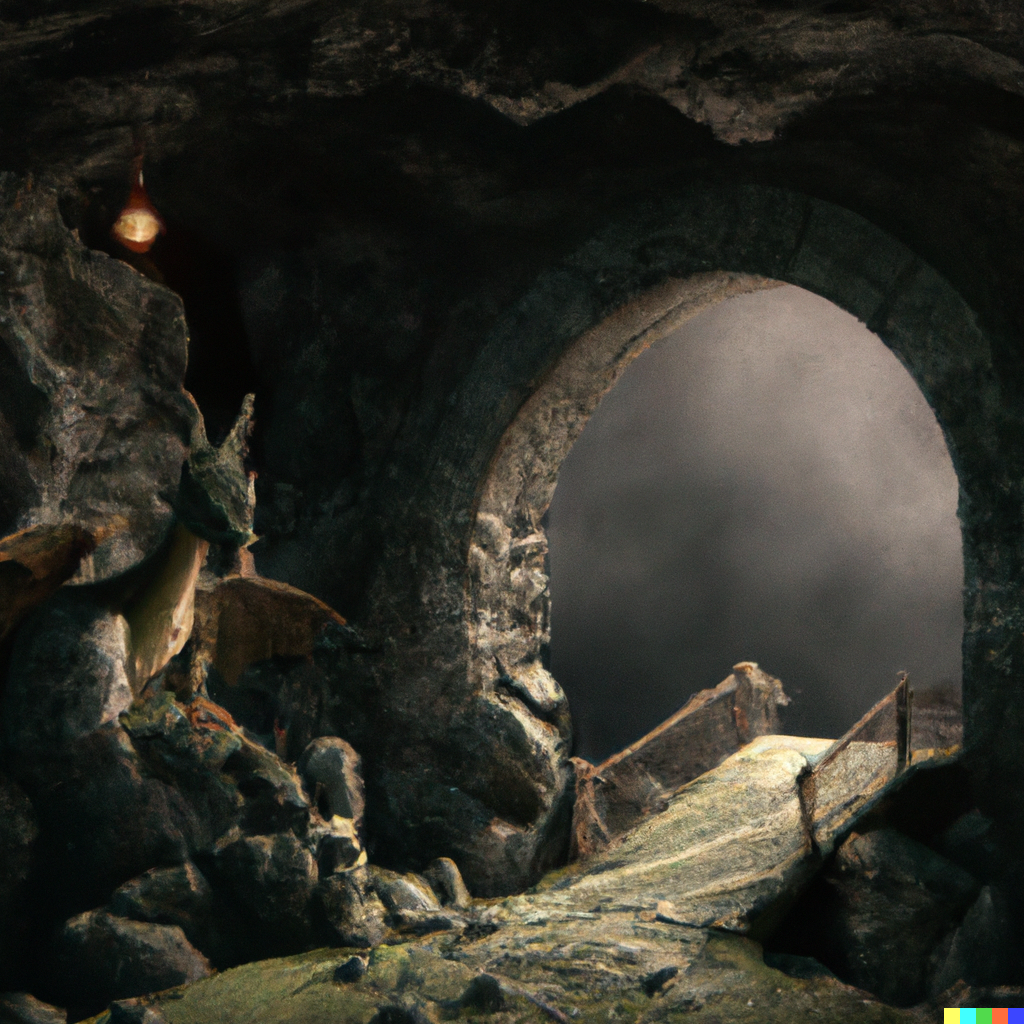
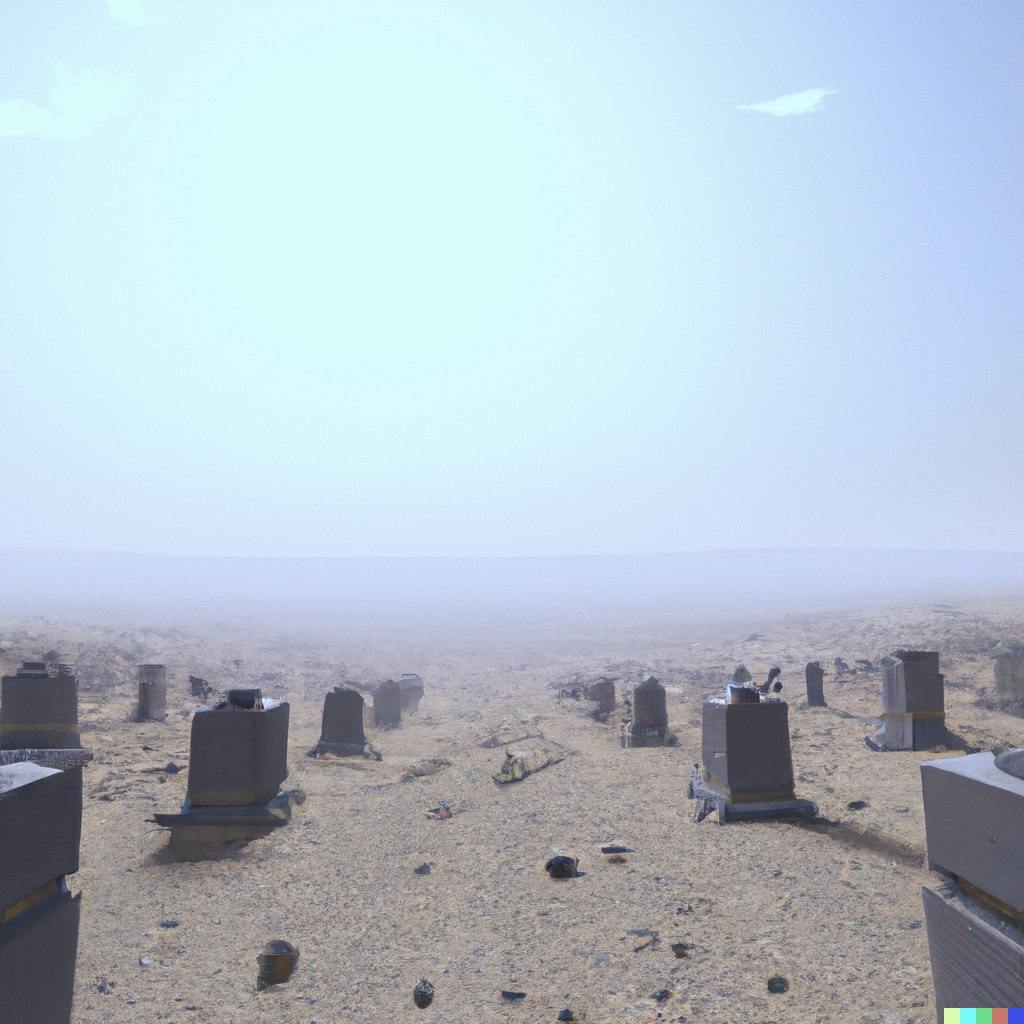
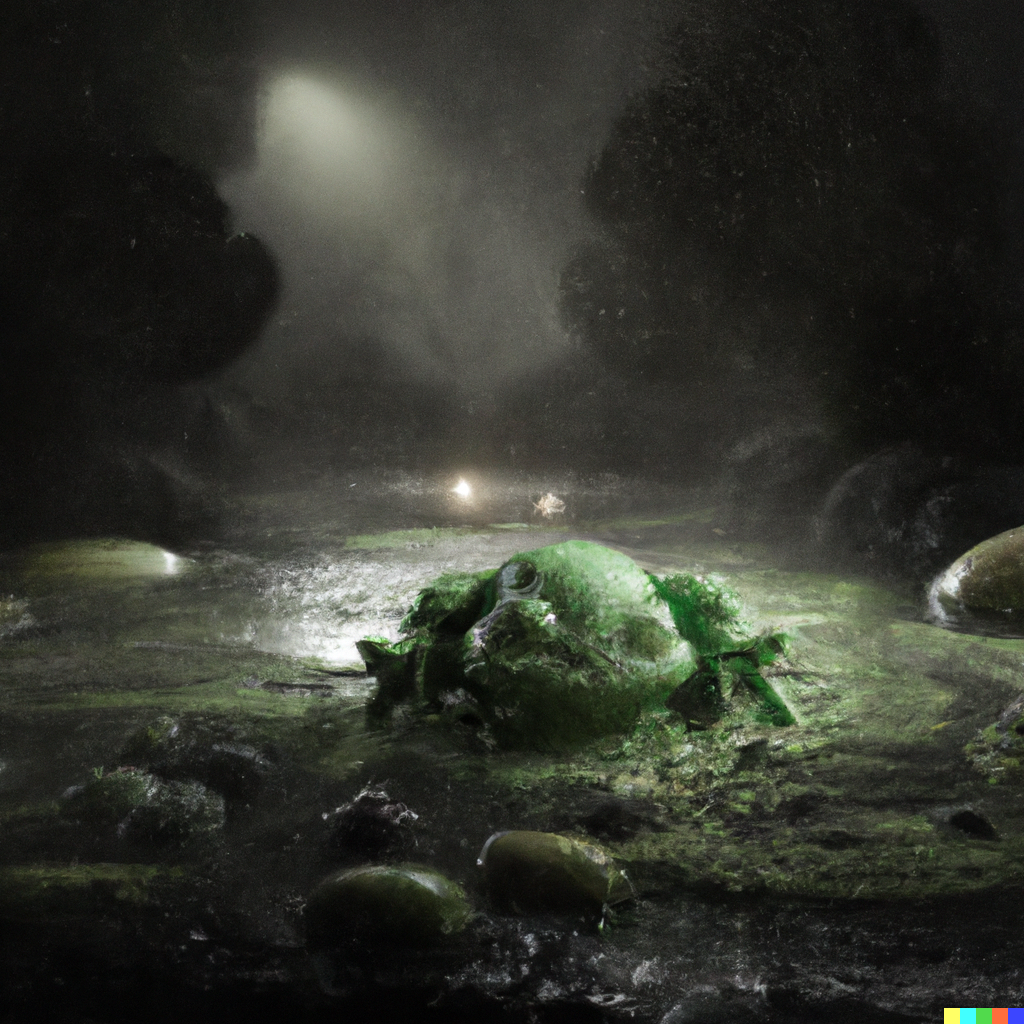
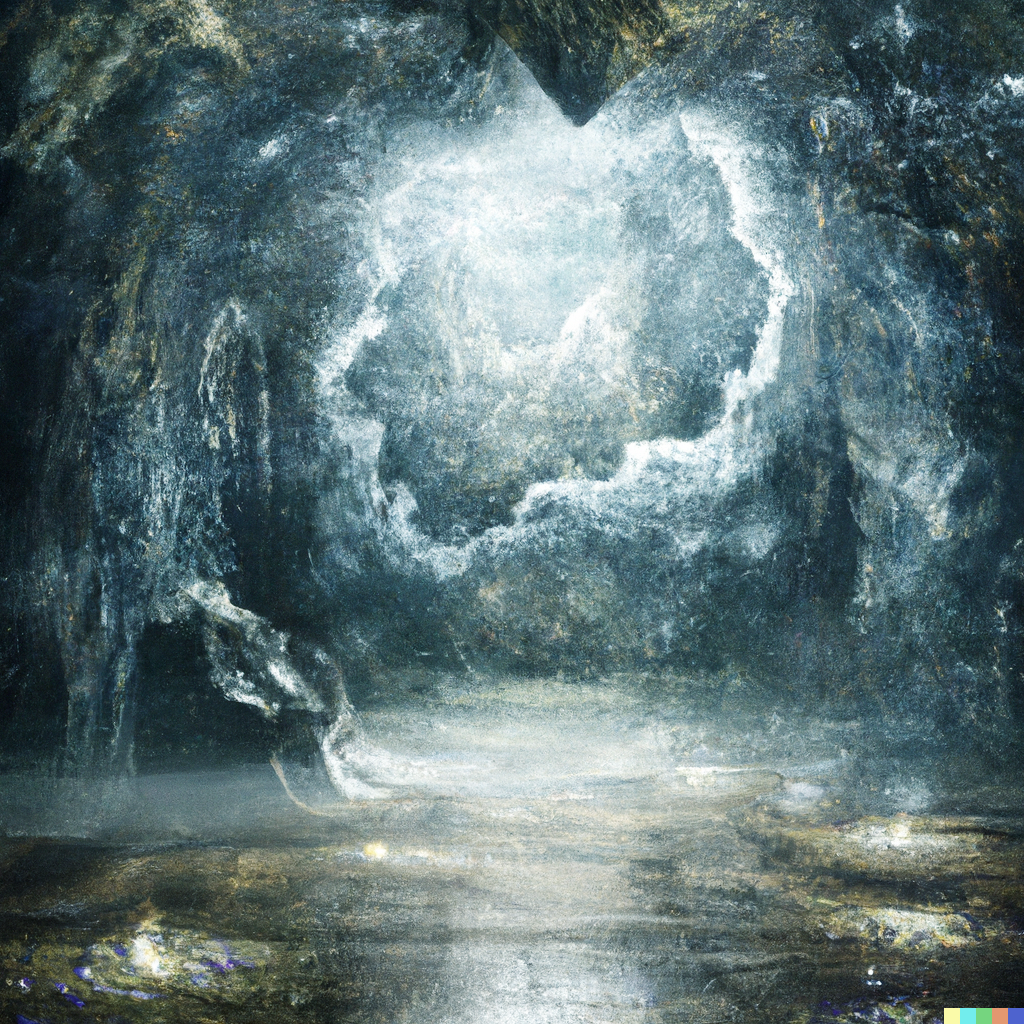
The Valley of the Dead
As you fall through the trapdoor, you leave the mortal realm. This is the space between worlds: the Valley of the Dead, and you must cross it.
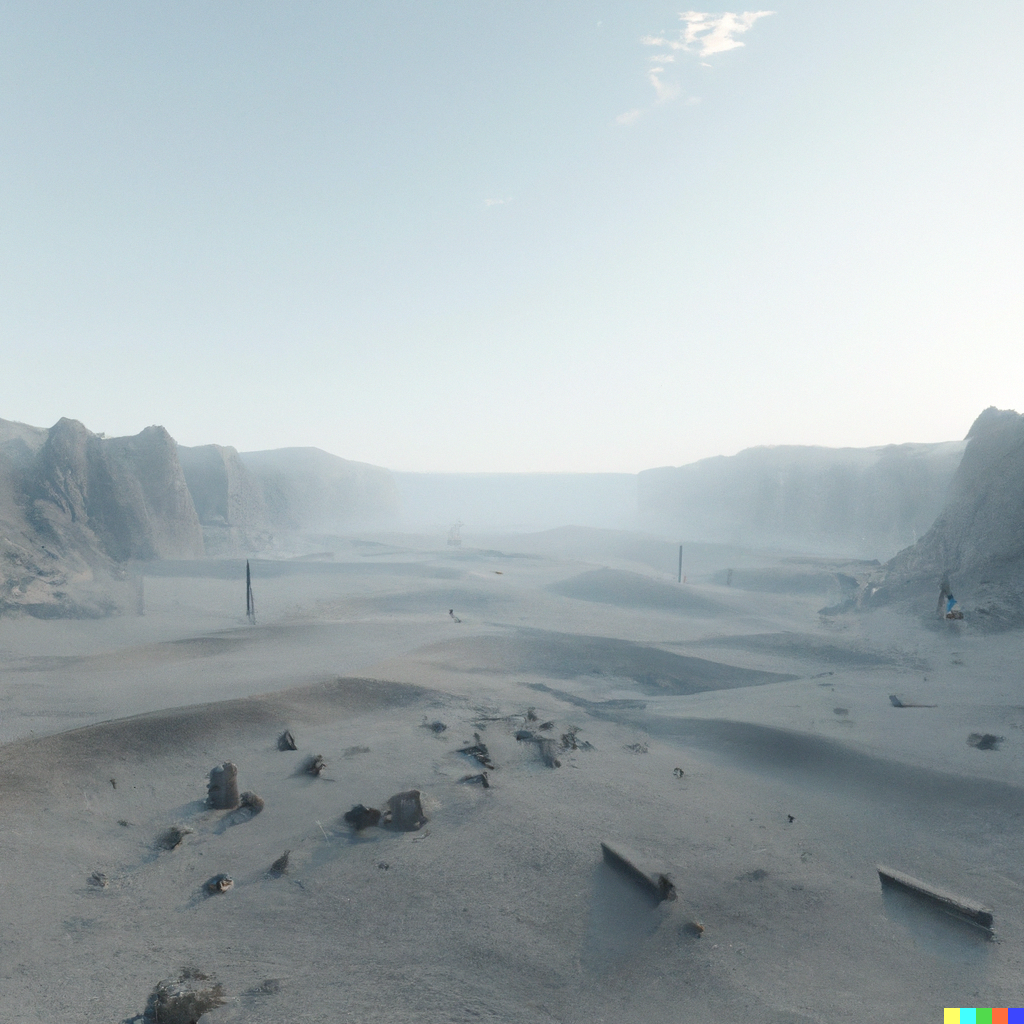
You are surrounded by tombs. You may read the epitaphs, should they help you in your mission for the Amulet of Yendor. Prepare to enter the late game.
Late game
You're alive, and you have resources. The late game is now about deliberate planning and preparation.
You will need to ensure that you have everything you need to steal the Amulet of Yendor. You will have to prepare for the unknown, and have enough tricks up your sleeve to bypass the many obstacles guarding the amulet, and enough ways to escape when the situations grow out of control. You will need remedies for illness, food, methods to detect enchantments, maps, and raw strength.
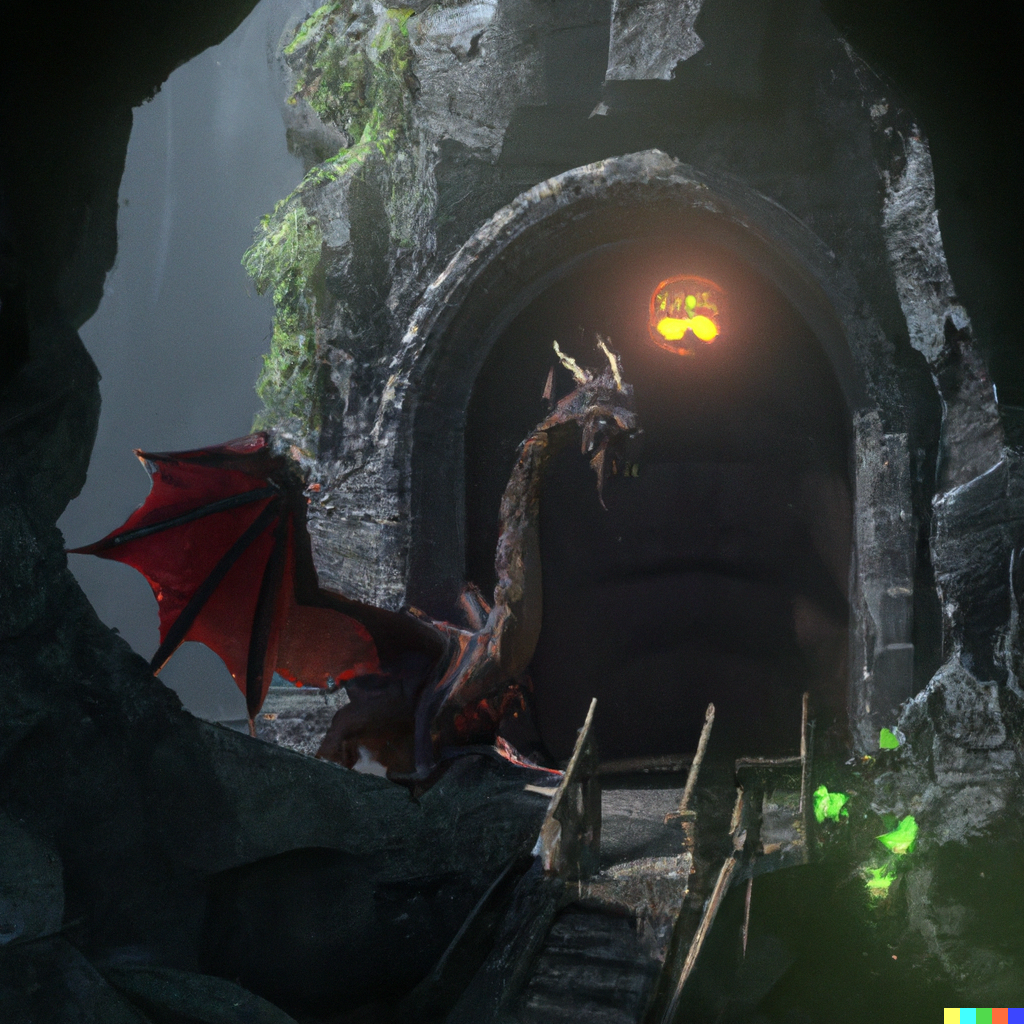
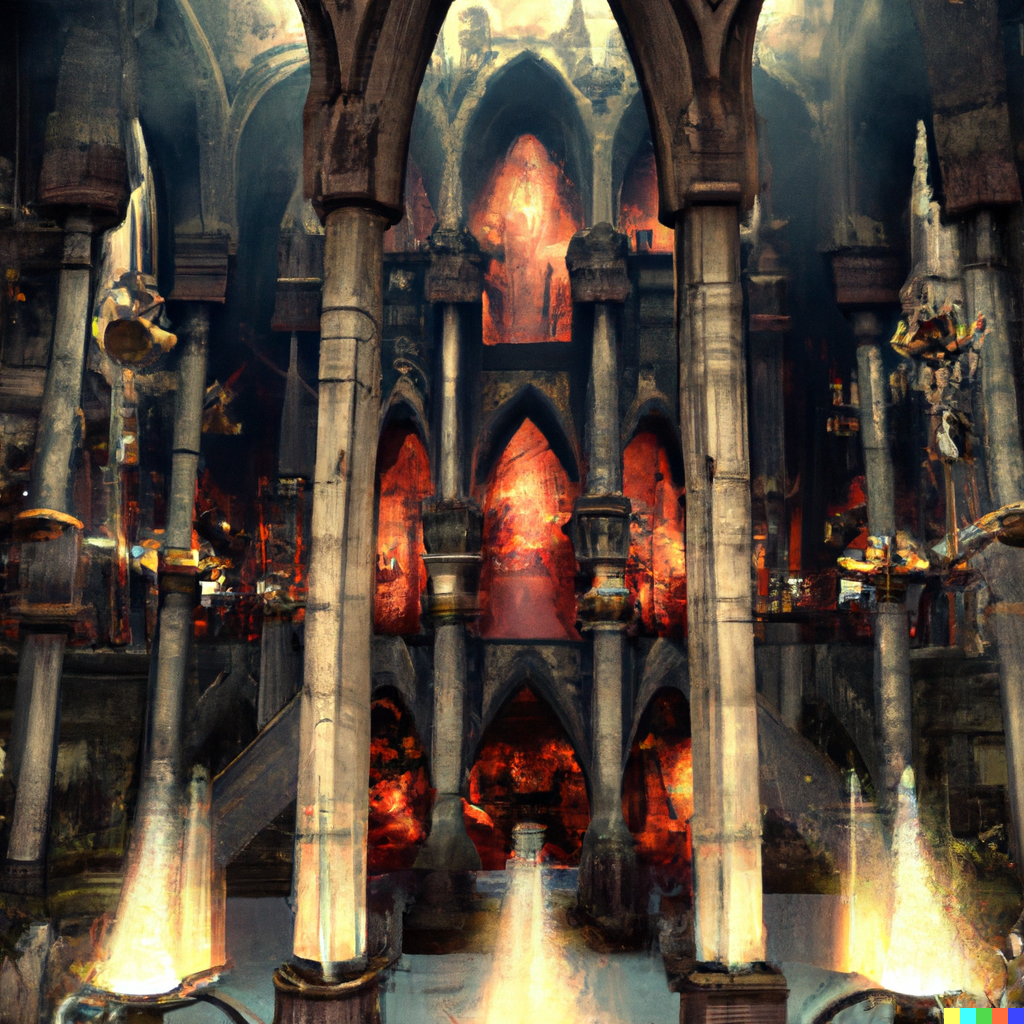
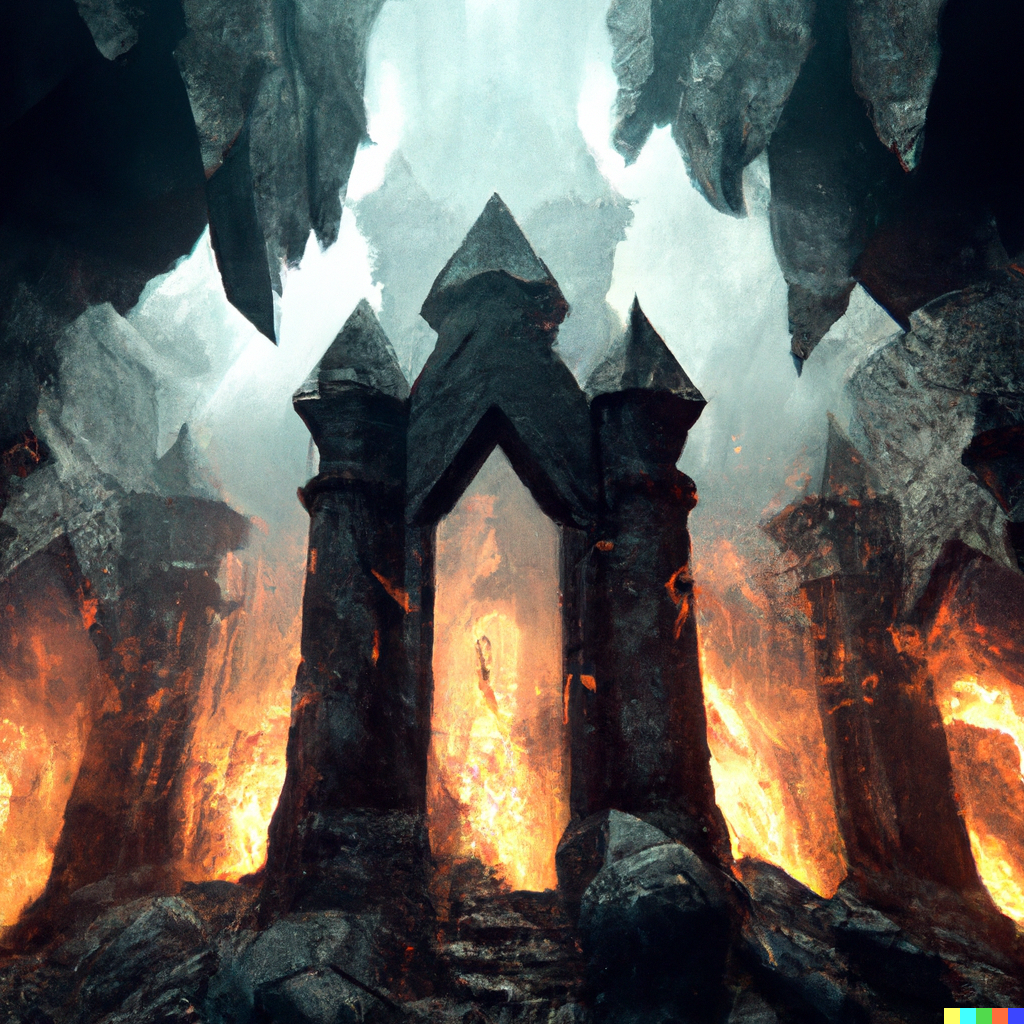
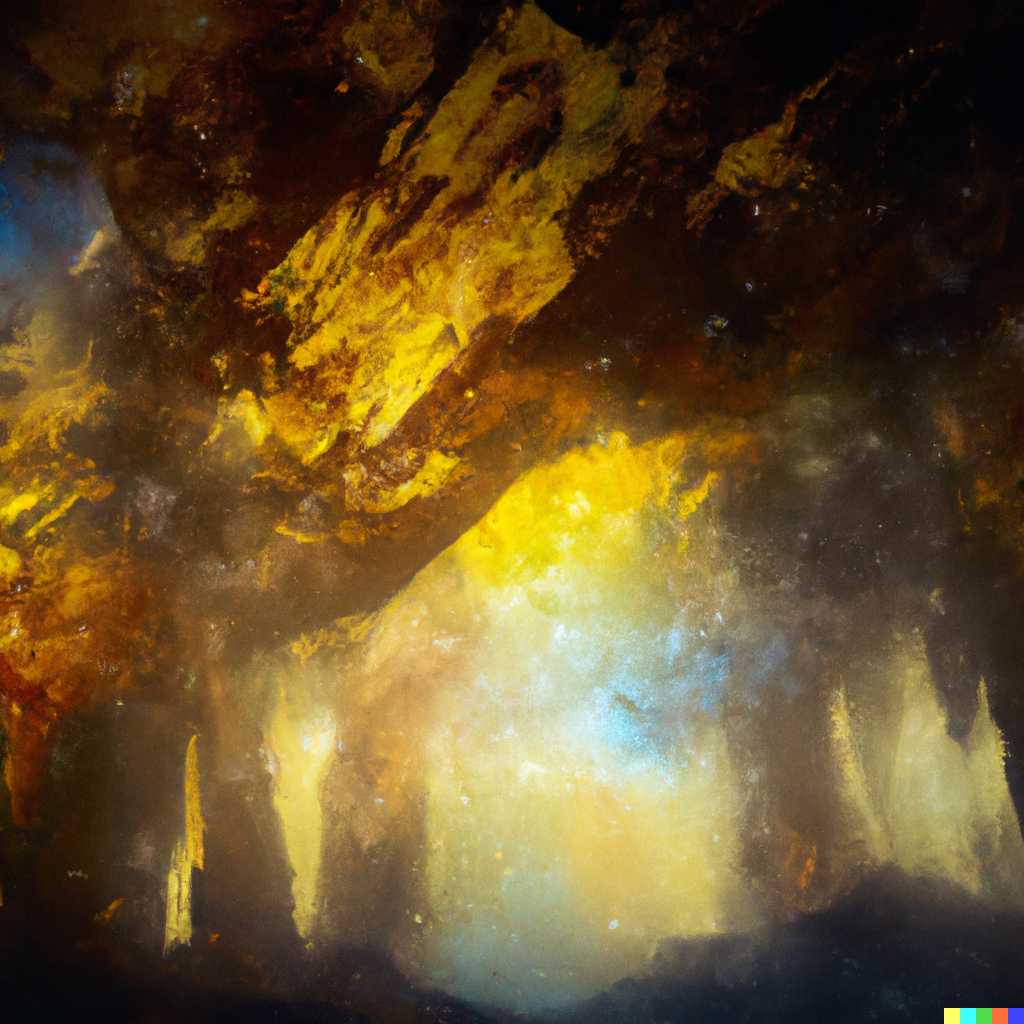
Asmodeus' Lair
At the end of the Valley is the entrance of Gehennom. Beware, unspeakable evil and cruelty lies ahead.
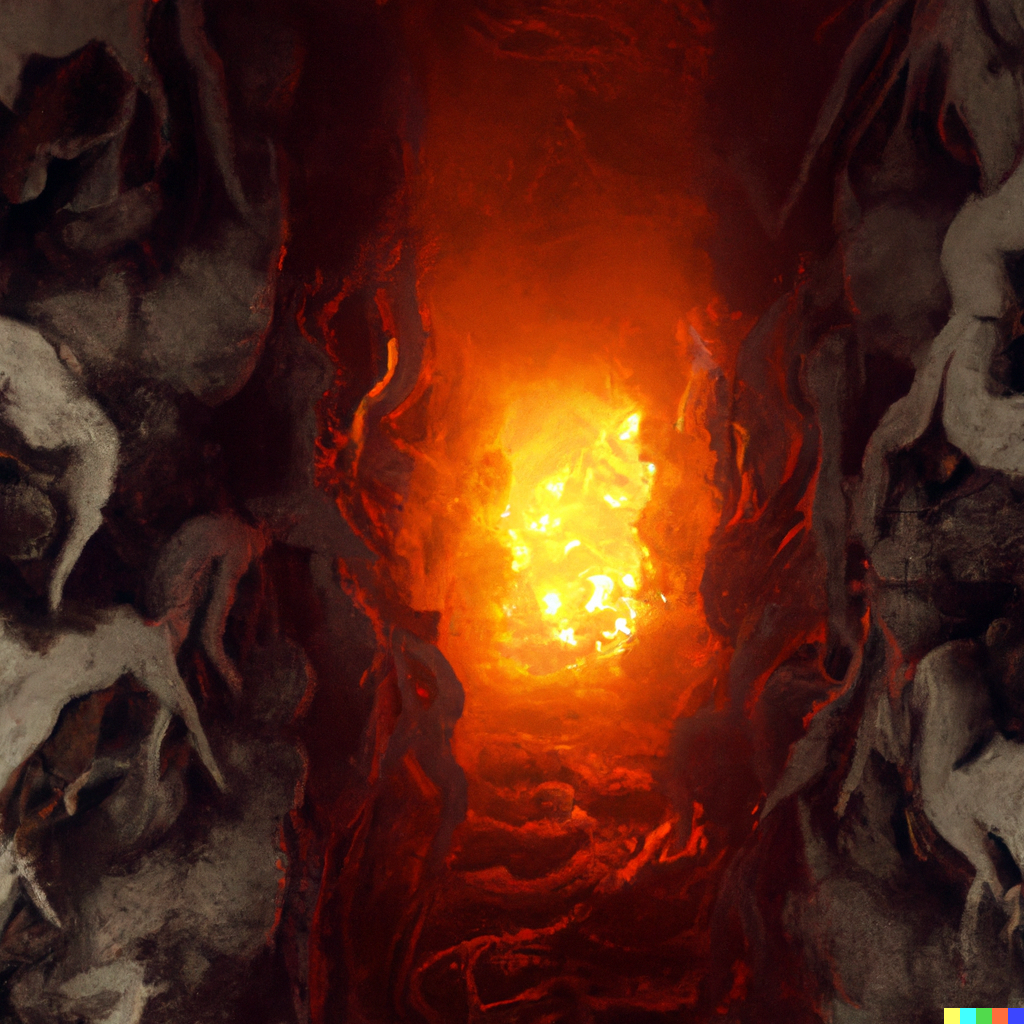
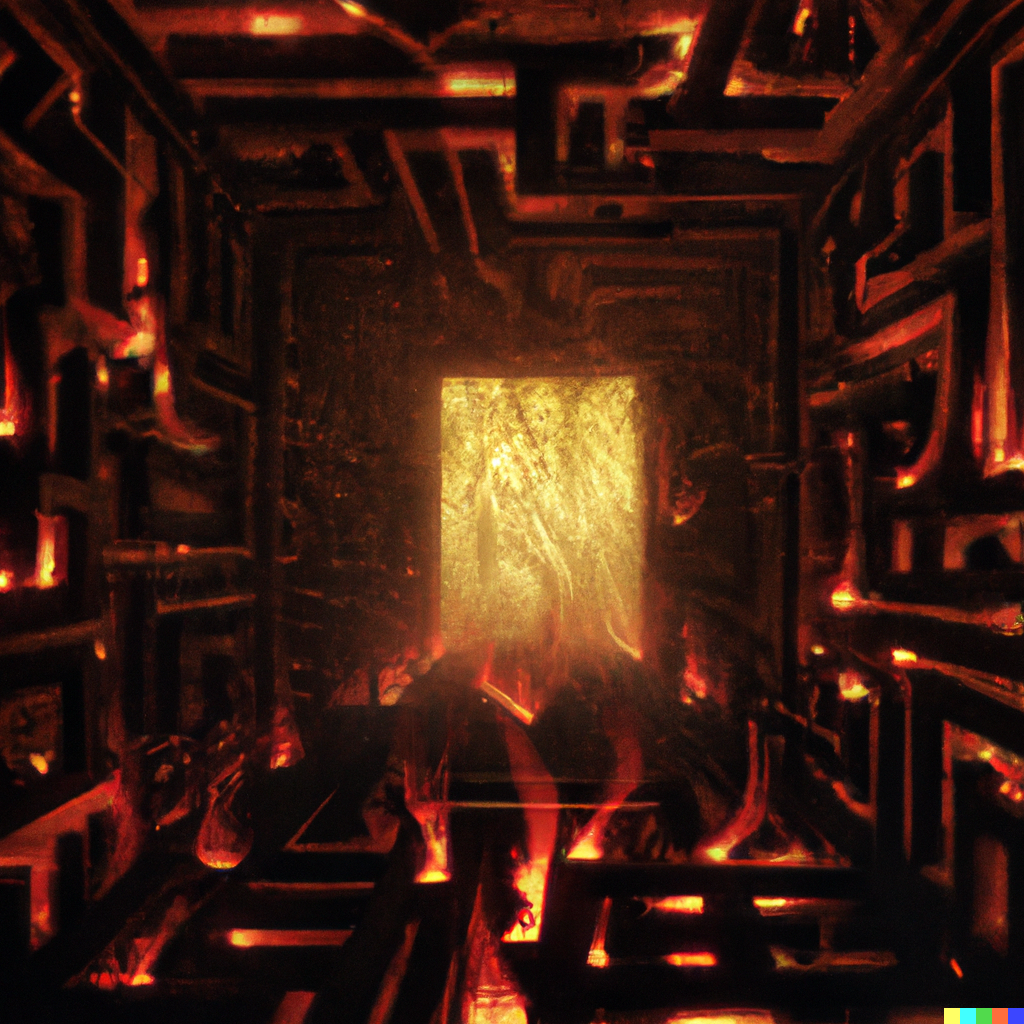
Gehennom is filled with fire, smoke, and evil creatures and demons. But perhaps most characteristic is that Gehennom itself is warped into a maze, where you either find the way through, or perish.
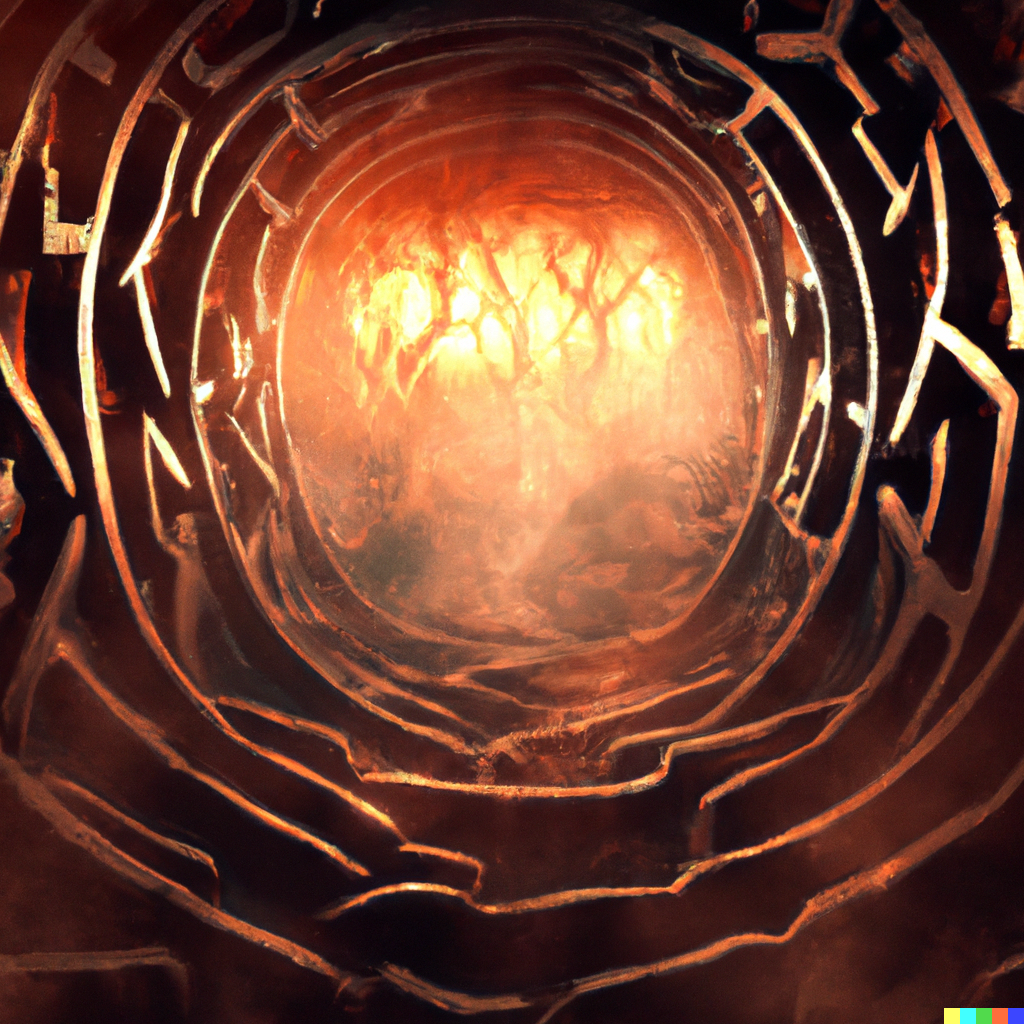
As you descend, the labrynth changes, some wider, some thinner. Demons guard the passages, forcing you to fight or flee.
Nestled within the maze is the Lair of Asmodeus. A suave yet unsettling demon prince who may offer you a price for passage. Asmodeus knows you seek the amulet, and such a mission does not pass lightly through his lair.

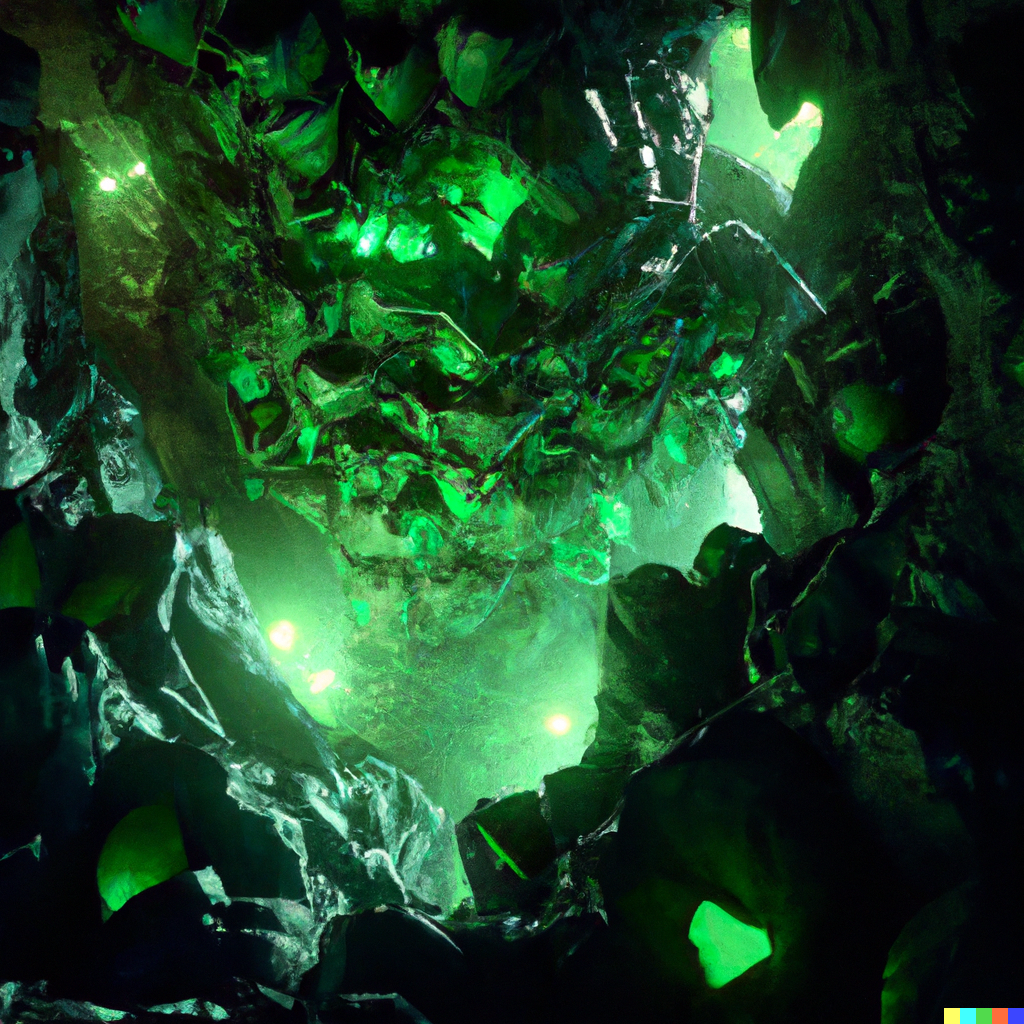
Juiblex's Lair
Deeper still in Gehennom, you will find yourself in a swamp. Crueler and fouler than the waters of Medusa's island, this is the swamp of Juiblex, the demon lord.
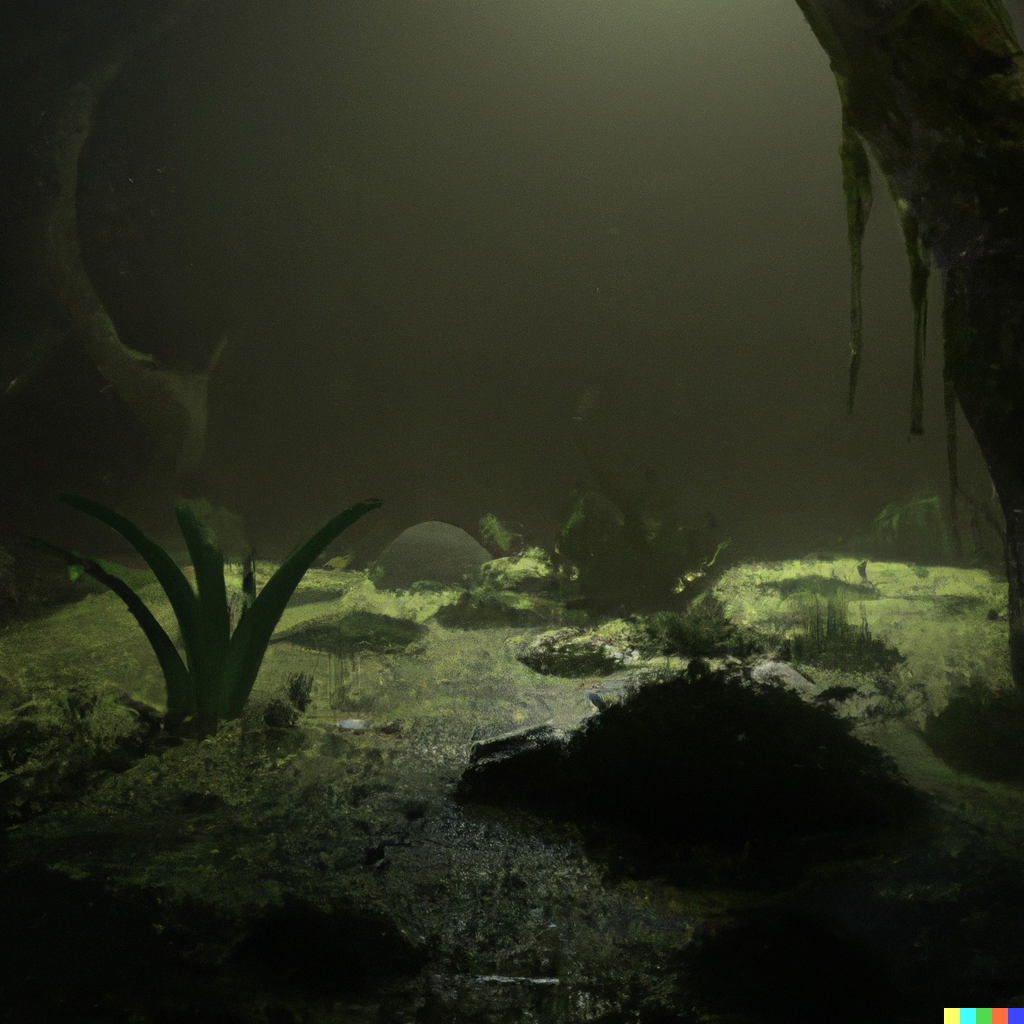
Beware where you tread, for Juiblex himself has no form, and may arise from anywhere in the swamp.
You must make your way through to the other end of the swamp, where you may continue your journey. The air is diseased, and should you fail, you will be engulfed and join the swamp itself.
Baalzebub's Lair
Devoted to decay, destruction, demoralization, hysteria and panic, you shall encounter Baalzebub, demon prince of the flies.
Baalzebub may also propose a bribe, but the price will be high.
Baalzebub lives within the rotting carcass of a huge fly, hidden within, is the passage through Gehennom.
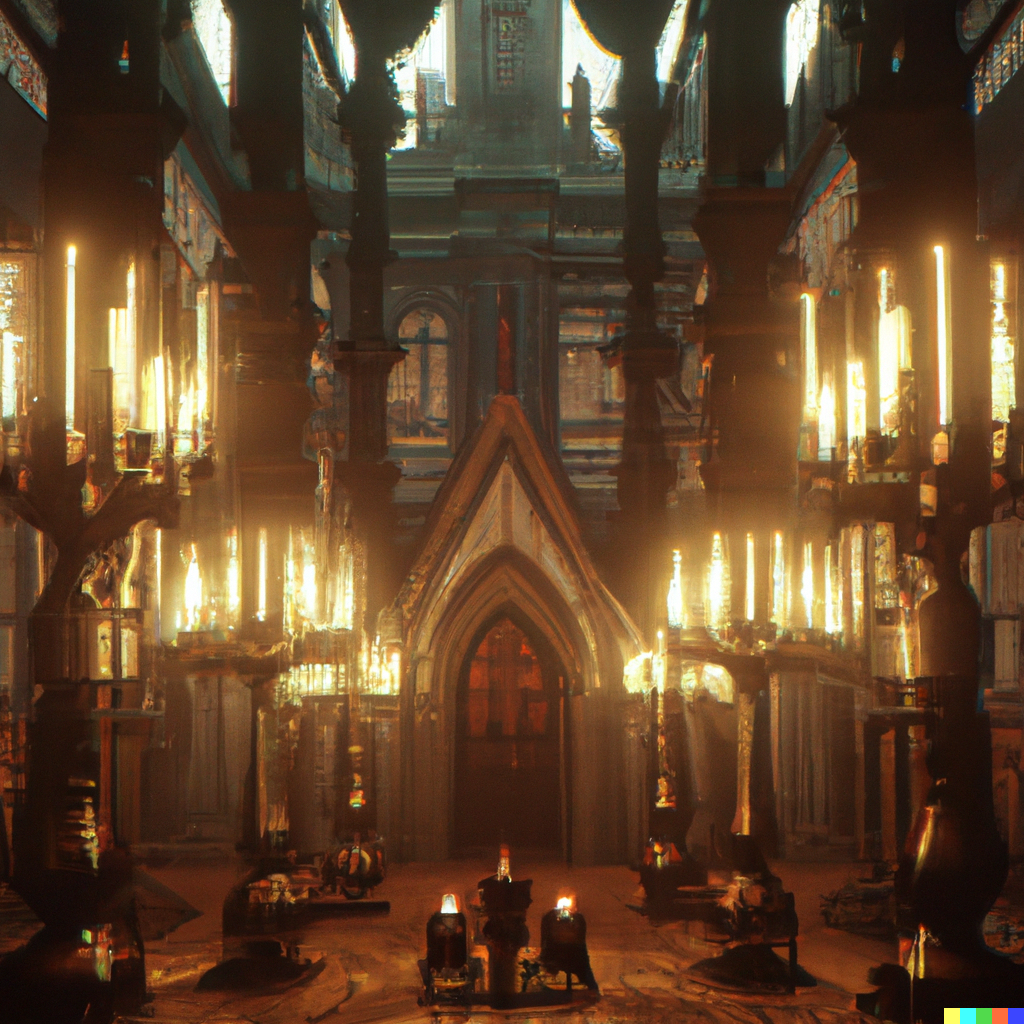
Orcus-Town
As you leave the maze, you find yourself standing at the edge of a sprawling city: Orcus-Town.
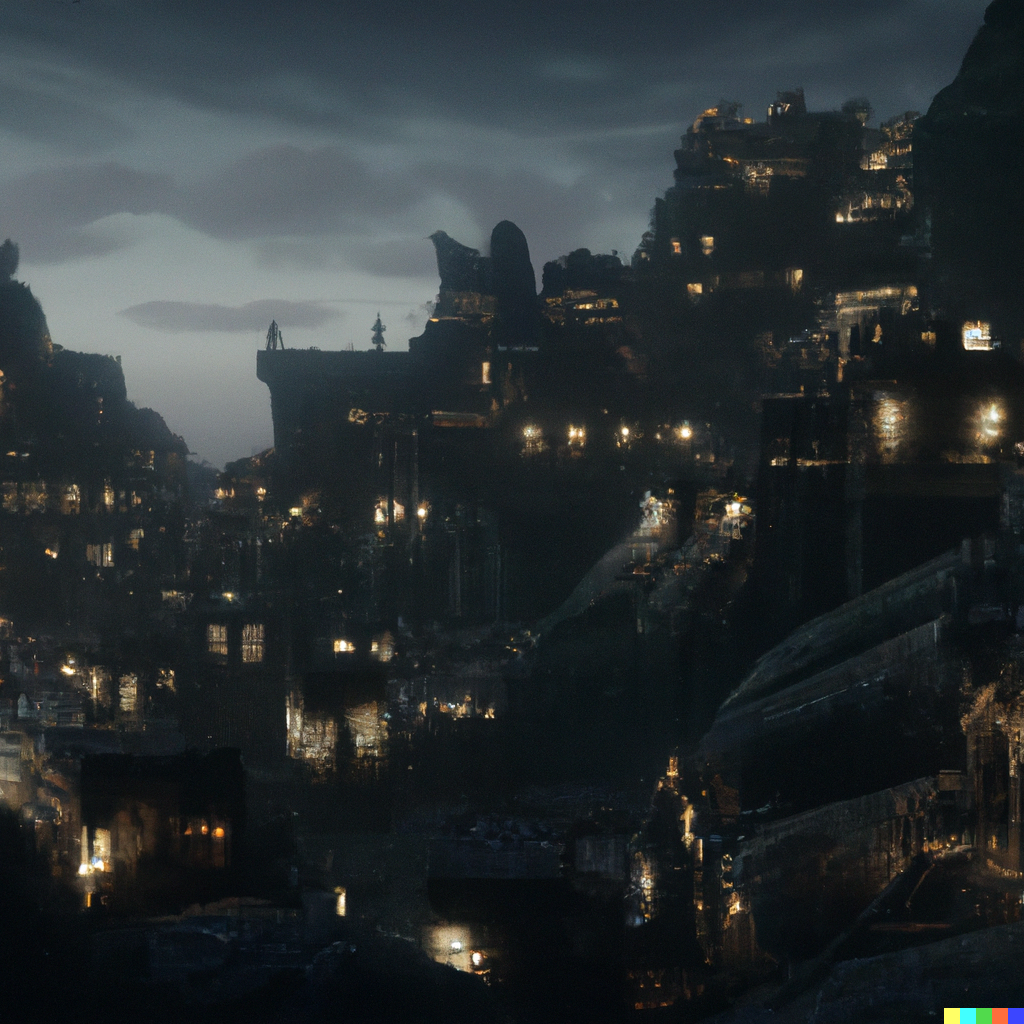
Orcus-Town is a dark place, with abandoned homes and descecrated temples.
Orcus, the demon prince, rules over the town and may be found deep within.
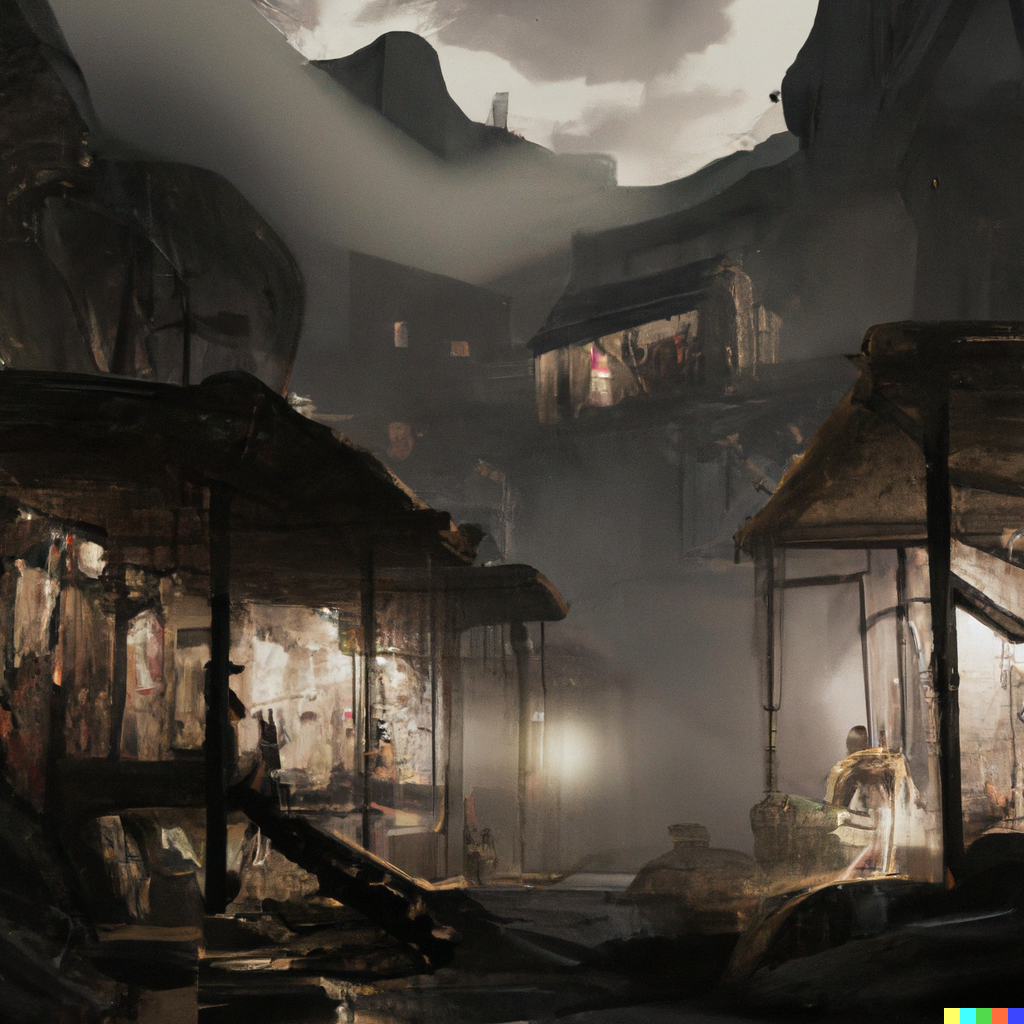
You may also find shady dealers and cursed wares. But be warned, some of these objects may not be as they seem ...
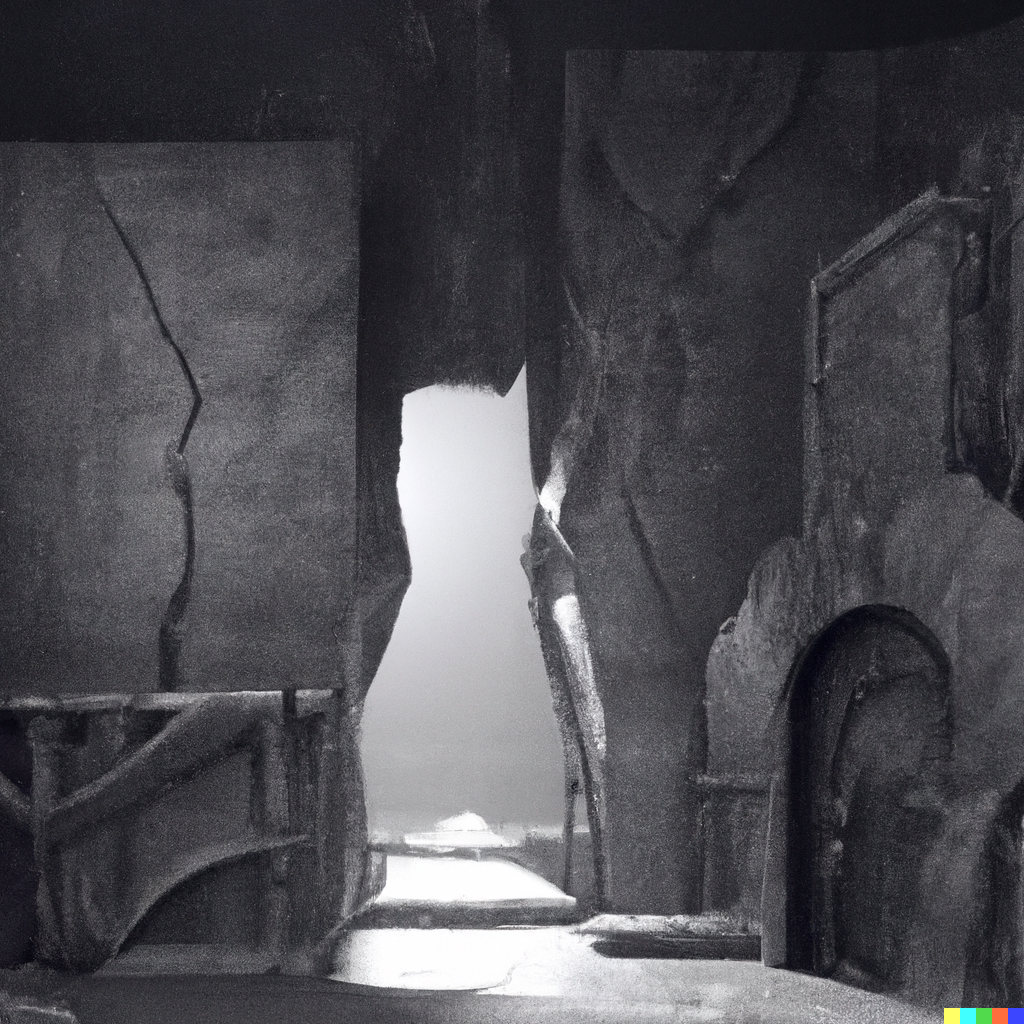
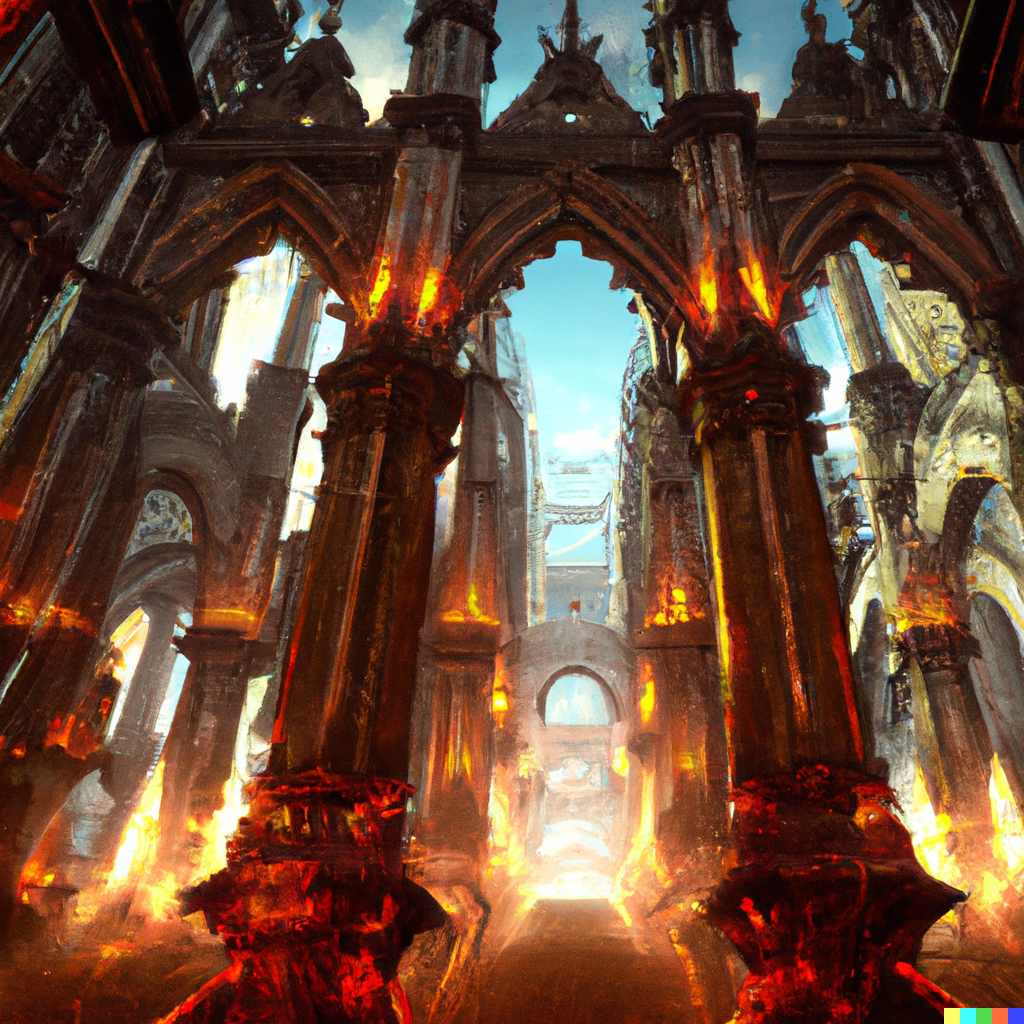
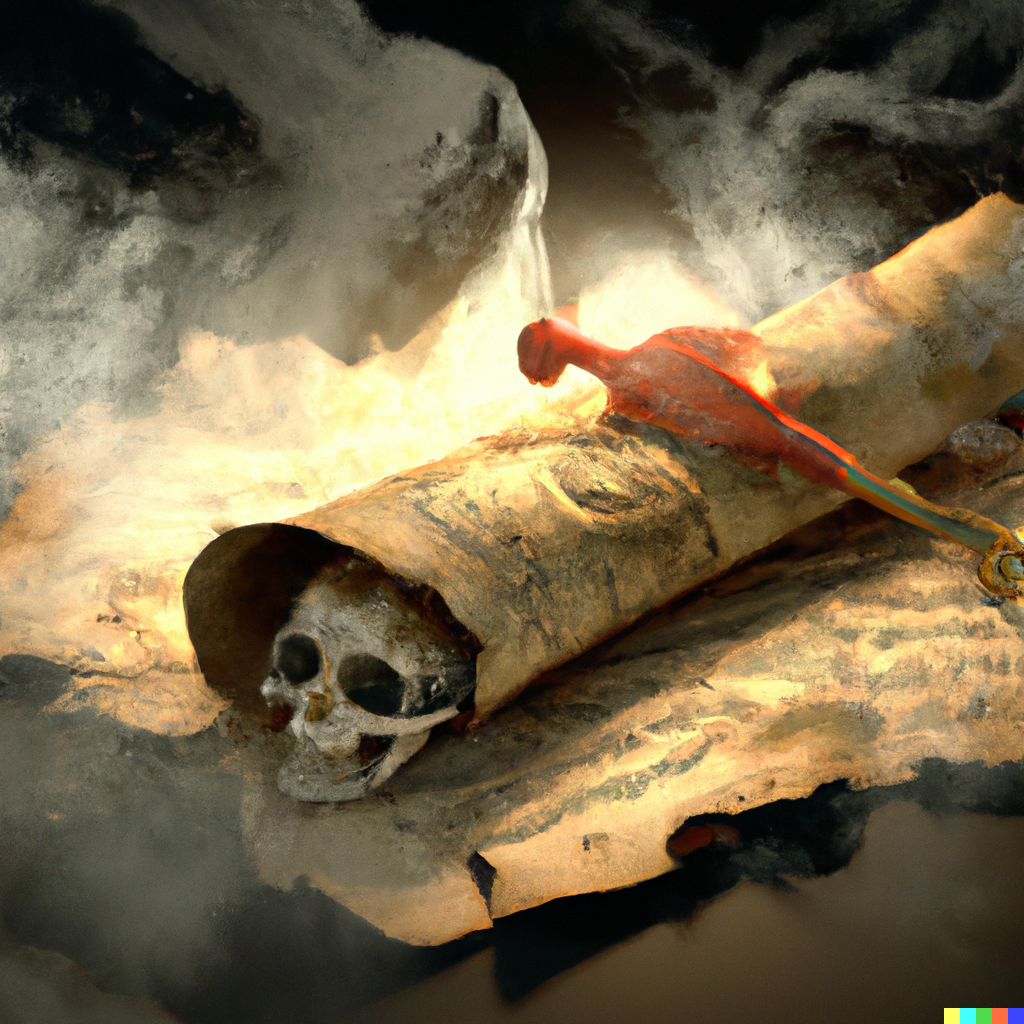
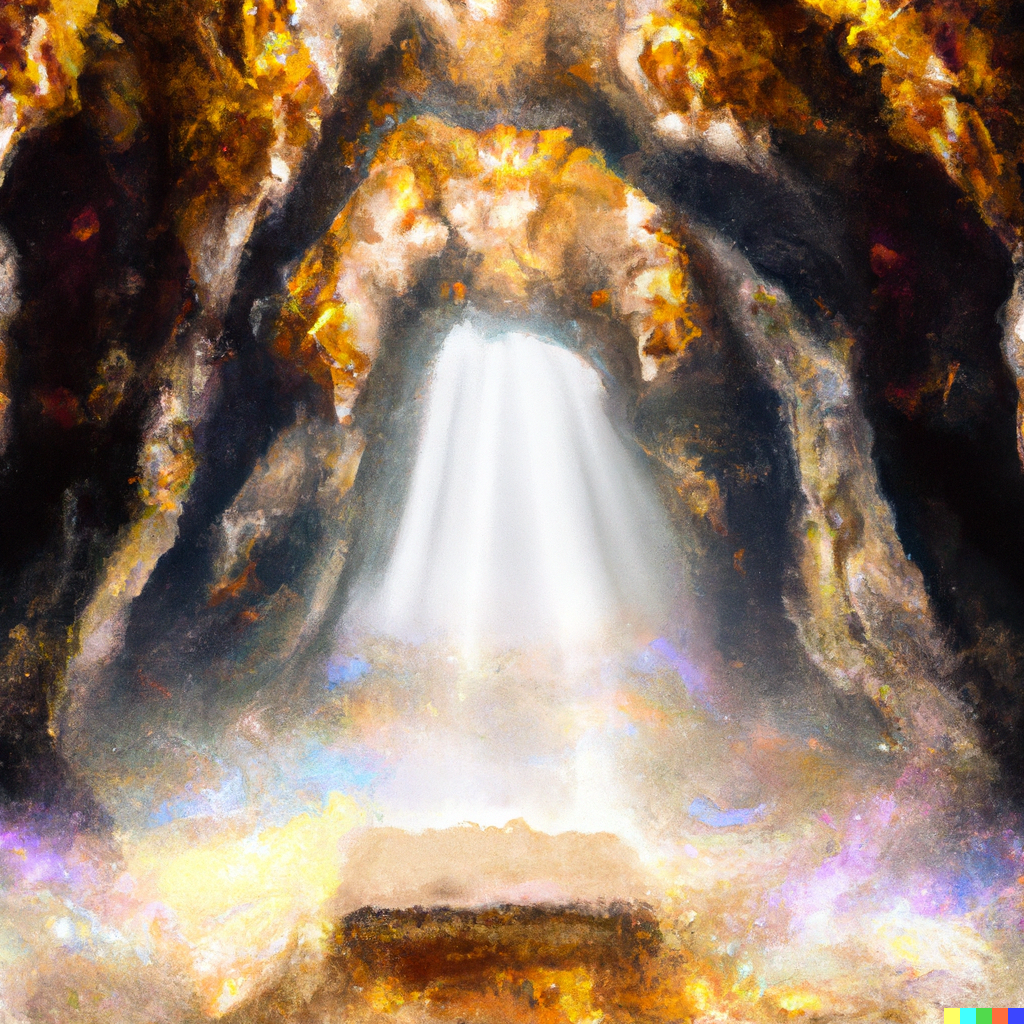
Vlad's Tower
Rising from the rocks, fire, and smoke of Gehennom is Vlad's Tower. Vlad, a vampire, one of the most wretched, heinous, and depraved characters has taken up residence in the midst of hell.
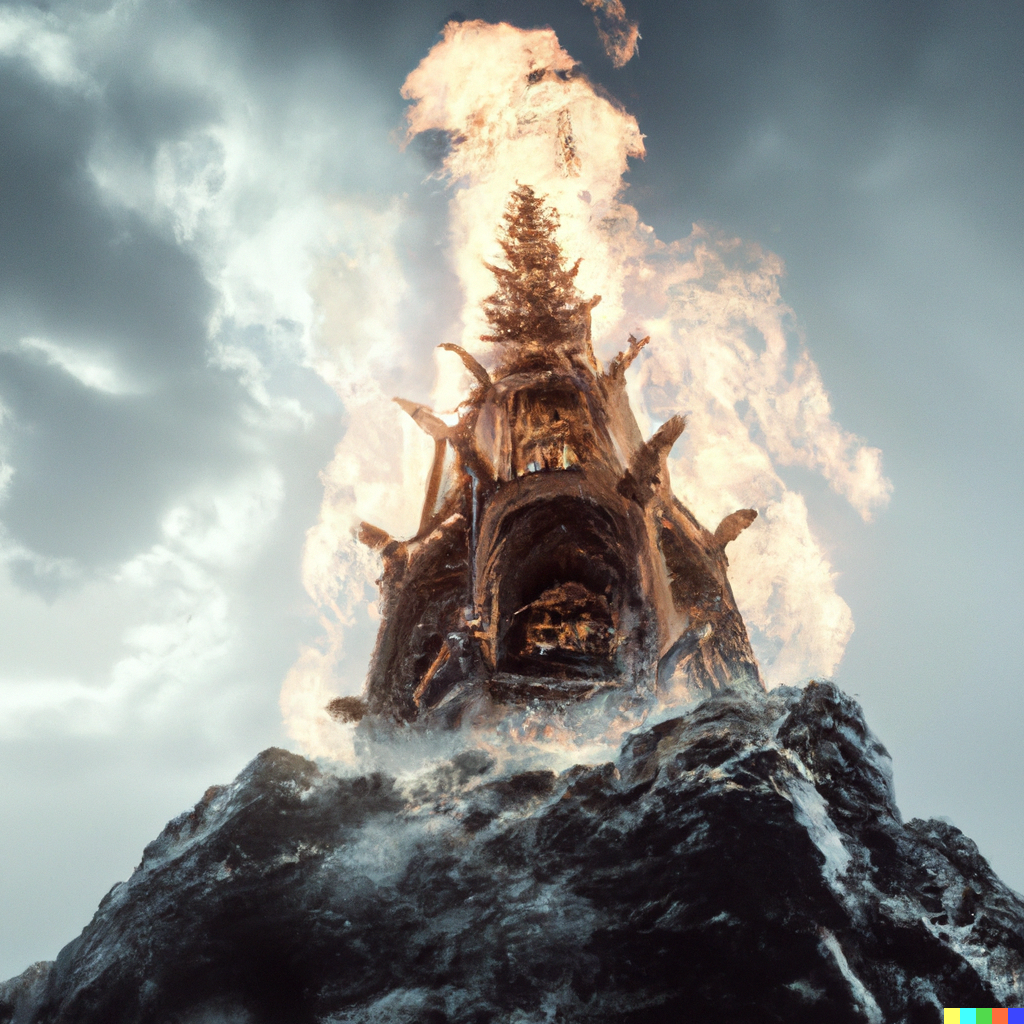
Vlad, a covetous character, has many goods stored in his tower. At the top, you will face Vlad himself on his throne.
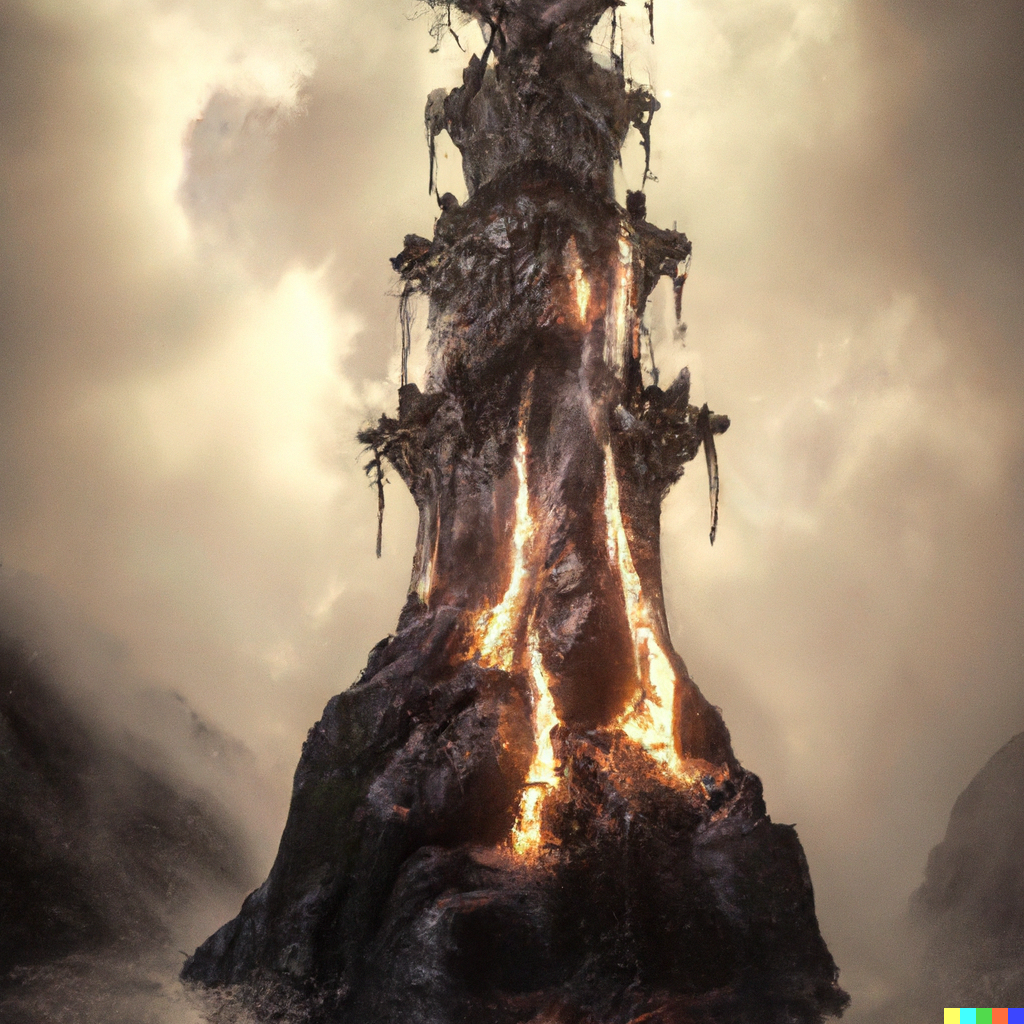
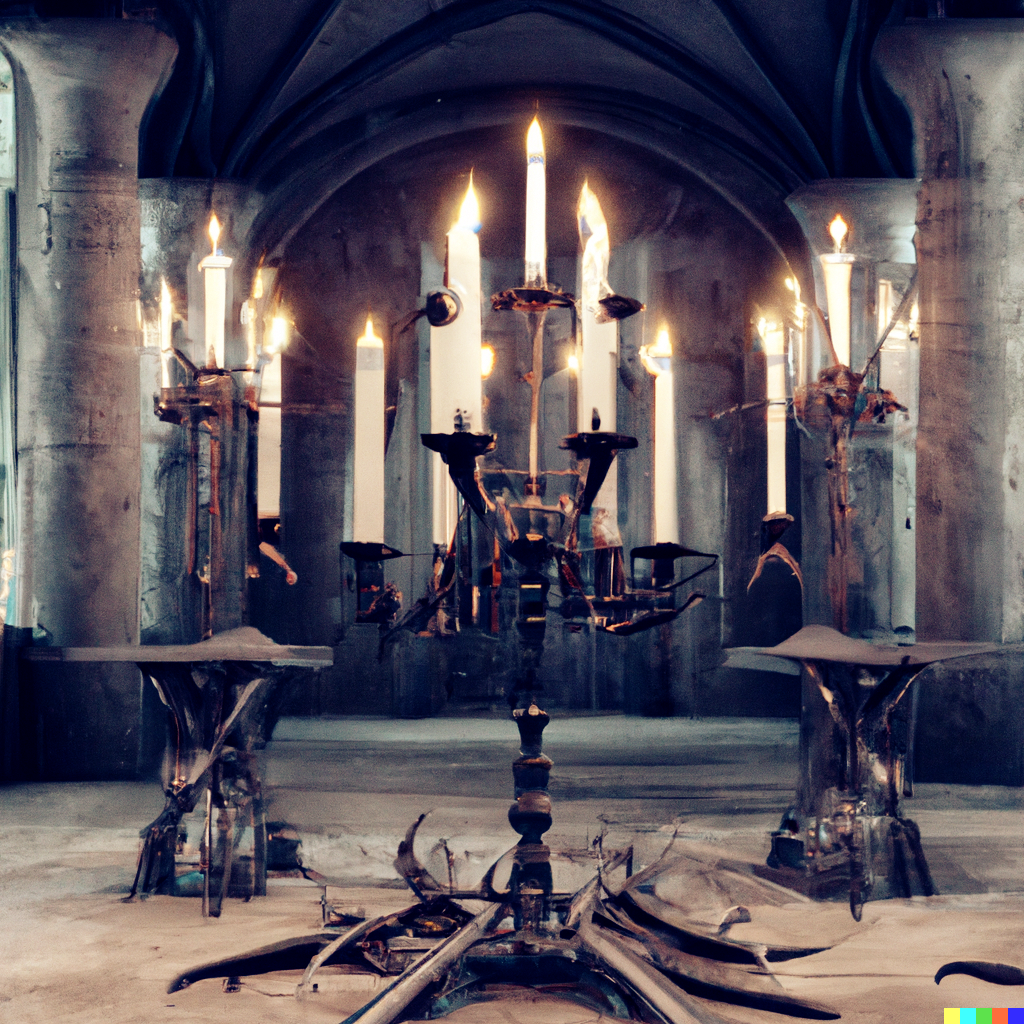
One of the treasures Vlad holds is the Candelabrum of Invocation, a unique candelabrum said to provide enough light to walk you through the elemental planes.
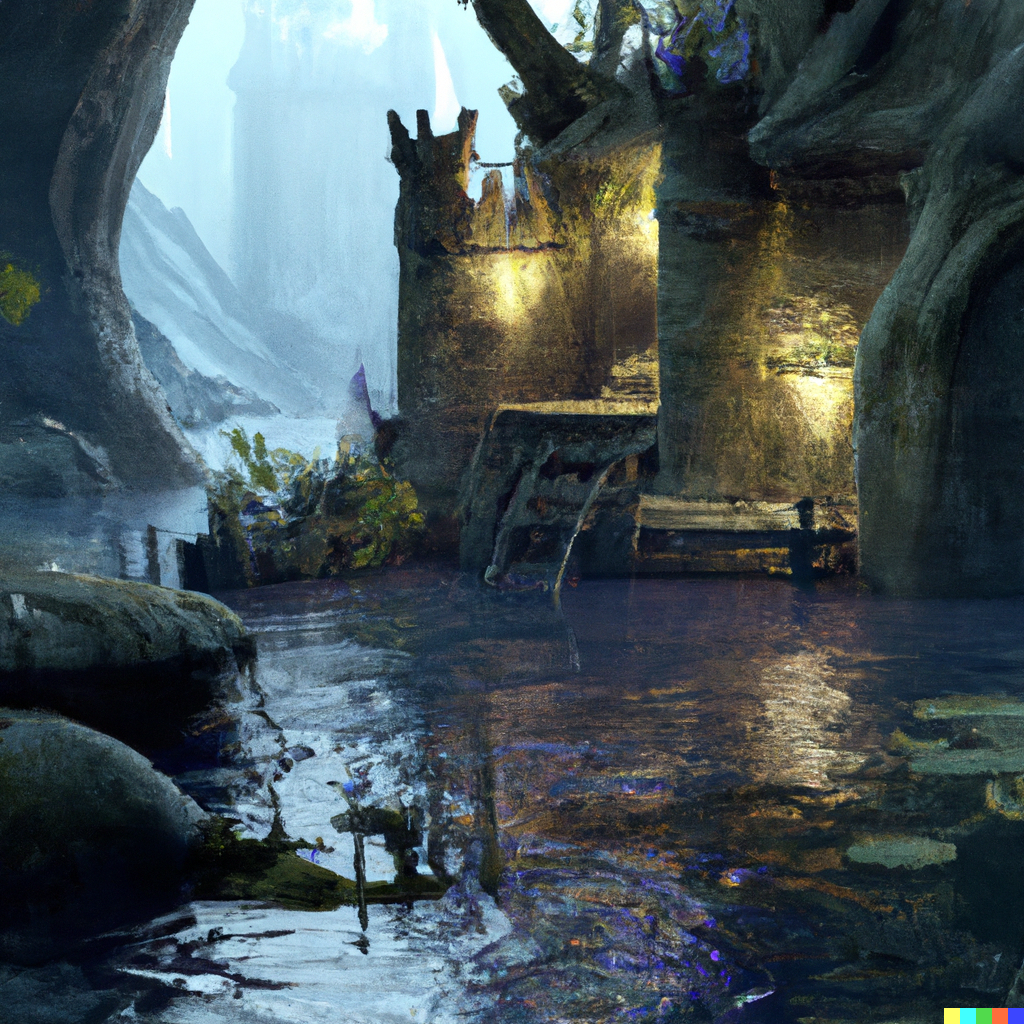
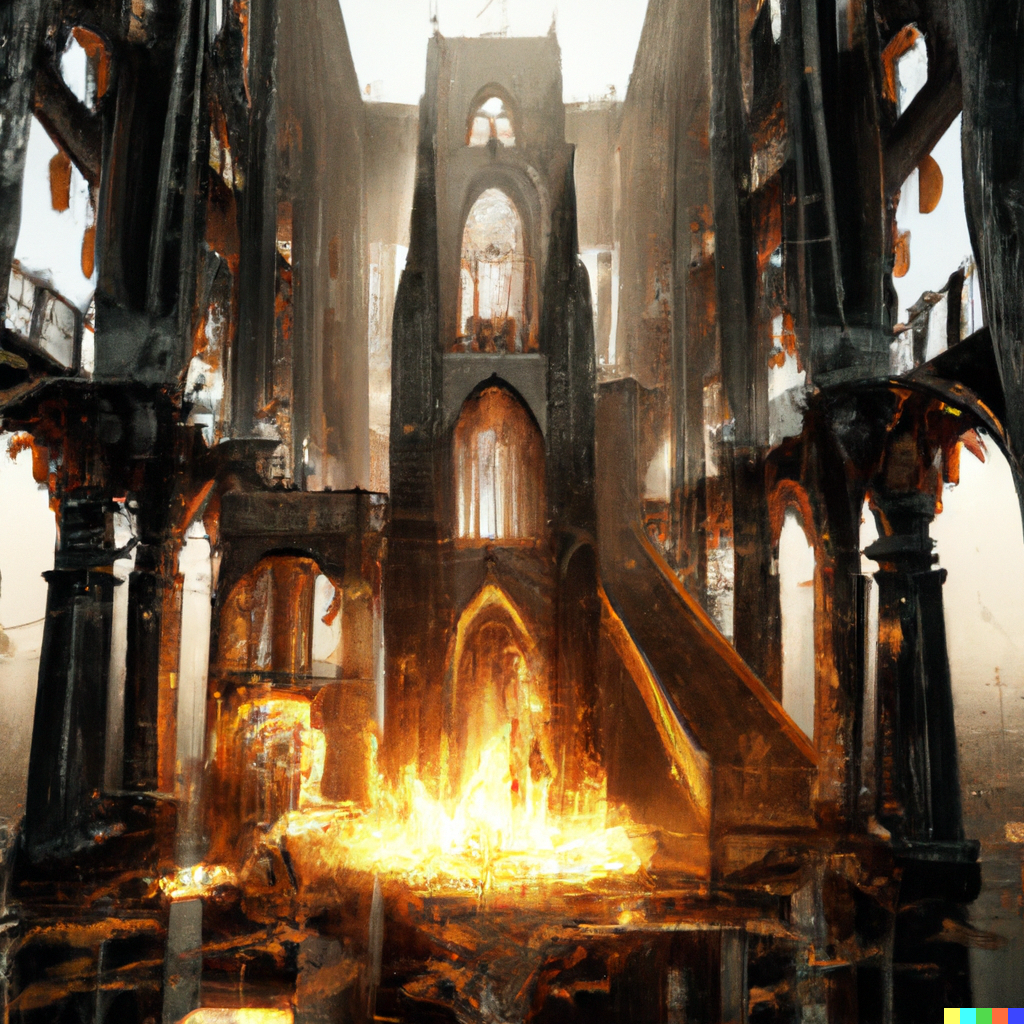
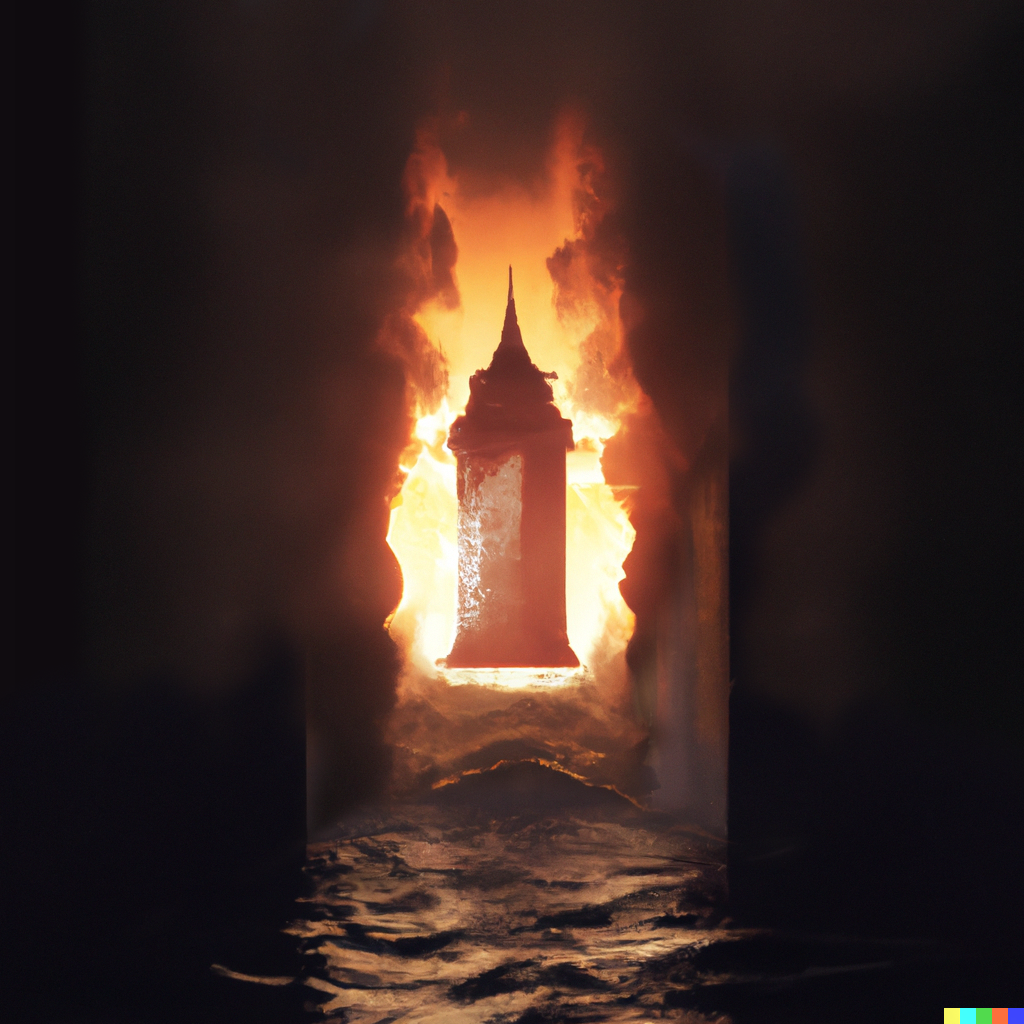
The Wizard's Tower
You find two small refuges from the heat of Gehennom, a lake amidst the flame and smoke. Rising from both lakes is another tower. This time constructed rather than hewn from the rock.
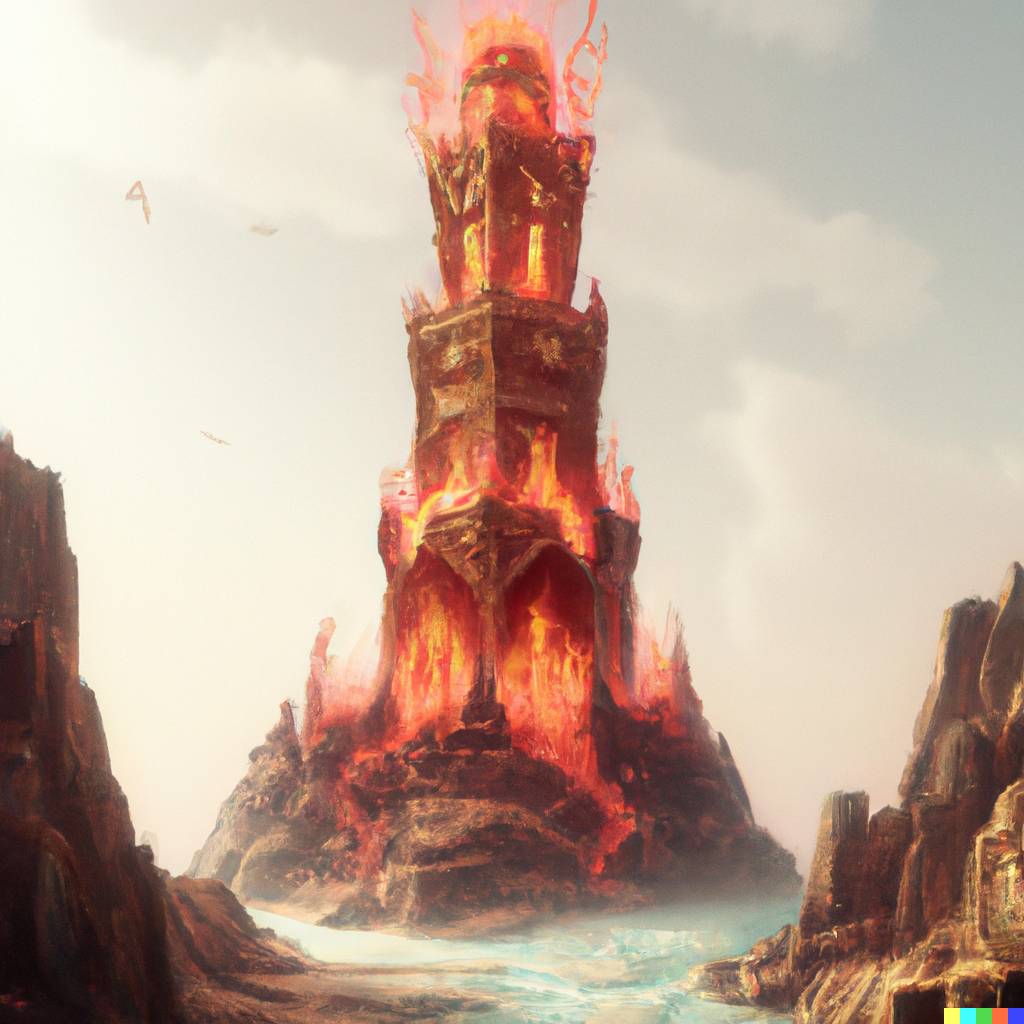
One of these towers is abandoned, whereas the other is the home of the legendary Wizard of Yendor himself. Weary of lesser mortals, spurning all human company, the Wizard lives in the depths of the Earth, taking with him the dreadful Book of the Dead. You must find the true residence of the Wizard, and cross the lake.
The Wizard of Yendor
You must ascend the tower, fighting the various creatures that lurk within.
Midway up the tower, you will find a contingent of evil creatures, pets of the Wizard of Yendor.
At the top, surrounded by a circle of water, you will find the wizard meditating within. You must duel him, but the wizard cannot truly die. You may vanquish his body, but he will always return.
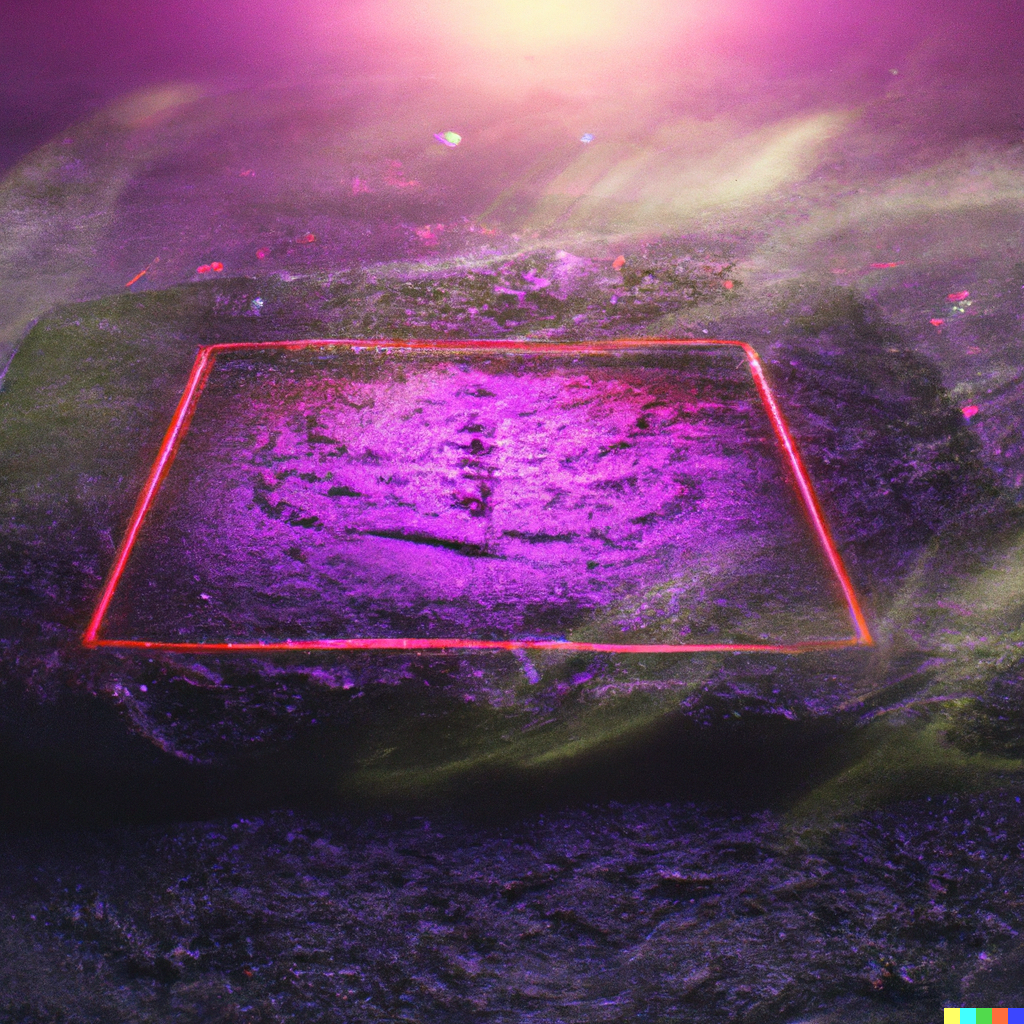
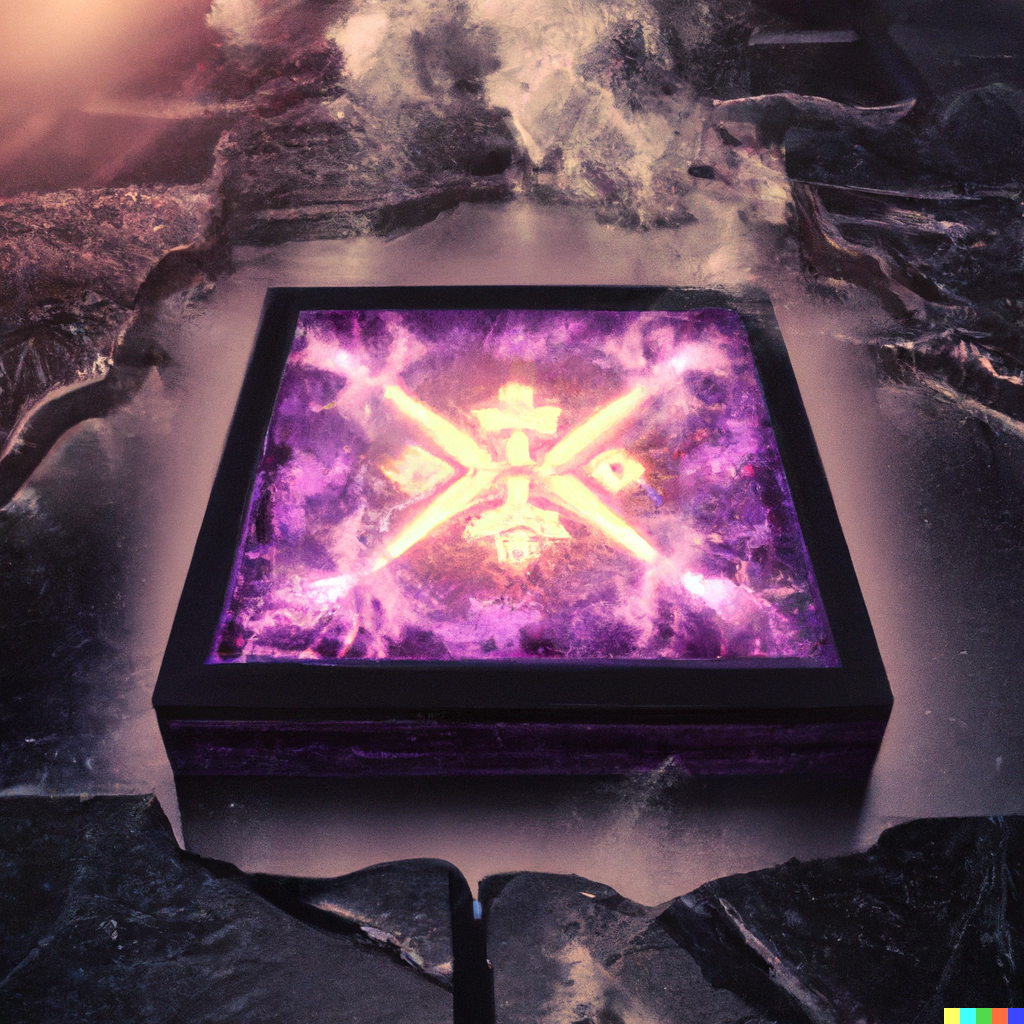
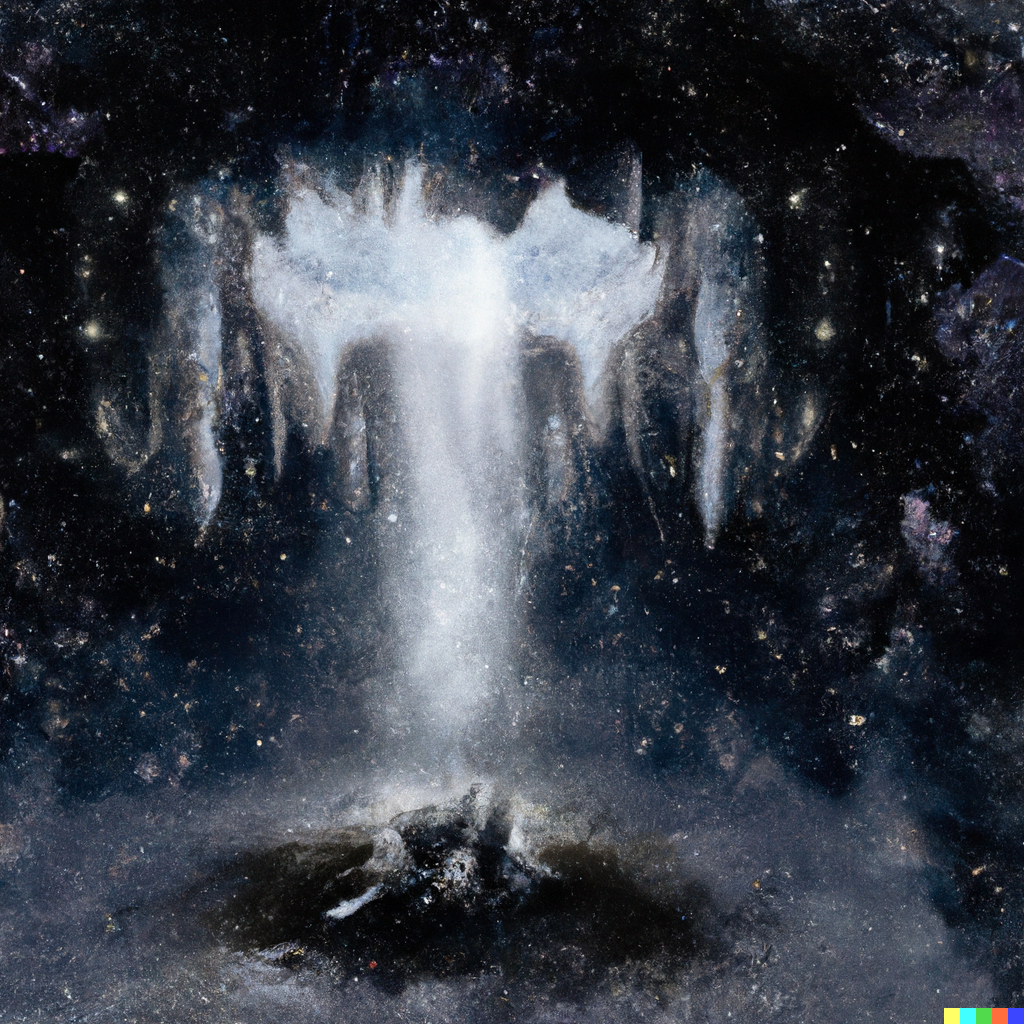
The Vibrating Square
You are ready. The Wizard of Yendor is no more, and it is time for the heist to begin. The Amulet of Yendor resides within the lowermost depths of Gehennom, in Moloch's Sanctum.

However access to the Sanctum is hidden through an ancient enchantment. The Oracle will guide you to the entrance: a mystical square, hidden at the end of Gehennom.
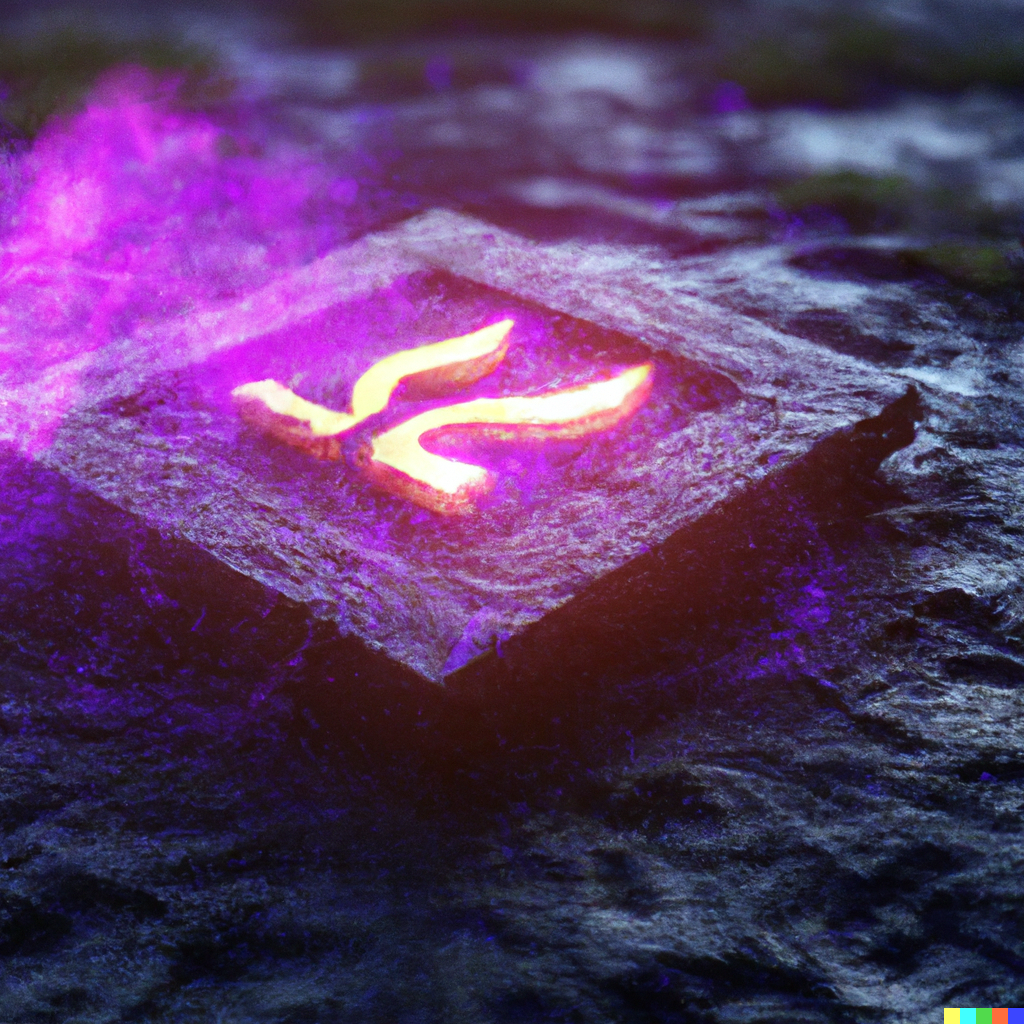
The Vibrating Square is hidden. The location may be anywhere and it may look like anything. You may only discover it through standing directly above it. When you do, the ground will vibrate and the square shall reveal itself.
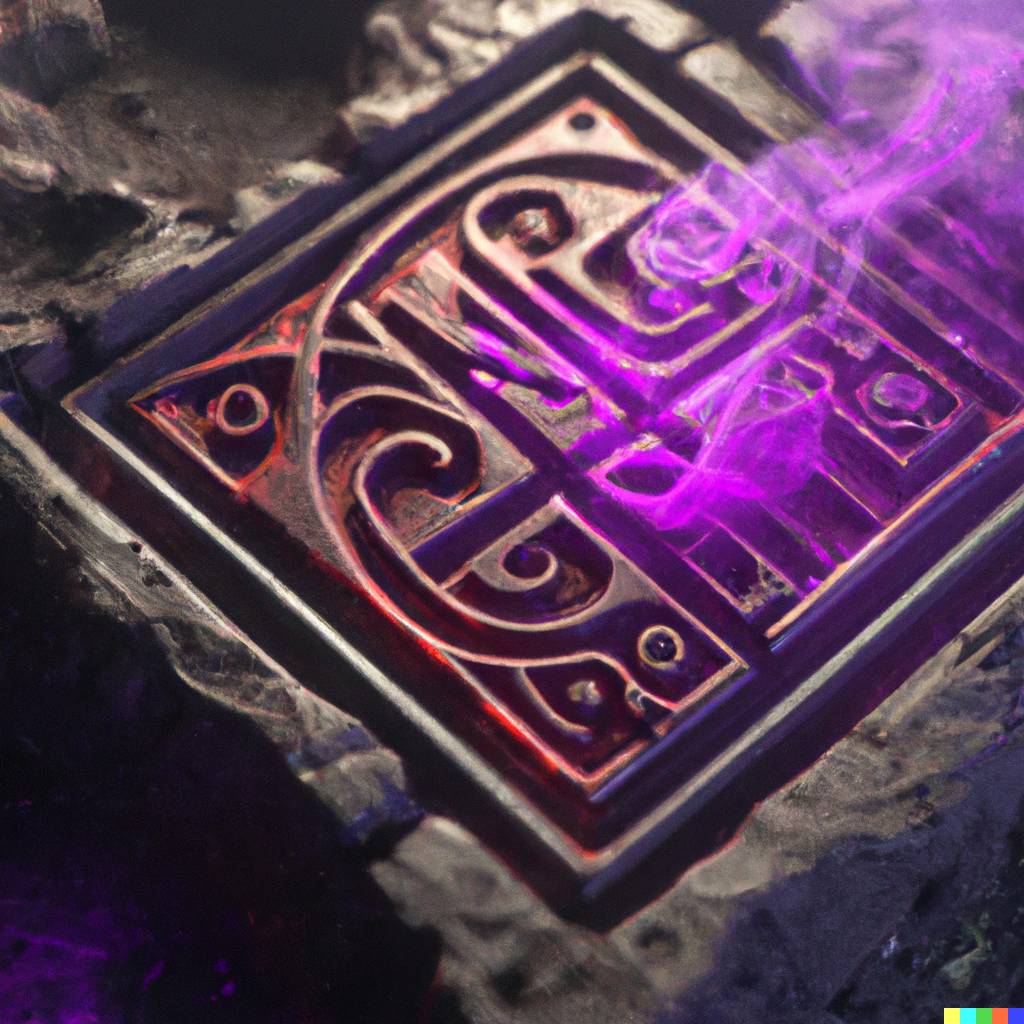
The Vibrating Square is protected with an enchantment. To enter through the square, you must perform an invocation, as revealed by the Oracle.
End game
Now is the time. You must retrieve the Amulet of Yendor, or die in the attempt.
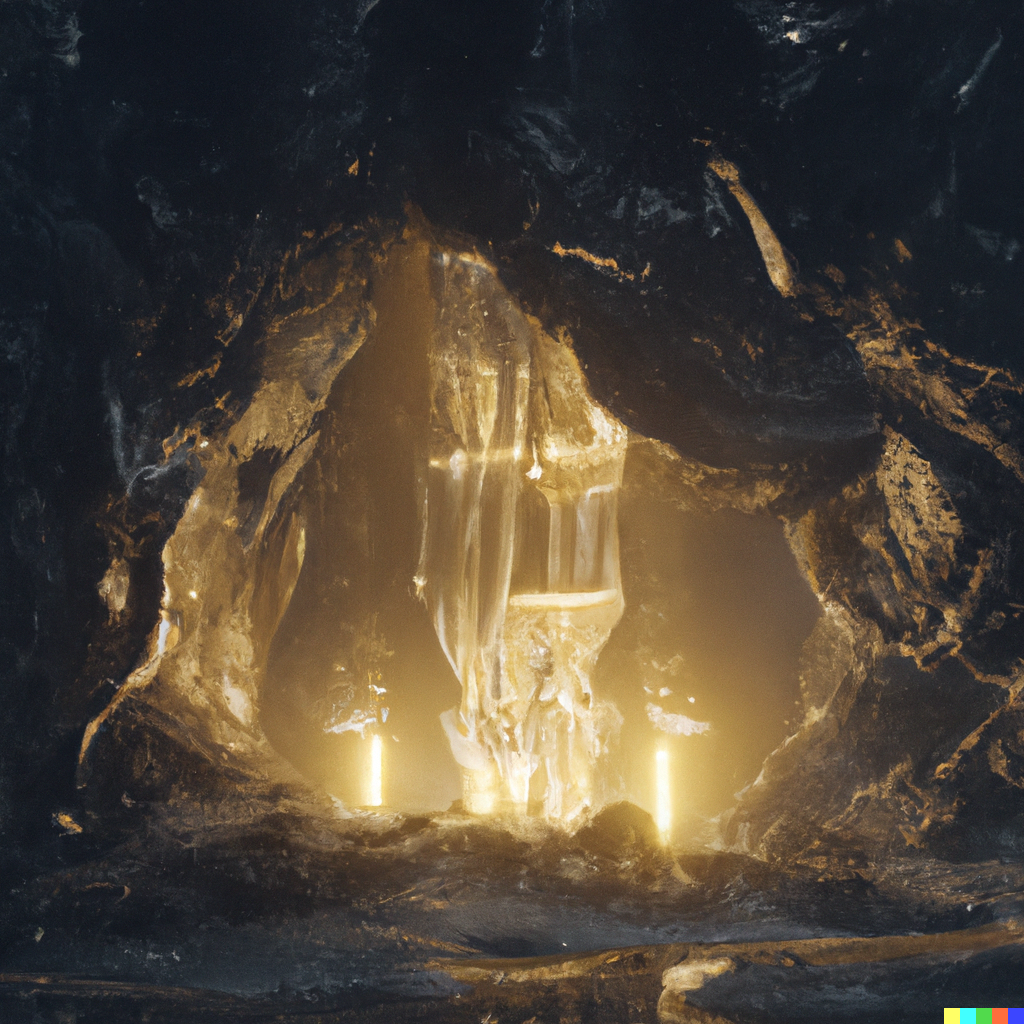
Invocation
You now have prepared the three critical items required to enter Moloch's sanctum: the bell, book, and candle job.
The first is the Silver Bell, from your Quest Nemesis in the mid game. Ringing it will produce a pure sound to announce thee to the sanctum below.
The second is the Candelabrum of Invocation, from Vlad. The light from which will show you the way through the depths past Gehennom itself to the Sanctum of the evil god Moloch.
The third is the Book of the Dead, from the Wizard of Yendor. The terrible runes when read, will cause the earth to tremble mightily and crumble away, to descend to the Sanctum.
You ring the bell.
You light the candelabrum.
You recite the book.
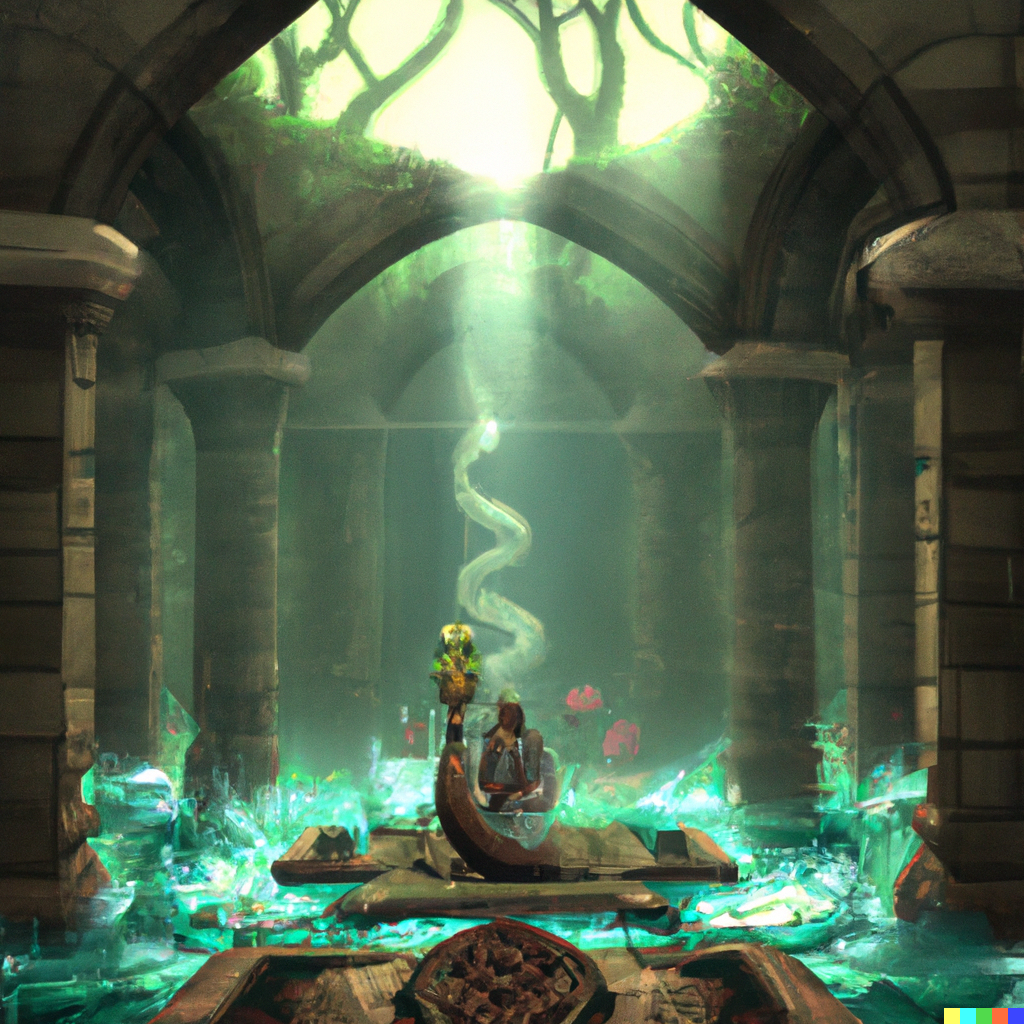
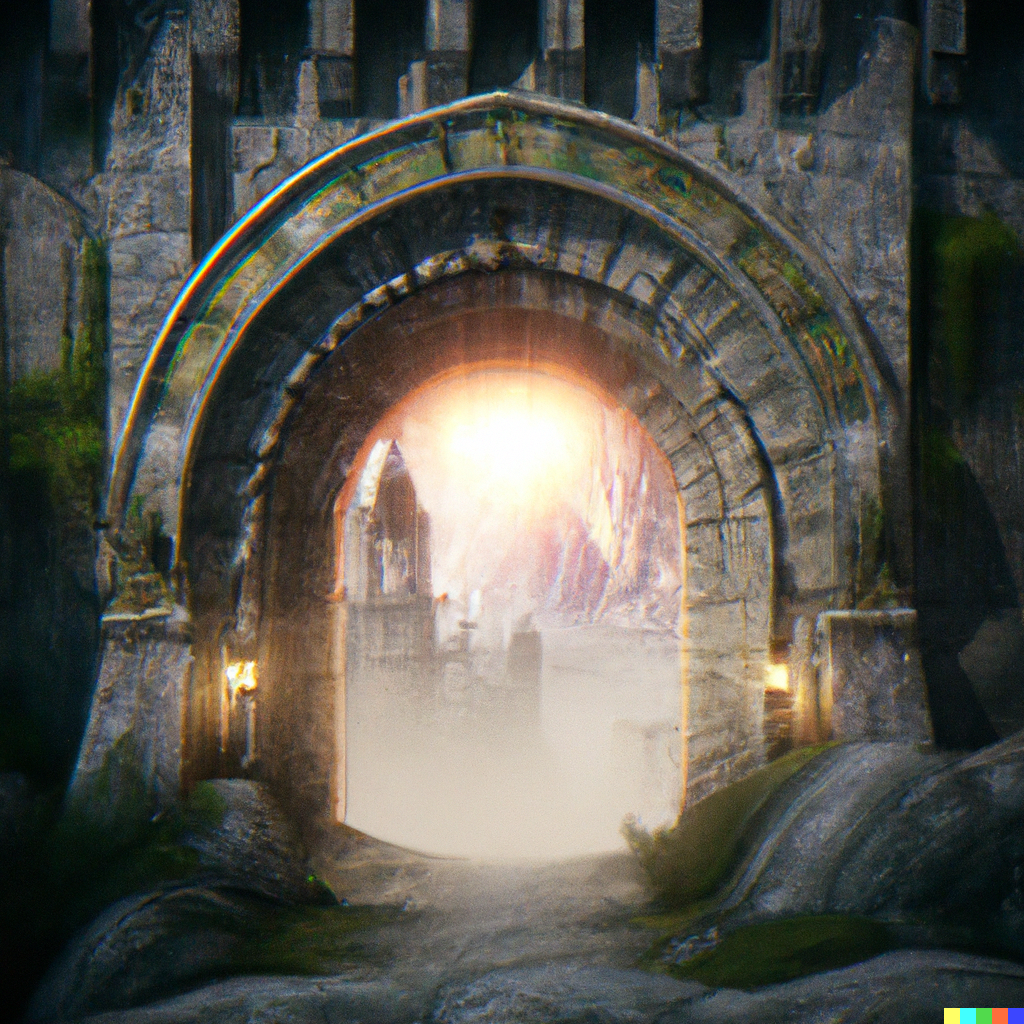
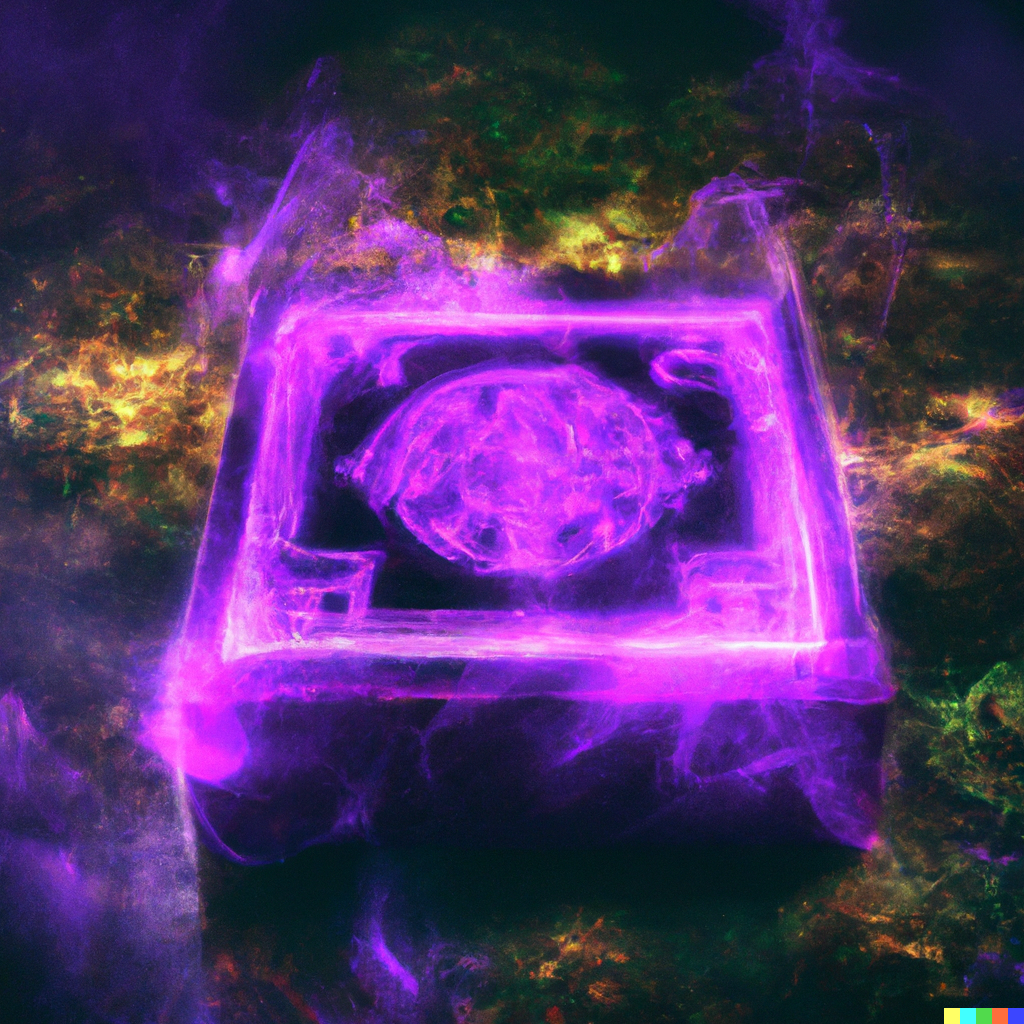
Sanctum
There is no more return. You enter Moloch's Sanctum.

This is a place of pure evil, beyond law, neutrality, and chaos. Within is the Temple to Moloch surrounded by flame, where the high priest of Moloch holds the fabled Amulet of Yendor itself.
Fight, and win. Get the amulet!
Rise
As with any heist, getting the Amulet is not enough. You must now leave the Dungeons of Doom.
You must rise through the fiery mazes of Gehennom. The magic of the Amulet will inhibit your progress, plunging you further down back into the Sanctum even as you try to climb up.
You find yourself back at the entrance of the Dungeons of Doom, but you do not see the sky and earth as you entered it. The Amulet's power is calling your god to you. You rise, and go beyond the planes of life.
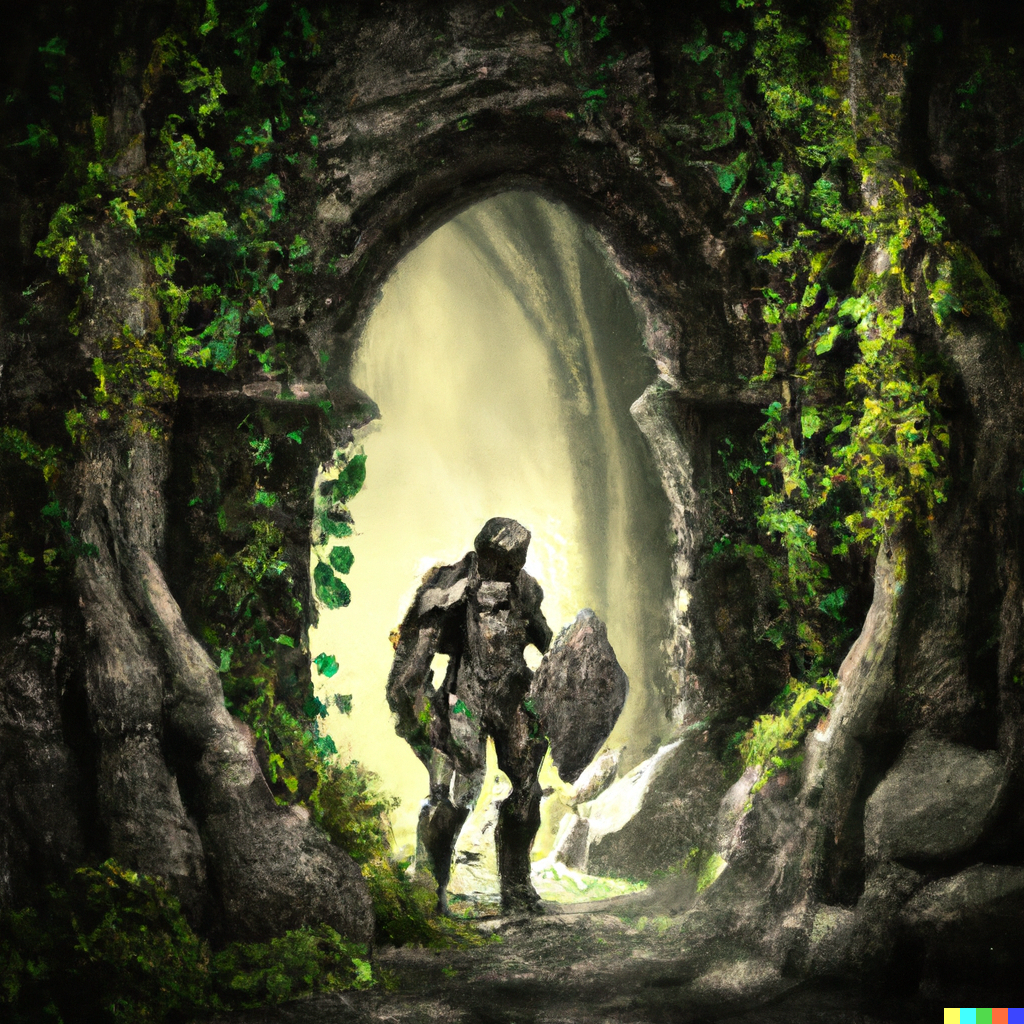
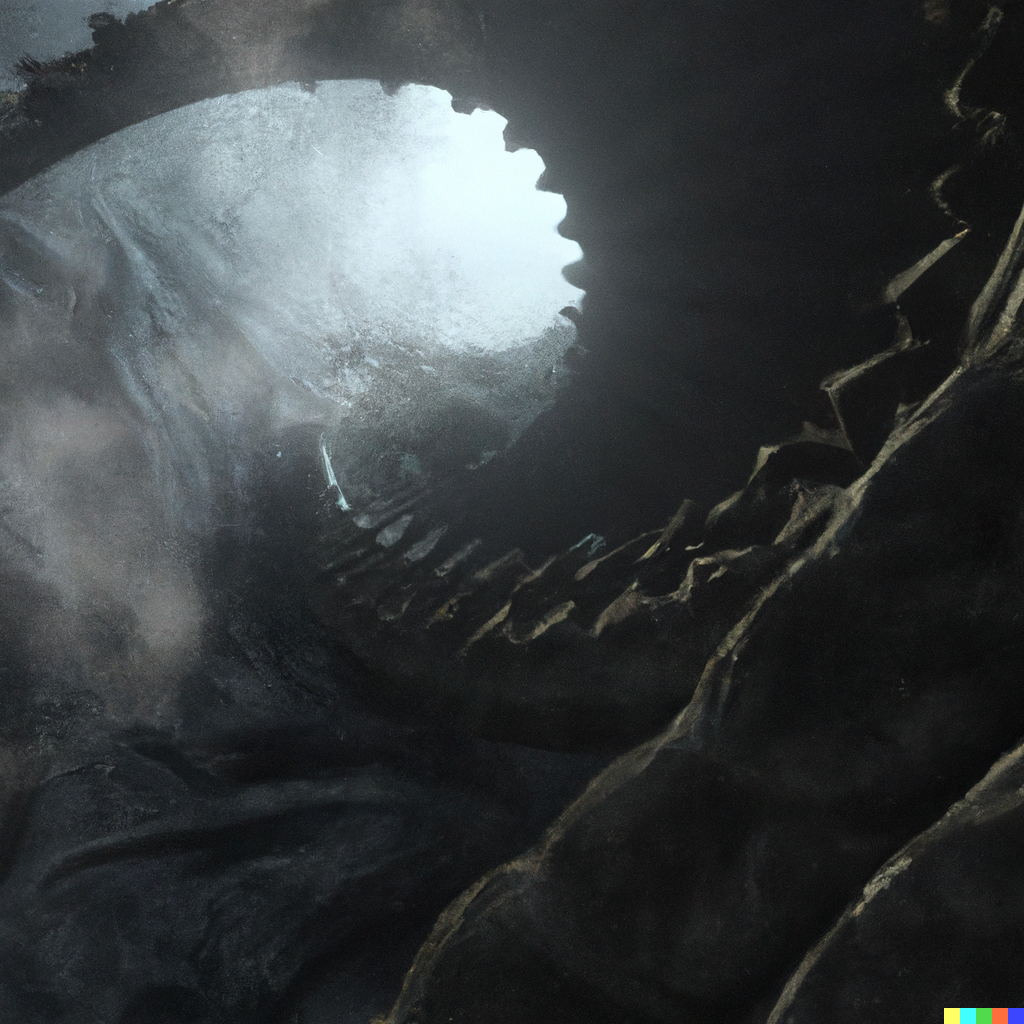
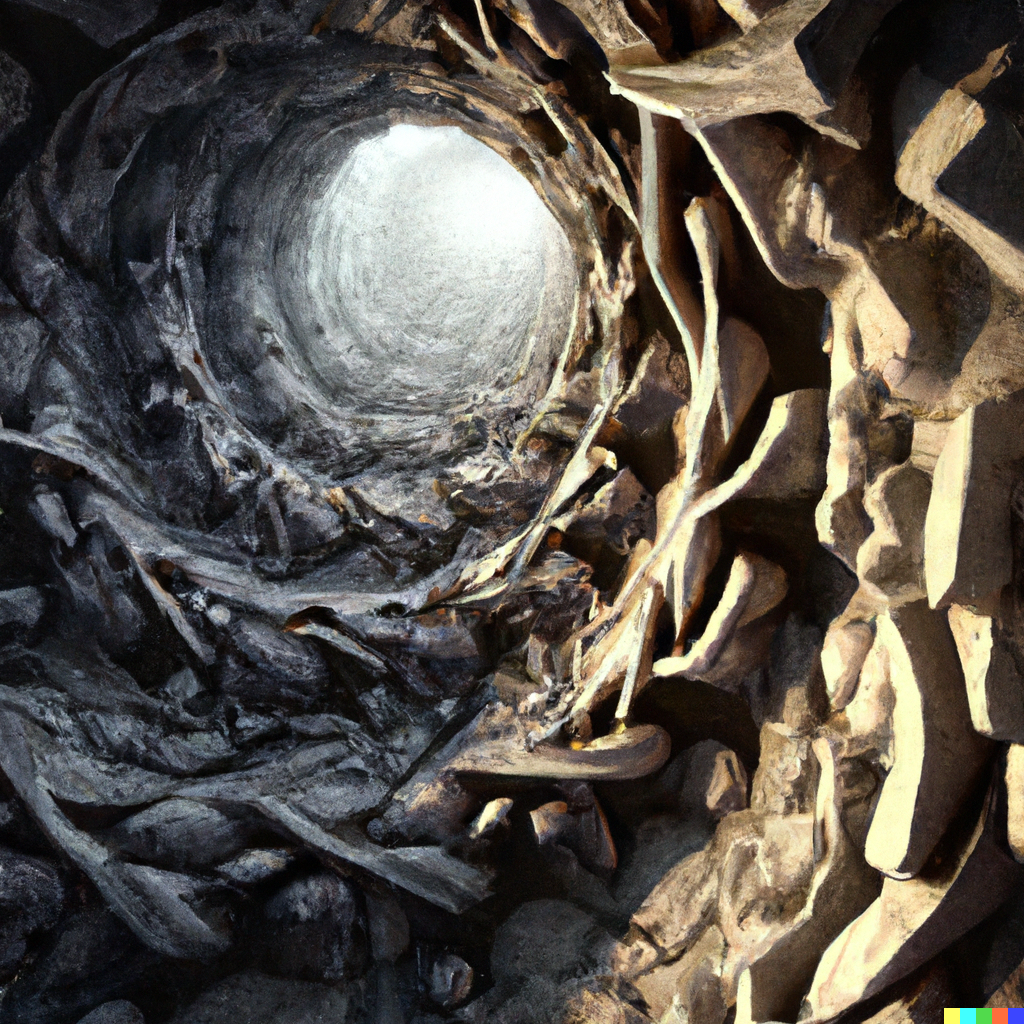
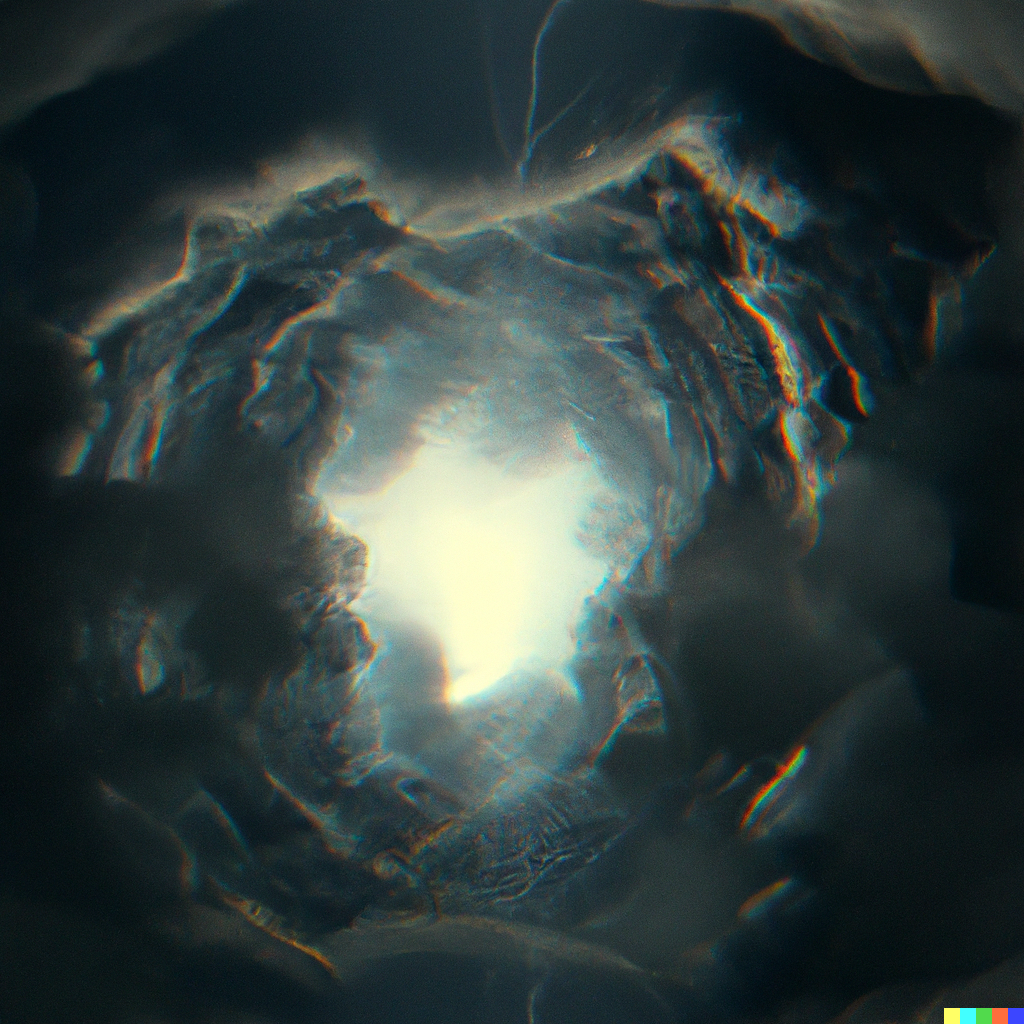
Plane of Earth
The Amulet transports you to the first of the four elemental planes: The Plane of Earth.
You are is a small underground chamber. You must dig your way through to other small cavernous pockets within the earth.
Even as you dig, rubble transforms into raw elemental beings, who are not happy to find a stranger in their plane. But you must dig, for you must find the portal through to the next elemental plane.
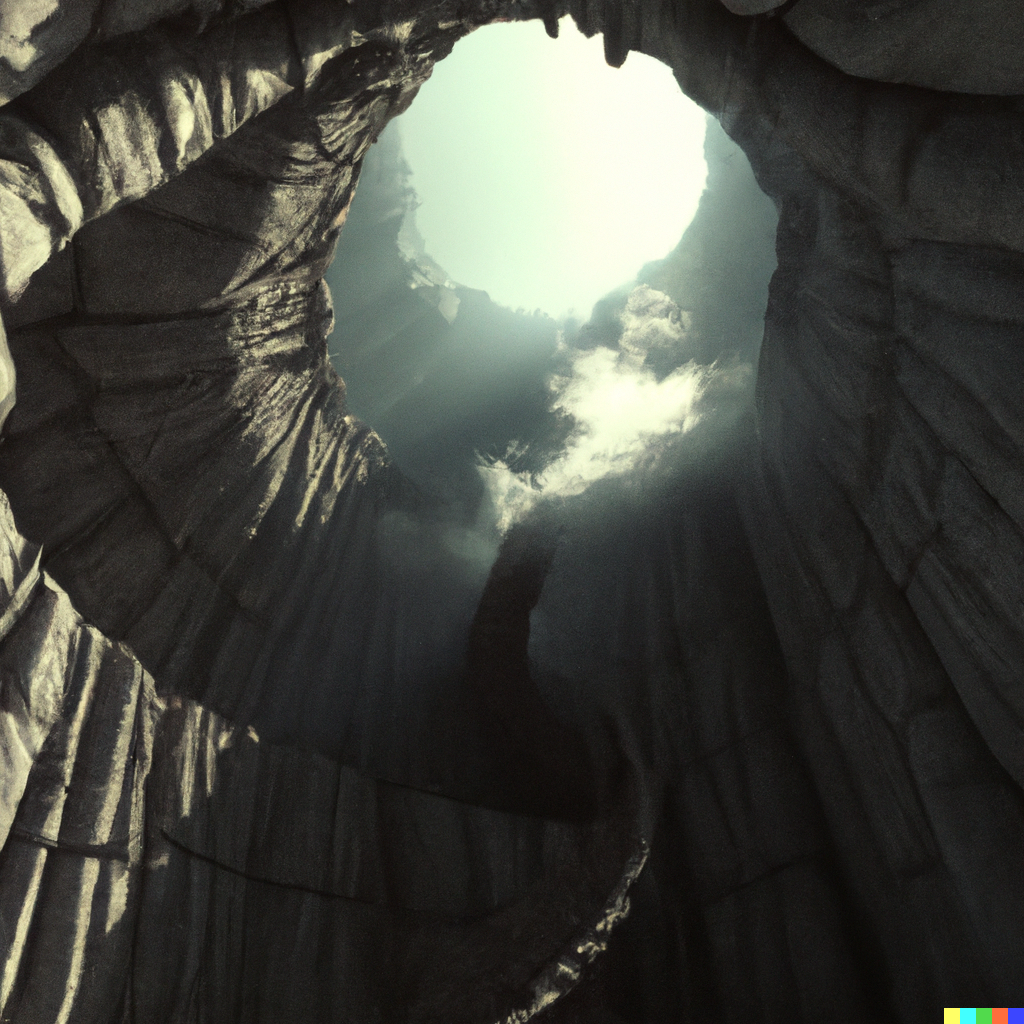
Plane of Air
The Plane of Air finds you falling endlessly through empty space. There is no ground, just clouds, storm, lighting, and thunder.

Walking through the clouds is perilous and filled with air elementals, who surround you as a hurricane does.
Hidden within the clouds, an invisible portal will bring you to the next elemental plane.

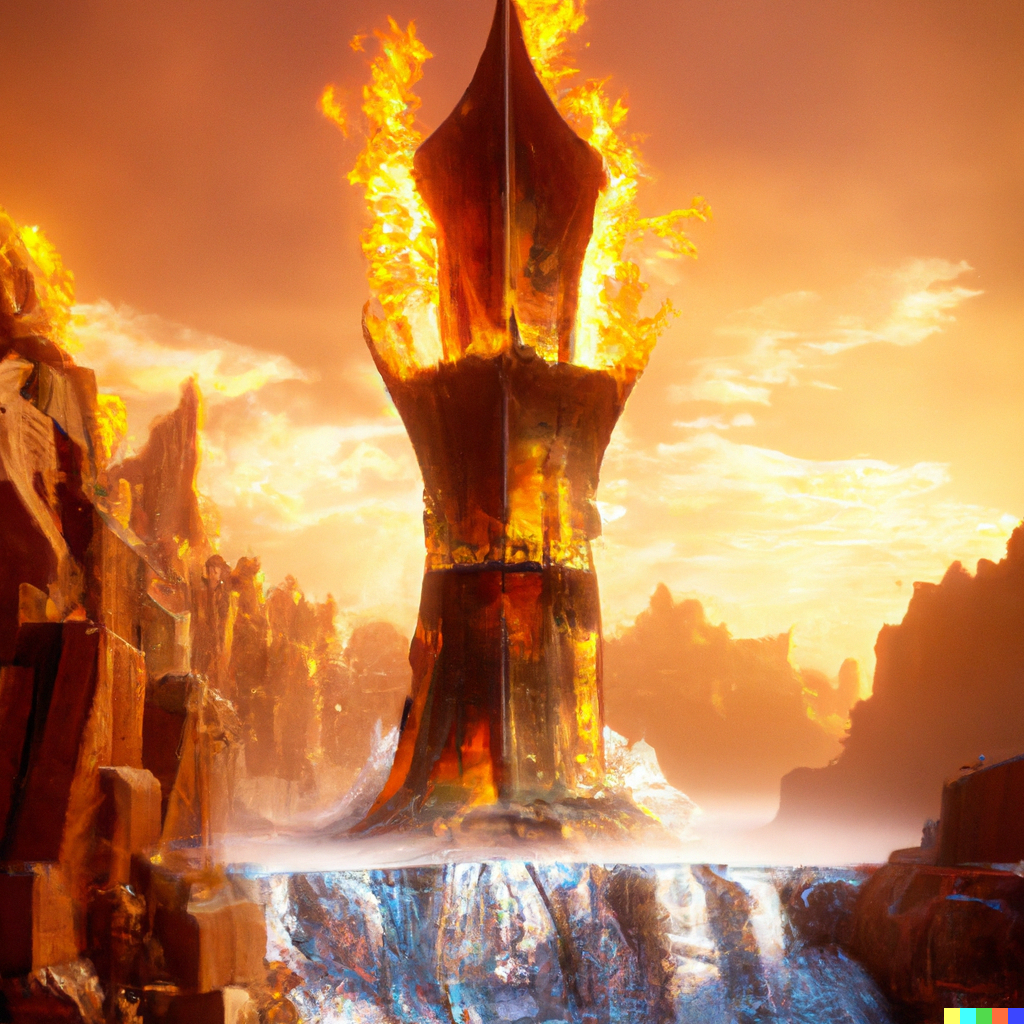
Plane of Fire
Surrounded by flame and lava with flames falling from the sky, you find yourself in the Plane of Fire.

Fire elementals emerge from the ground, scorching their way through to you and leaving a trail of noxious fumes.

One of these towers of flame is not like the others. One of these is a portal to the next elemental plane.

Plane of Water
You float within a huge air bubble. The Plane of Water is pure water, save for supernatural air bubbles that hint at the treacherous currents that pull you across the plane.

The bubbles coalesce and split continuously, and you must hop from bubble to bubble plagued by Water Elementals.

One of these bubbles houses an invisible portal, to the final plane.

The Astral Plane
Beyond the Elemental Planes is the Astral Plane, the plane beyond the physical elements, and the final frontier where beyond lies the gods themselves.
The astral plane is the home of the angels, the highest priests who serve the gods themselves, and yourself. The incarnations of the adventurer you might have been.

None of them are happy to see you. The Amulet of Yendor possesses powers that mere mortals can scarcely comprehend. You are not worthy of it.
The High Altars
The three chambers hold the antithesis of Moloch's Temple in the Sanctum. One is the Temple of Law, the other is the Temple of Neutrality, and the final is the Temple of Chaos.
Your pious alignment will guide you to the right temple, but guarding the three temples are the Riders: horsemen of the apocalypse.
The Temple of Law is guarded by Famine, whose very touch causes starvation and crops to wither.
The Temple of Neutrality is guarded by Pestilence, whose touch causes sickness, disease, and terminal illness.
The Temple of Chaos is guarded by Death, whose embrace brings death to you.
Ascend
The fourth horseman is You. You are War.
Your battle is victorious. You stand having travelled through the depths of the Earth and beyond, with your victims claimed by Death. You produce the Amulet of Yendor and call upon your god with your offering.

An invisible choir sings, and you are bathed in radiance... "Mortal, thou hast done well!" "In return for thy service, I grant thee the gift of Immortality!" You ascend to the status of Demigod...
Notes
I hope you've enjoyed reading my creative interpretation and illustrated guide to NetHack. All images were generated through the DALL-E AI and attempt to reflect what ASCII and plaintext descriptions allude to as best as possible. You can right click and view any image to see the higher resolution. I've done some minor image editing to improve the generated images on occasion.
Images purposely omit all characters and monsters, instead focusing on the environs to preserve some imagination.
Naturally, this is full of spoilers. But if you're reading down here either your mousewheel is broken or you know that already.
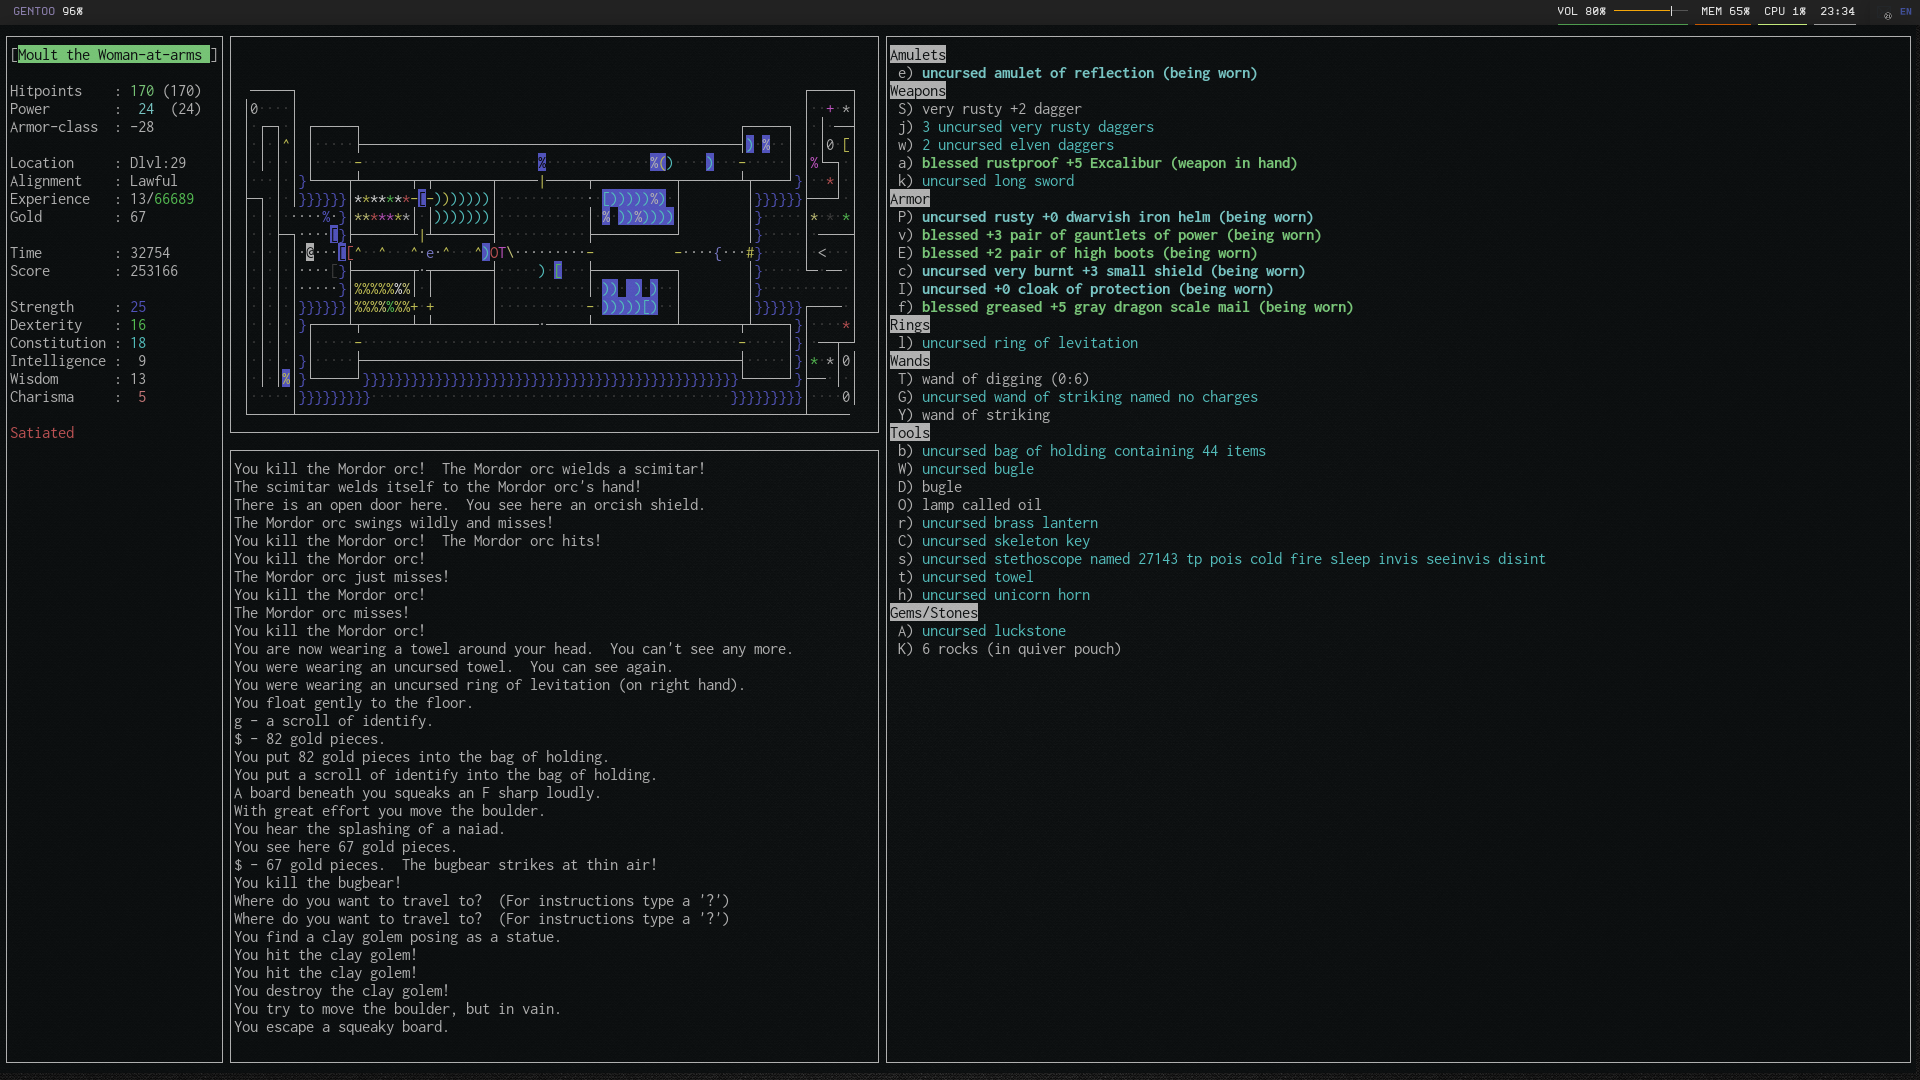
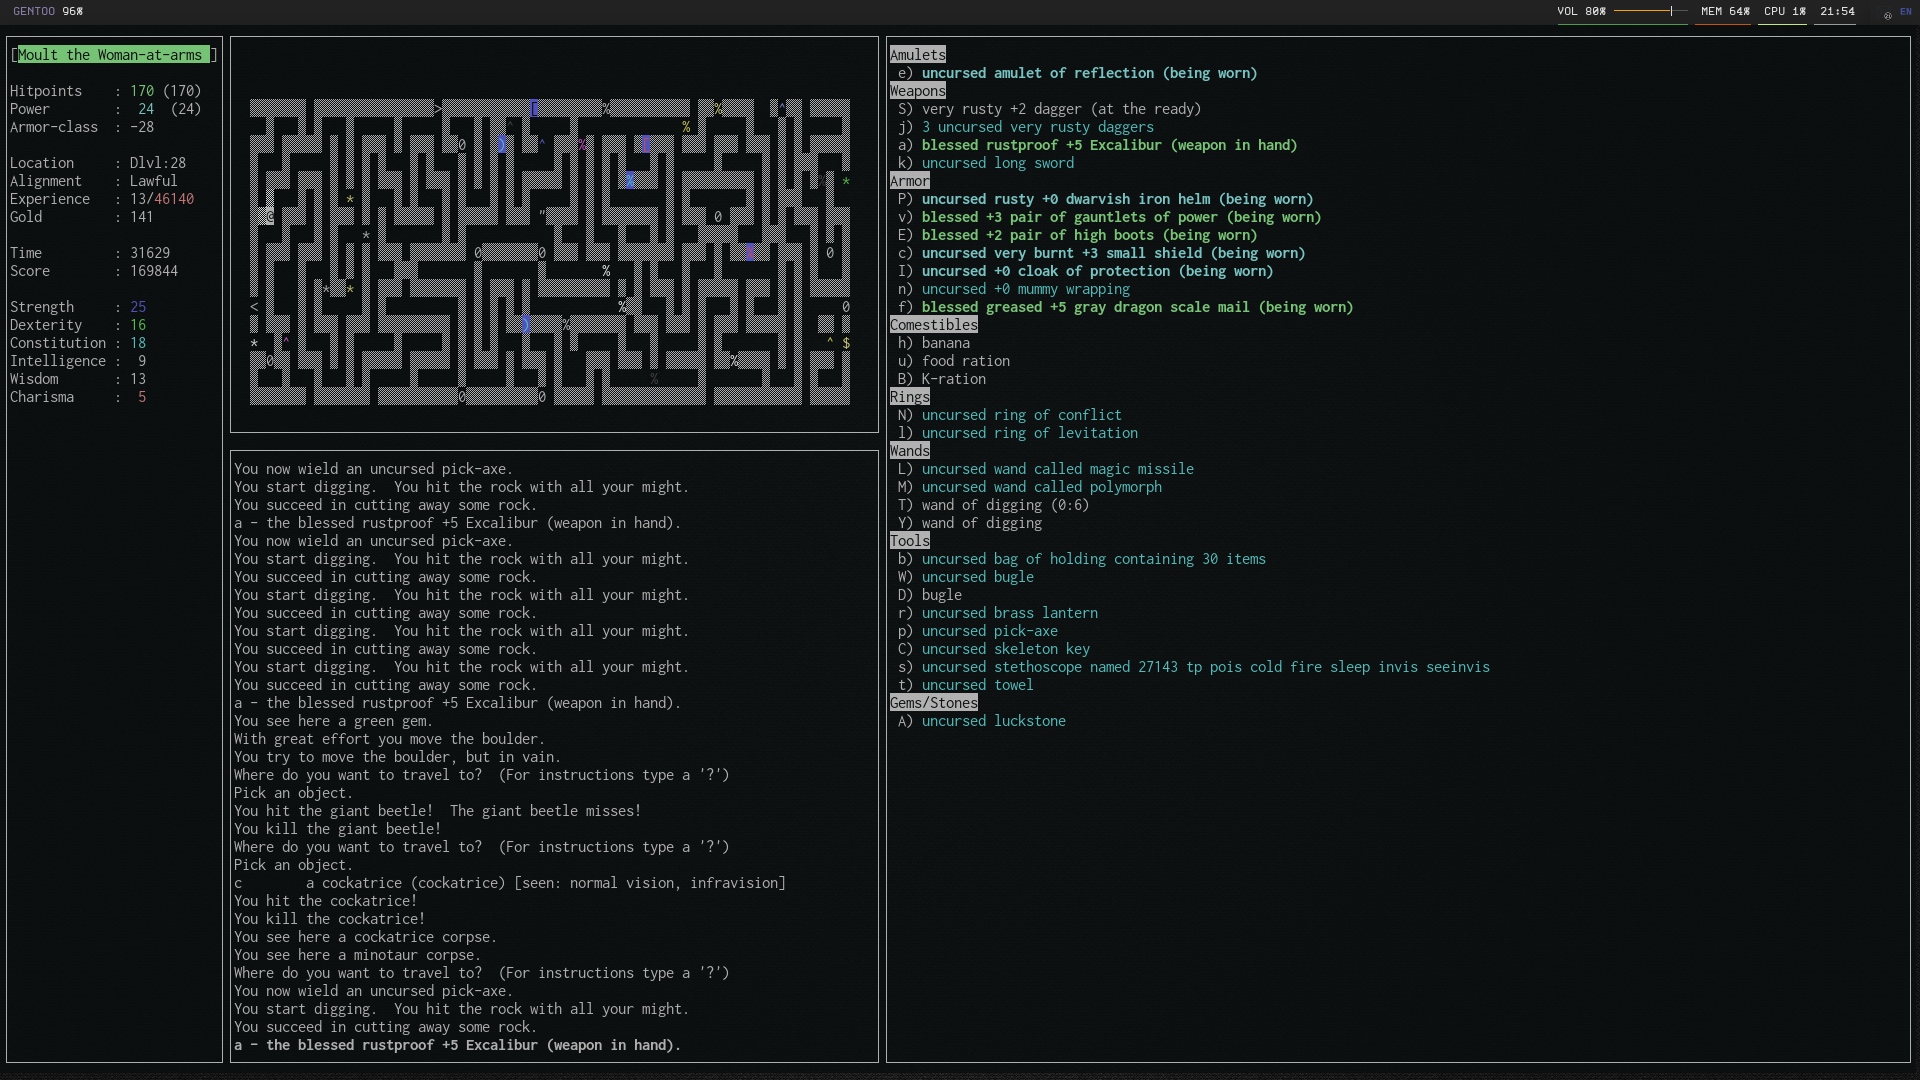
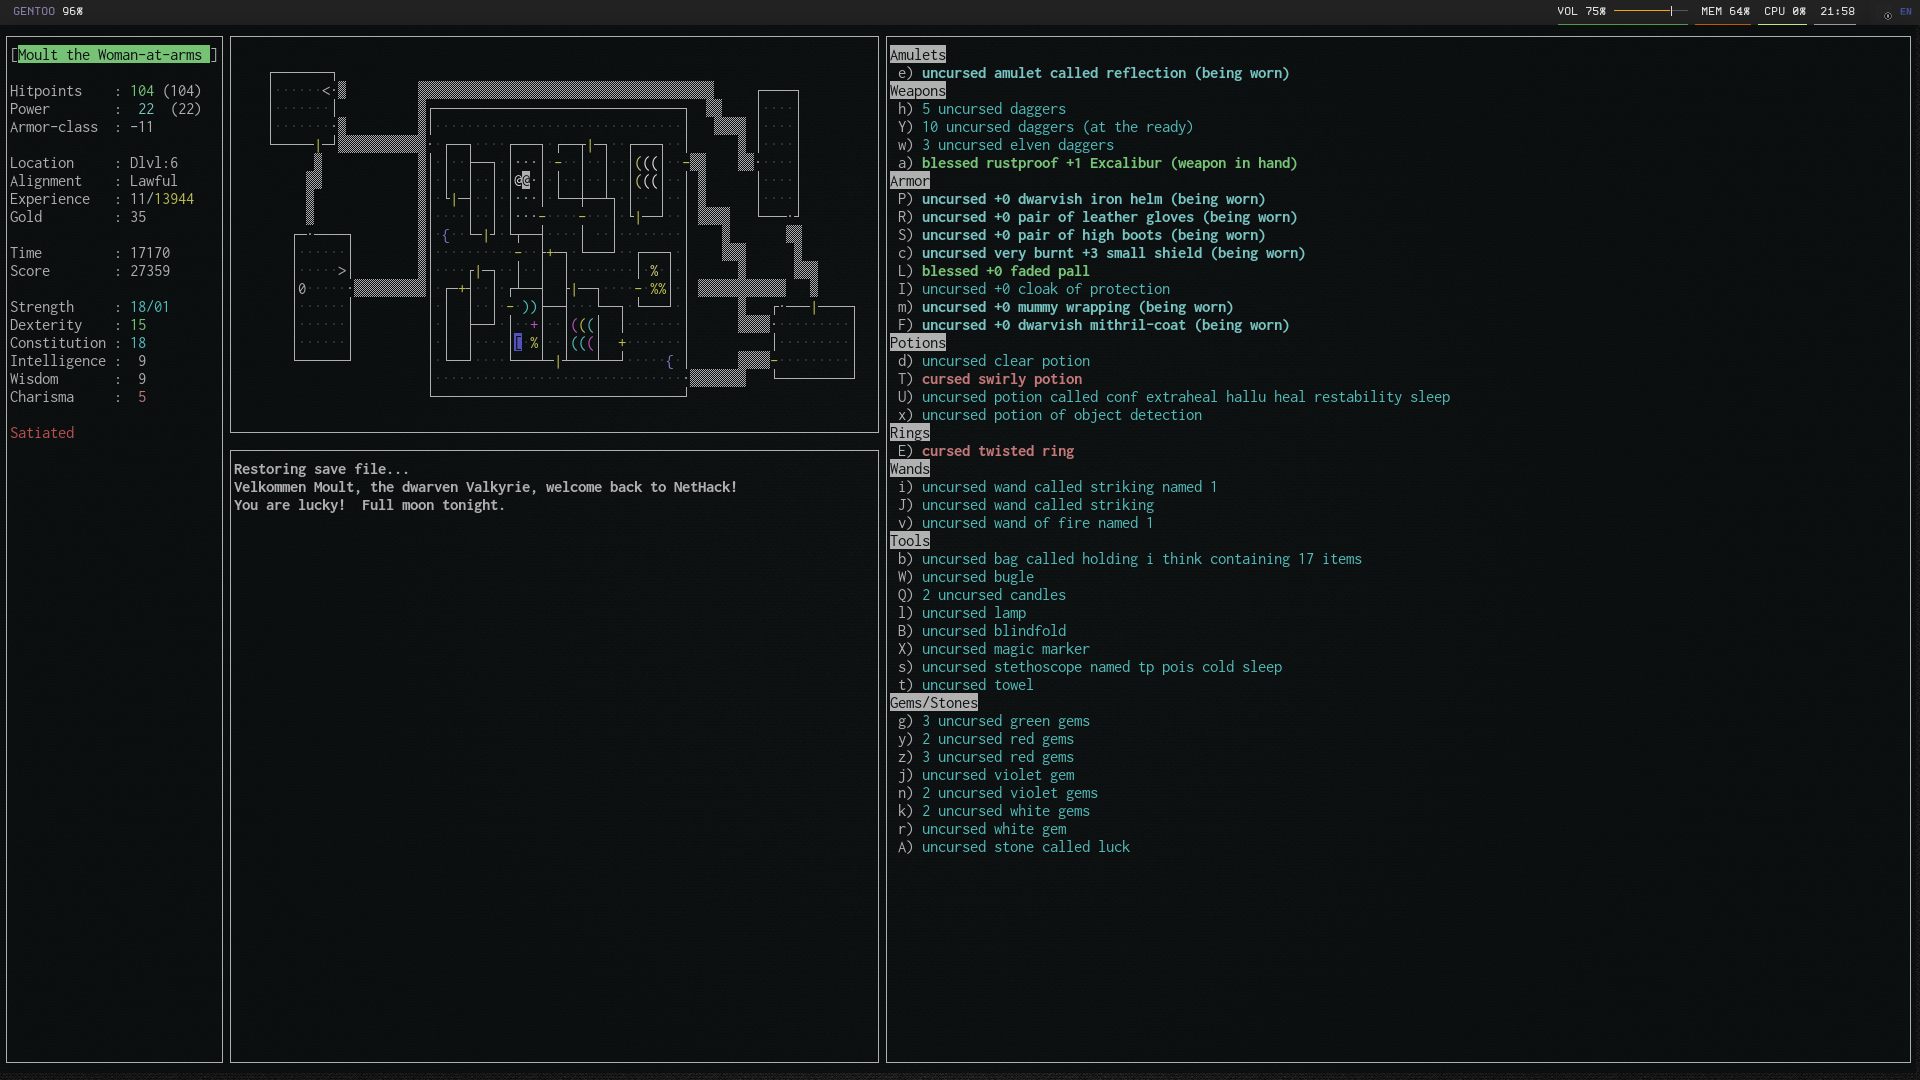
If you haven't played NetHack before, here's some screenshots of what playing might look like from my first ascension. This uses a curses interface which makes NetHack relatively modern (though it may not seem like it, if you've never played a command line game before). Others may use different interfaces and colours.