Recently, I wanted to produce a sample photo-realistic 3D scene with Blender's Cycles engine that I could attempt to recreate in other rendering engines. I took an almost random photo of a street and kerb junction that is prolific throughout Sydney's suburbs. Here's that photo below. You can see incredible features that we take for granted such as the viscous bulging of the asphalt as it hits the kerb, dead eucalyptus leaves, a groove between two concrete blocks, and so on. It's a slightly over-exposed shot, hence we have an unnaturally bright grass.

The resultant 3D equivalent is below, all modeled, textured, and rendered in Blender. I've thrown in a glossy Suzanne and sphere, as well as a creative oil slick on the asphalt. You can click on the images to see a high-resolution version.
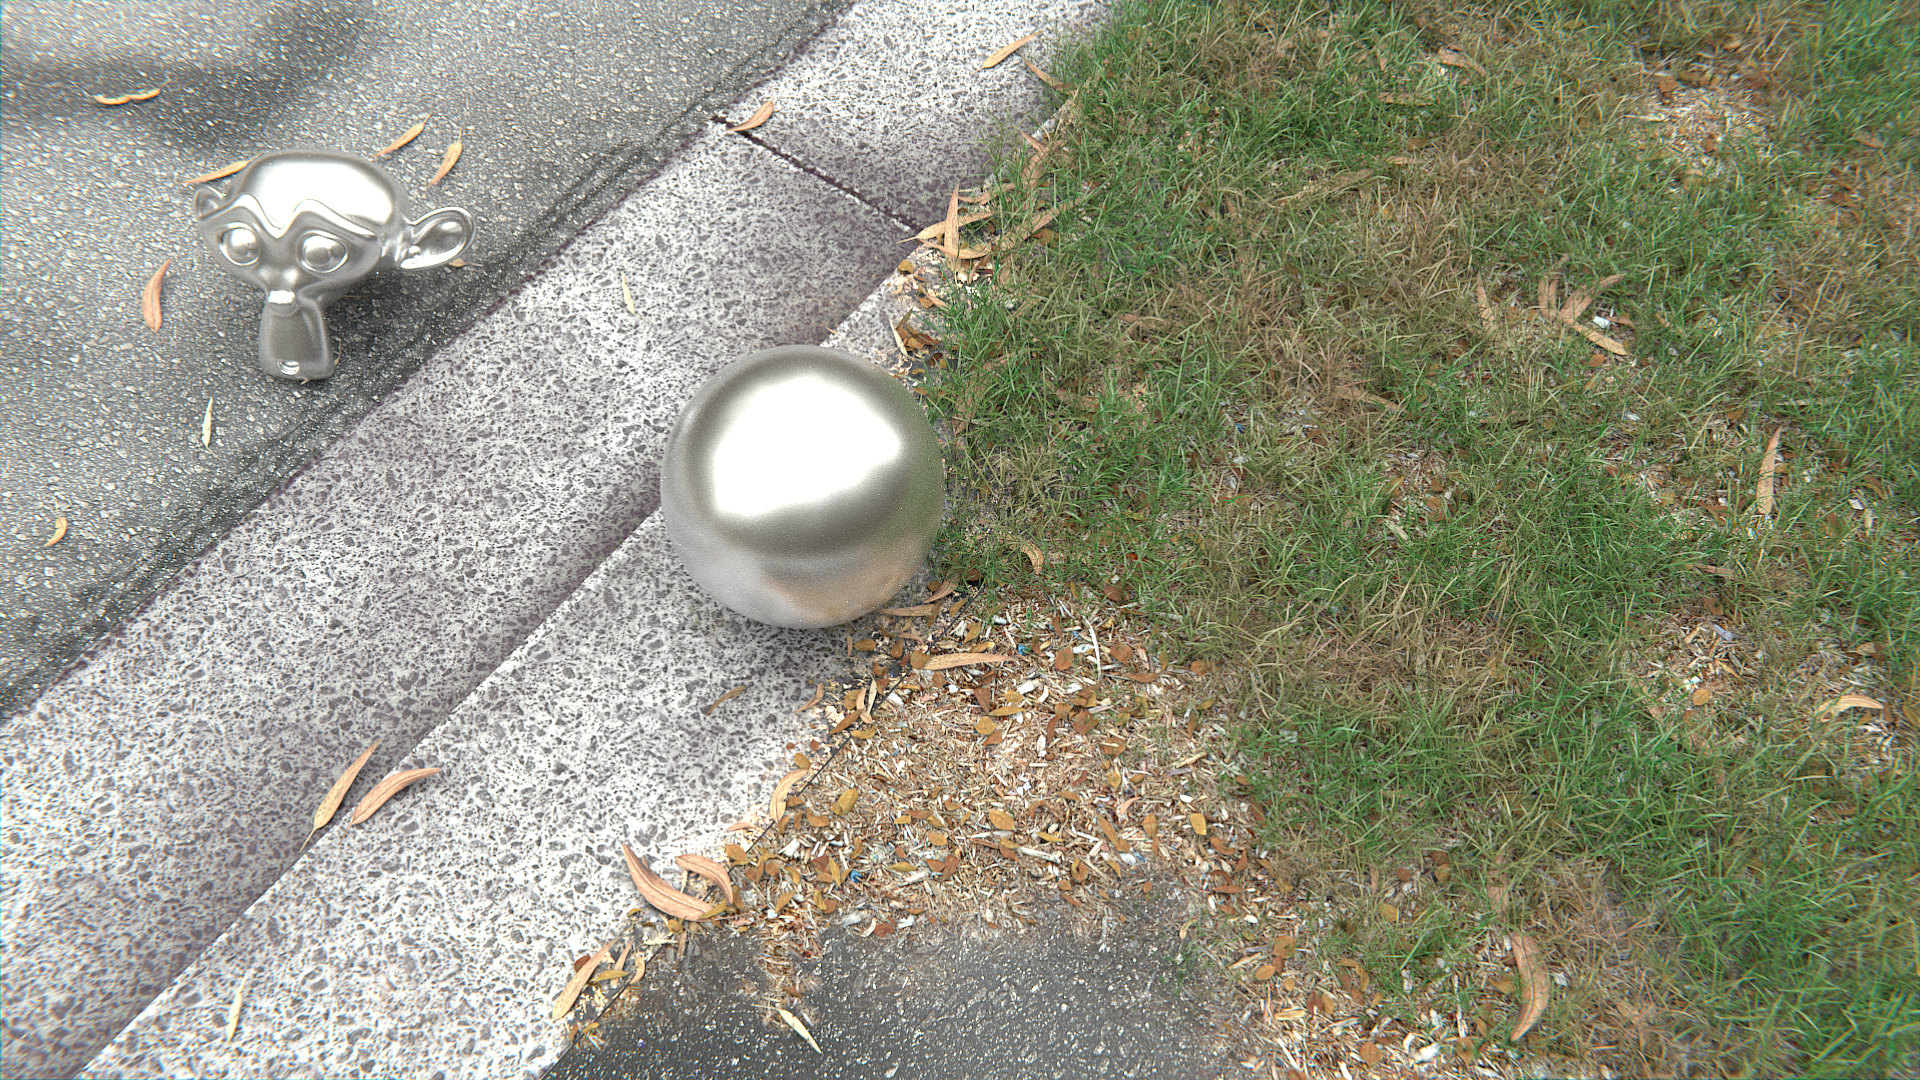
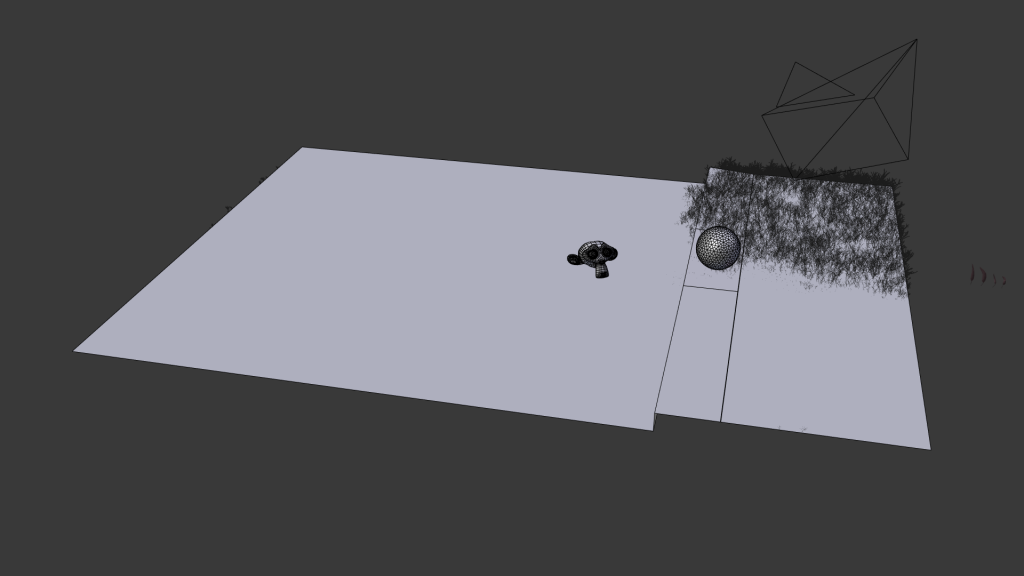
The modeling itself is ridiculously easy. Excluding the particle systems and dummy meshes, the road and kerb adds up to 5 polygons. The split in the middle of the kerb is because I suspect the kerb rose in level a bit, although I ended up ignoring it. This is typically the level of detail you can expect from an architectural scene where only the road level and sidewalk level matters.
You'll notice there are no lights. The photo was taken during an overcast sky, and so an overcast sky environment map (+-4 EV) was used for lighting. The environment map was largely untouched as it was an overcast sky, and so we don't need to worry about the sun's impact on the EV range.
Off to one side are some of the meshes used in the particle systems. This spot was below a eucalyptus tree, and so various eucalyptus leaves and other debris needed to be placed. The leaves, grass, and mulch are dumb planes, and only the leaves actually have a texture applied. The leaf texture was not a photo, and instead was from a beautiful eucalyptus leaf painting by a talented artist.
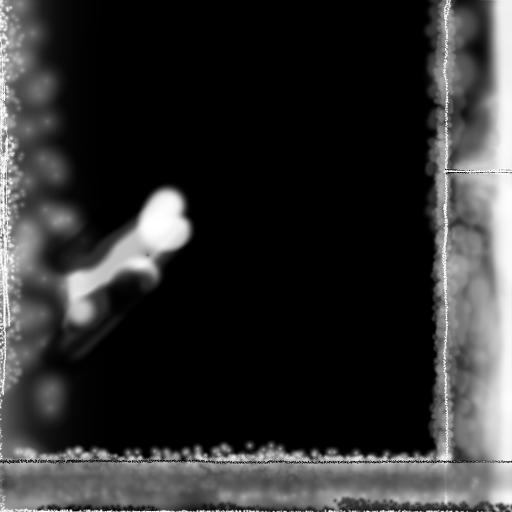
The basic texture layer adds the first layer of realism. These are all pretty standard, such as using this seamless asphalt texture. I have assigned a diffuse and normal map, and did minor colour correction to the textures. What gives them that bit of realism is the dirt map I have painted for worn edges, which darken the values to represent the collection of dirt around edges, the gradient of dirt as water falls towards the kerb, and the evaporation of dirt as it washes up against the edge of the kerb before it finally spills over. Unlike its relative, the occlusion map (which is faking a lighting phenomenon), this dirt map actually does represent deposition of dirt and therefore a contrast between the sun-bleached material and the darkened dirty material. There is no specular map in this case, though there usually is for roads. The map is shown below.
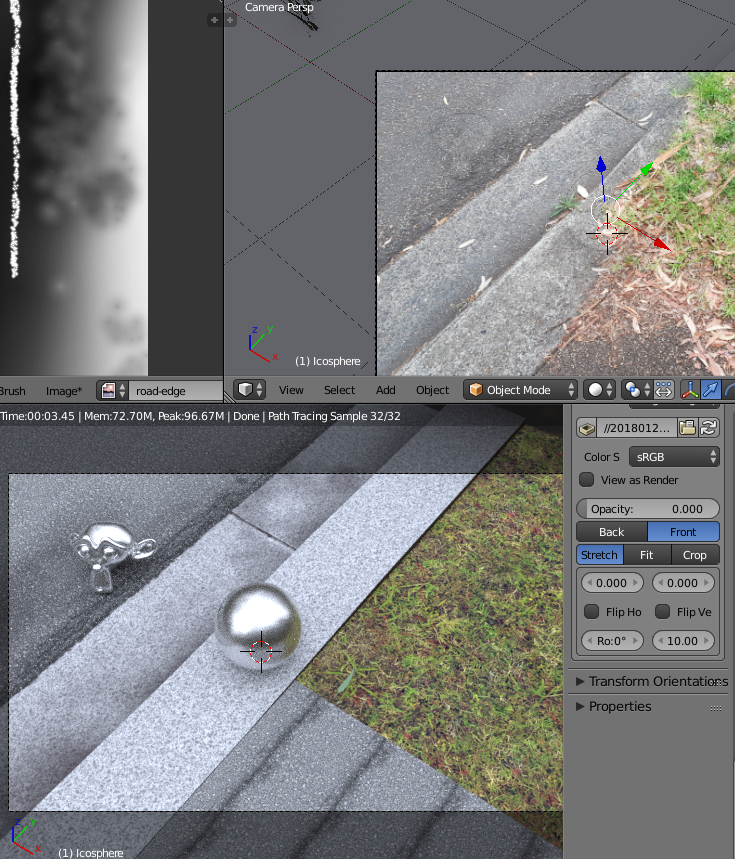
To show the contrast between the effect a dirt map applies and a flat texture, I've attached a work in progress screenshot below. You can see the road which has a dirt map applied in contrast to the very fake looking kerb.
The particle systems are what really give this scene a bit of life. There are 5 particle systems in total: dead eucalyptus leaves, mulch, long weedy Bermuda grass, short Bermuda grass, and dead grass fragments. They are all weight-painted to place them on the scene, with a noise texture to add colour variation to represent patchiness. An example of the weight paint for mulch, and dead grass is seen below.
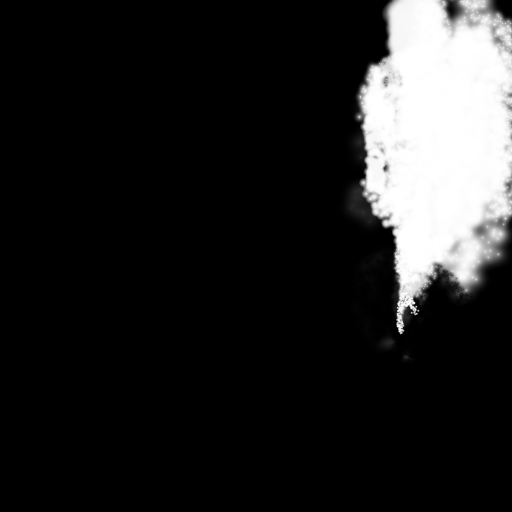
This gives a particle distribution which can be seen in the AO-pass below.
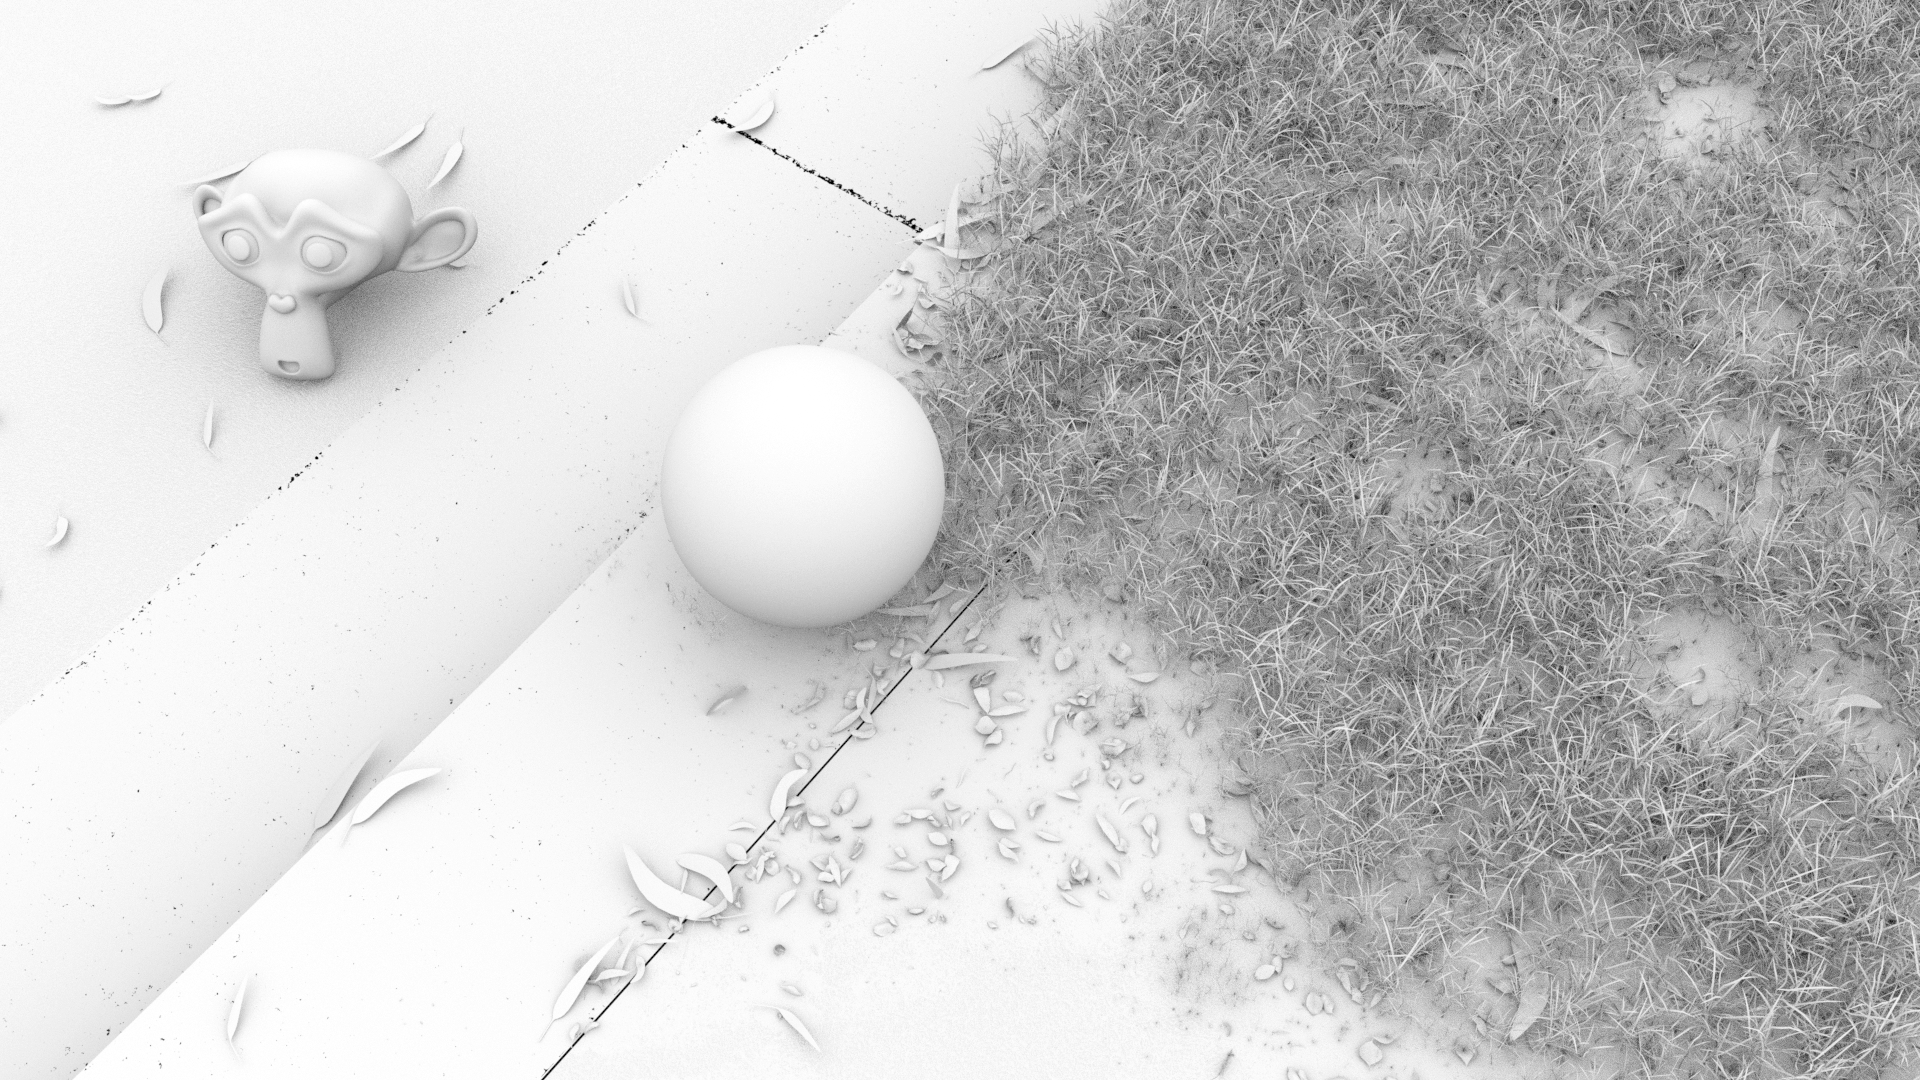
That's pretty much it! During compositing there was an AO pass multiplied, colour correction applied, a sharpen filter, as well as a slight lens distortion just for fun. A fully sized render takes about 10 minutes on my Gentoo machine.